
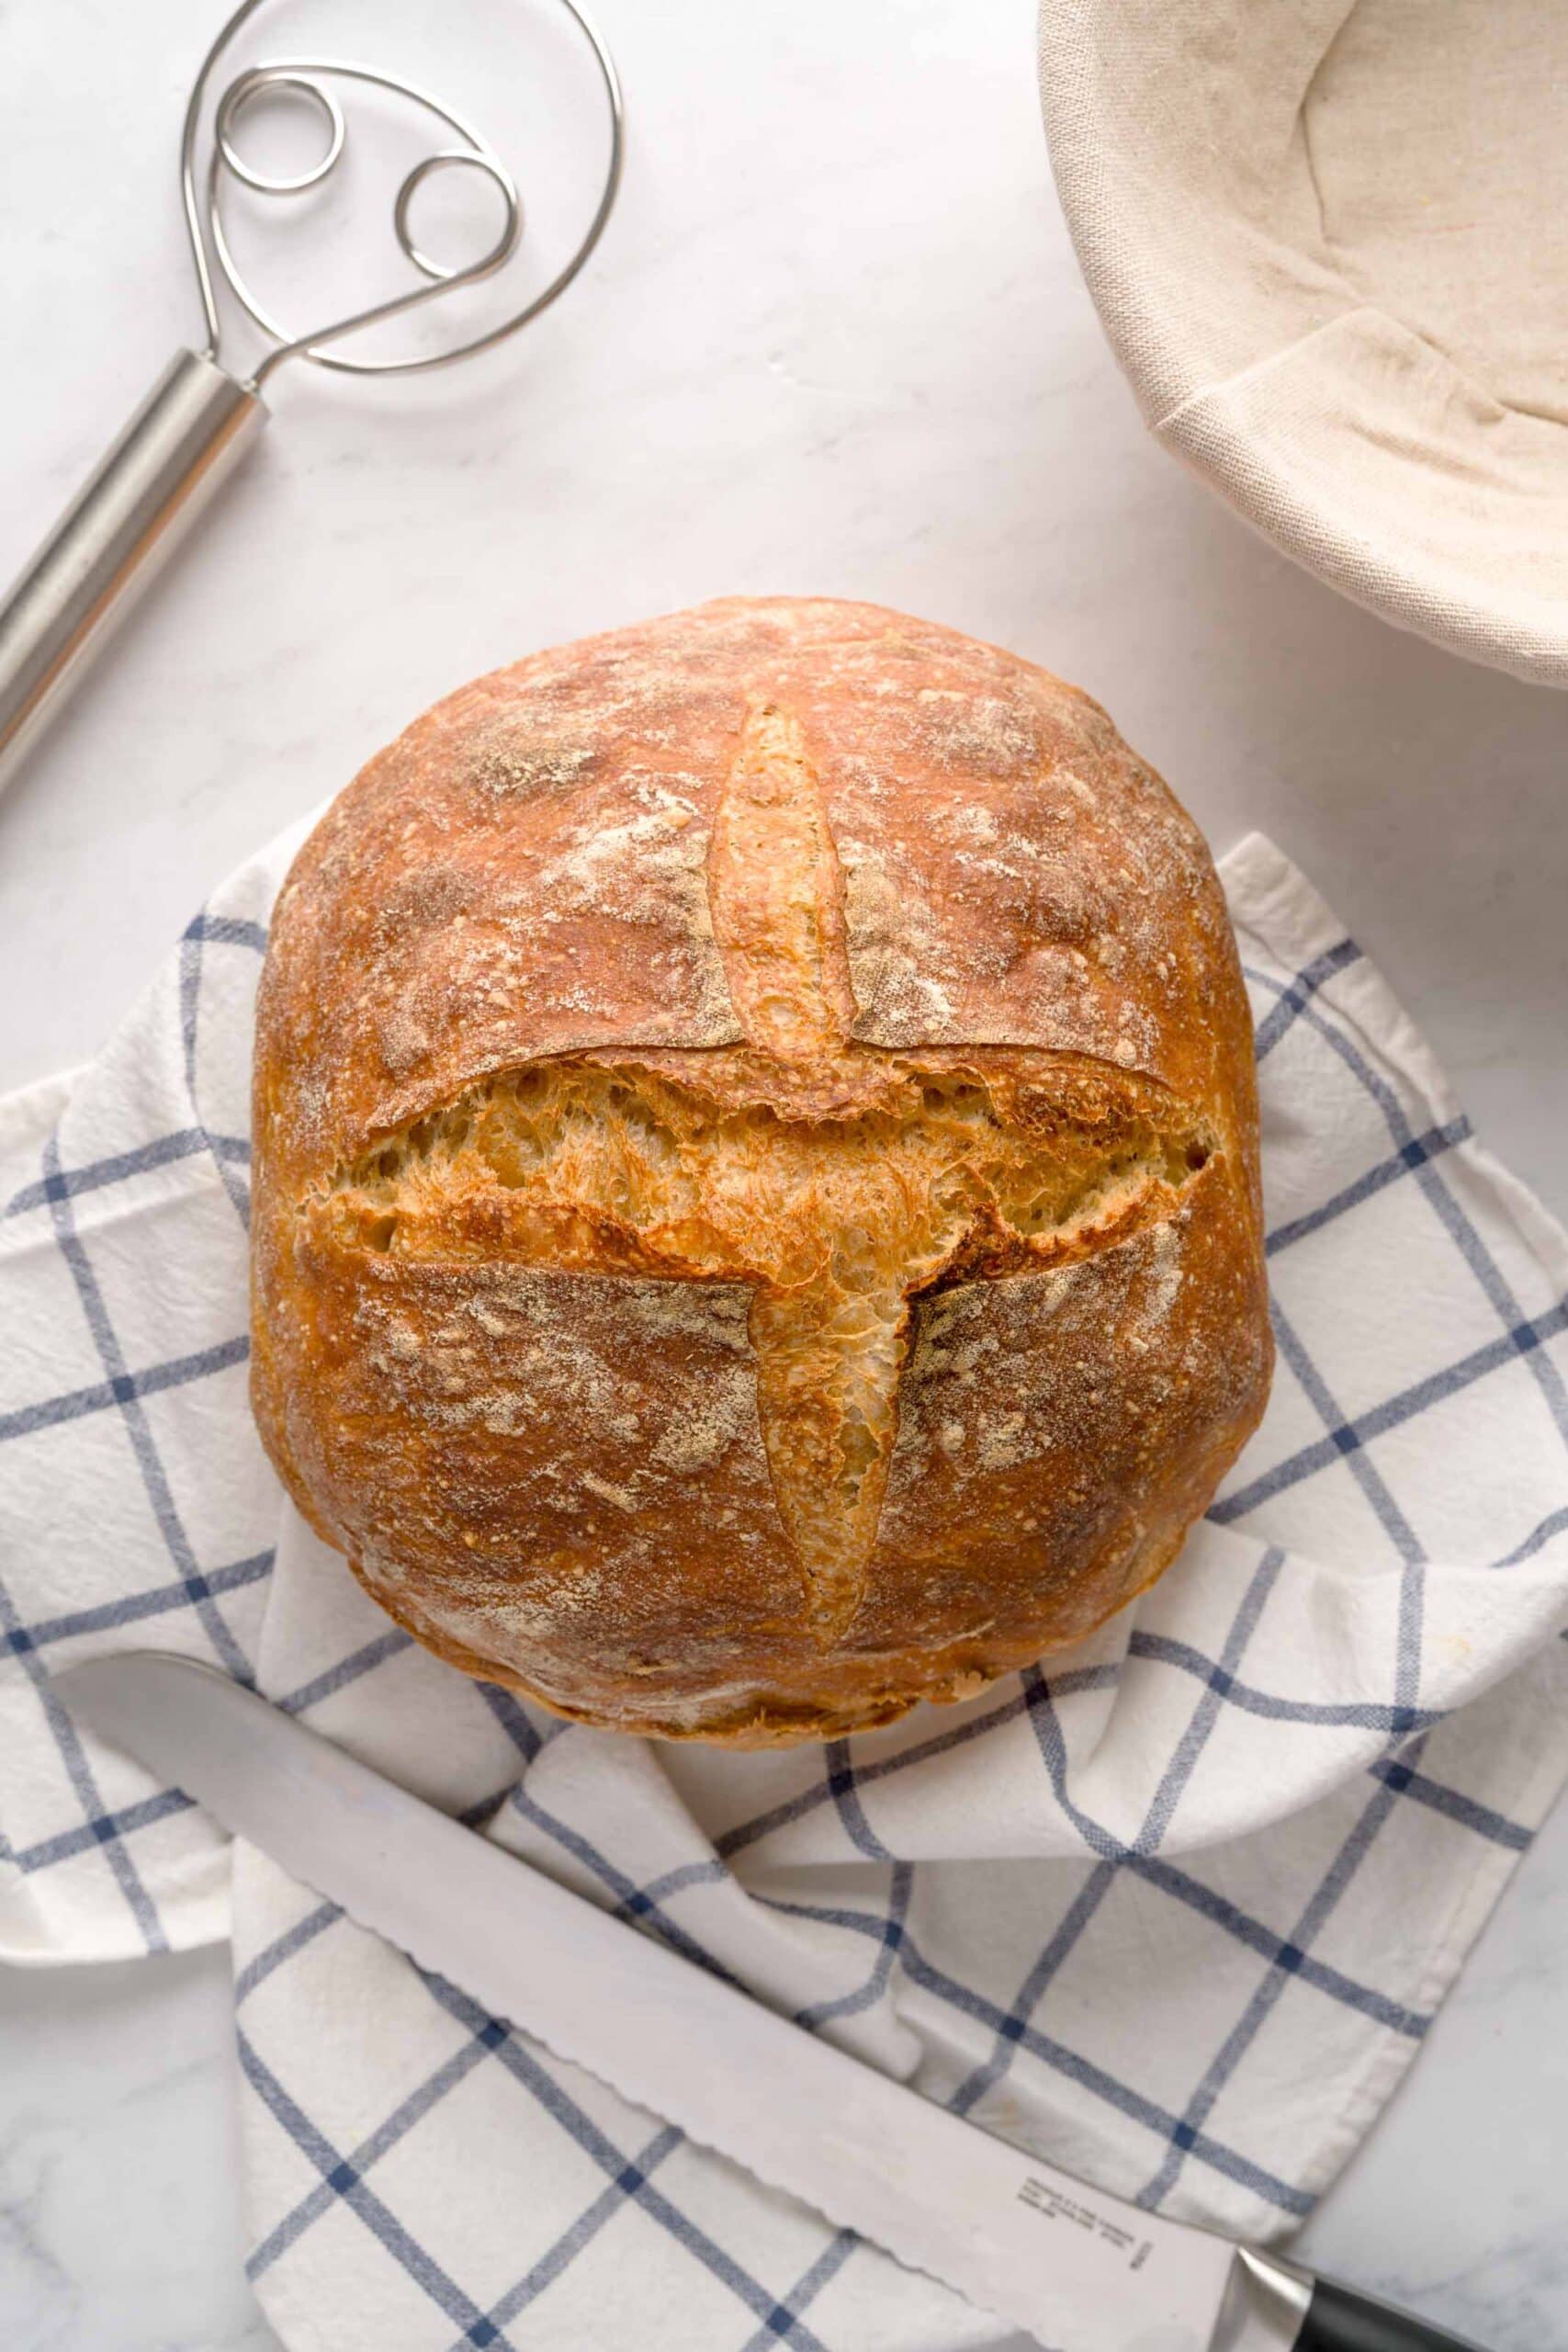
This easy rustic Italian bread has a crispy golden crust, chewy crumb and deeply developed flavor - all without any intensive kneading. Using simple ingredients and a stretch and fold method, you'll create an artisan-style loaf right in your kitchen.
This recipe is very special to me as I've adapted it from my dear friend Annika's family recipe. Annika's mom created the original recipe and, with her permission, I’ve made a few tweaks to the method while honoring the essence of her original loaf. You can find more of her creative work (she's a very talented pottery artist!) at Studio Moosh.

What is Rustic Italian Bread?
Rustic Italian bread is a simple, crusty loaf made with flour, water, salt and yeast. It’s naturally fermented at room temperature and in the fridge, giving it a complex, bakery-style flavor and an airy crumb without complicated techniques.
I particularly like this recipe because you'll get that rustic, artisan-style taste that's familiar to a sourdough loaf but without the need to feed (and take care of!) a sourdough starter.
Jump to:
- What is Rustic Italian Bread?
- Why You'll Love This Recipe
- Ingredients You'll Need
- Substitutions
- Variations
- Equipment to make Rustic Italian Bread
- Step-by-Step Instructions
- Storing, Freezing, Making Ahead and Reheating
- How to Use this Bread
- Top tip
- FAQ
- Tips and Tricks
- More Fabulous Bites
- Rustic Italian Bread (No Knead!)
Why You'll Love This Recipe
- No intensive kneading required. Just a few stretch and folds and you're good to go! See note below but it's really very simple.
- Perfect for beginners. Even if you've never made bread, you're guaranteed to impress with this simple bread loaf.
- Gorgeous artisan texture and crust. Bring the bakery into your home.
Note: Stretch and folds are a gentle kneading technique used in many no-knead recipes. Unlike traditional kneading, which is vigorous and hands-on, stretch and folds build gluten gradually over time with minimal effort.
Ingredients You'll Need

- Bread flour. For a strong, chewy structure.
- All-purpose flour. Balances the crumb.
- Whole wheat flour. Adds depth and nutty flavor.
- Instant yeast. For a fast and reliable rise.
Scroll to the recipe card below to find the remaining ingredients and quantities!
Substitutions
- No whole wheat flour? Use all bread flour if you don’t have whole wheat. Or, substitute the whole wheat flour for rye flour.
Variations
- Get herby with it. Add herbs (rosemary, thyme, etc) to the dough for flavor.
- Mix-ins. Add olives or roasted garlic into the dough after the first fold
- Final touches. Sprinkle your favorite seeds (sunflower, sesame, poppy) before baking or top with flaky salt, seasoned salt or bagel seasoning for a savory finish.
Equipment to make Rustic Italian Bread
- Mixing bowl. Make sure to make room in the fridge for the overnight rise!
- Dough whisk or spatula. A dough whisk helps mix together the dough but you can also use a spatula.
- Banneton or towel-lined bowl. I use a round banneton but feel free to use an oval one.
- Silicone sling or parchment paper. This will make it easy for you to place the dough into the Dutch oven, as well as remove it once done baking.
- Dutch oven (5 - 6 qt). I use a round Dutch oven since I'm using a round banneton but use an oval Dutch oven if using an oval banneton or bowl.
- Bread lame or sharp knife. The sharper the better as you'll be able to achieve a clean score line.
Step-by-Step Instructions

Step 1: In a large bowl, combine all flours, yeast, salt and water. Stir with a spatula, dough whisk or stand mixer (with dough hook attachment) just until no dry bits remain. Cover the bowl with a towel or lid and let it rest at room temperature for an hour.

Step 2: After the dough rests for an hour, perform your first set of stretch and folds:
- Wet your hand to prevent sticking.
- Grab one side of the dough, gently stretch it upward, and fold it over itself.
- Rotate the bowl 90° and repeat 3 more times for a total of 4 folds.
- Cover and repeat this process every 60-75 minutes, 4 to 5 times total (sample timing: start around 5 PM and finish just before you get ready for bed).

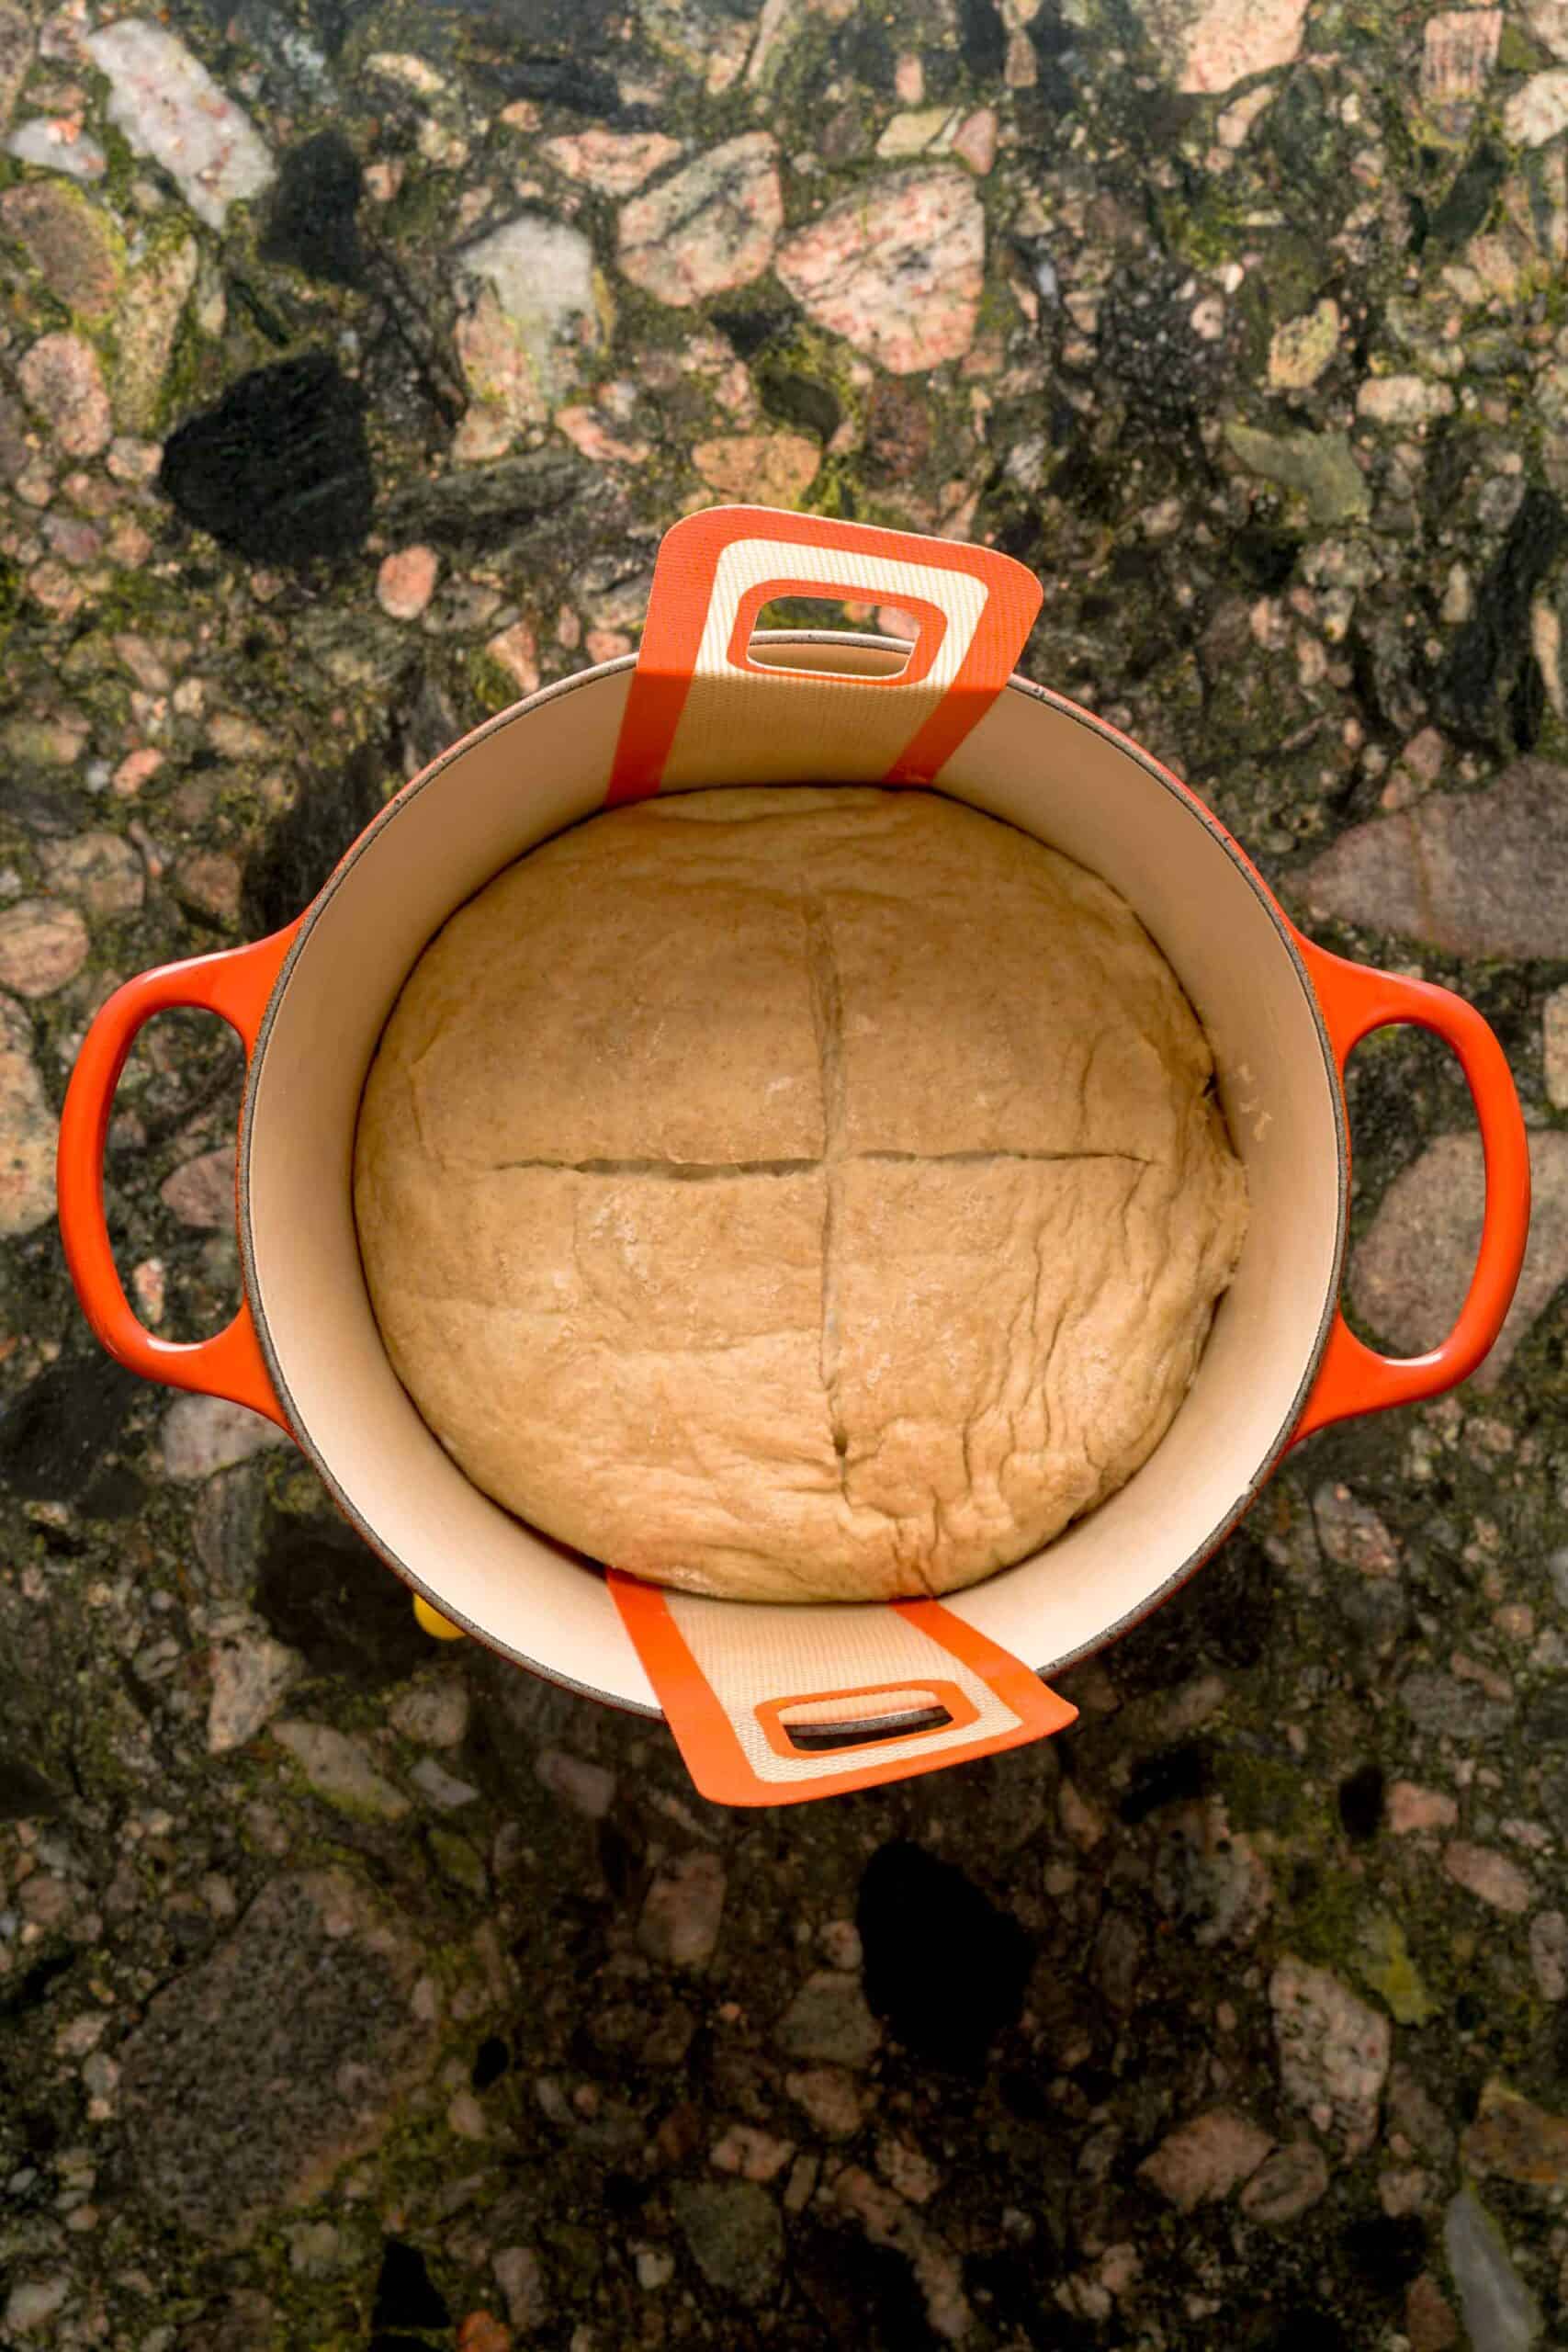
Step 3: Lightly flour a banneton or medium bowl lined with a clean towel. Shape the dough into a ball by gently folding the edges under to create surface tension. Place it seam-side up into the floured banneton. Optional: Lightly dust the seam side with flour so it doesn't stick once covered.
Cover with a tea towel and refrigerate for 10-12 hours.

Step 4: Take the dough out of the fridge and let it rest at room temperature for 1.5-2 hours.

Step 5: With about 1 hour of proofing left, place your Dutch oven (with lid on) into a cold oven. Preheat to 475°F (246°C) for 30-40 minutes.

Step 6: Flip the dough out onto a sheet of parchment or silicone sling.
Optional: Brush lightly with water and sprinkle with seeds (sesame, poppy, etc.).
Score the top with a sharp knife or bread lame - I recommend a cross-shape for circular loaves or one long vertical slash for oval loaves.
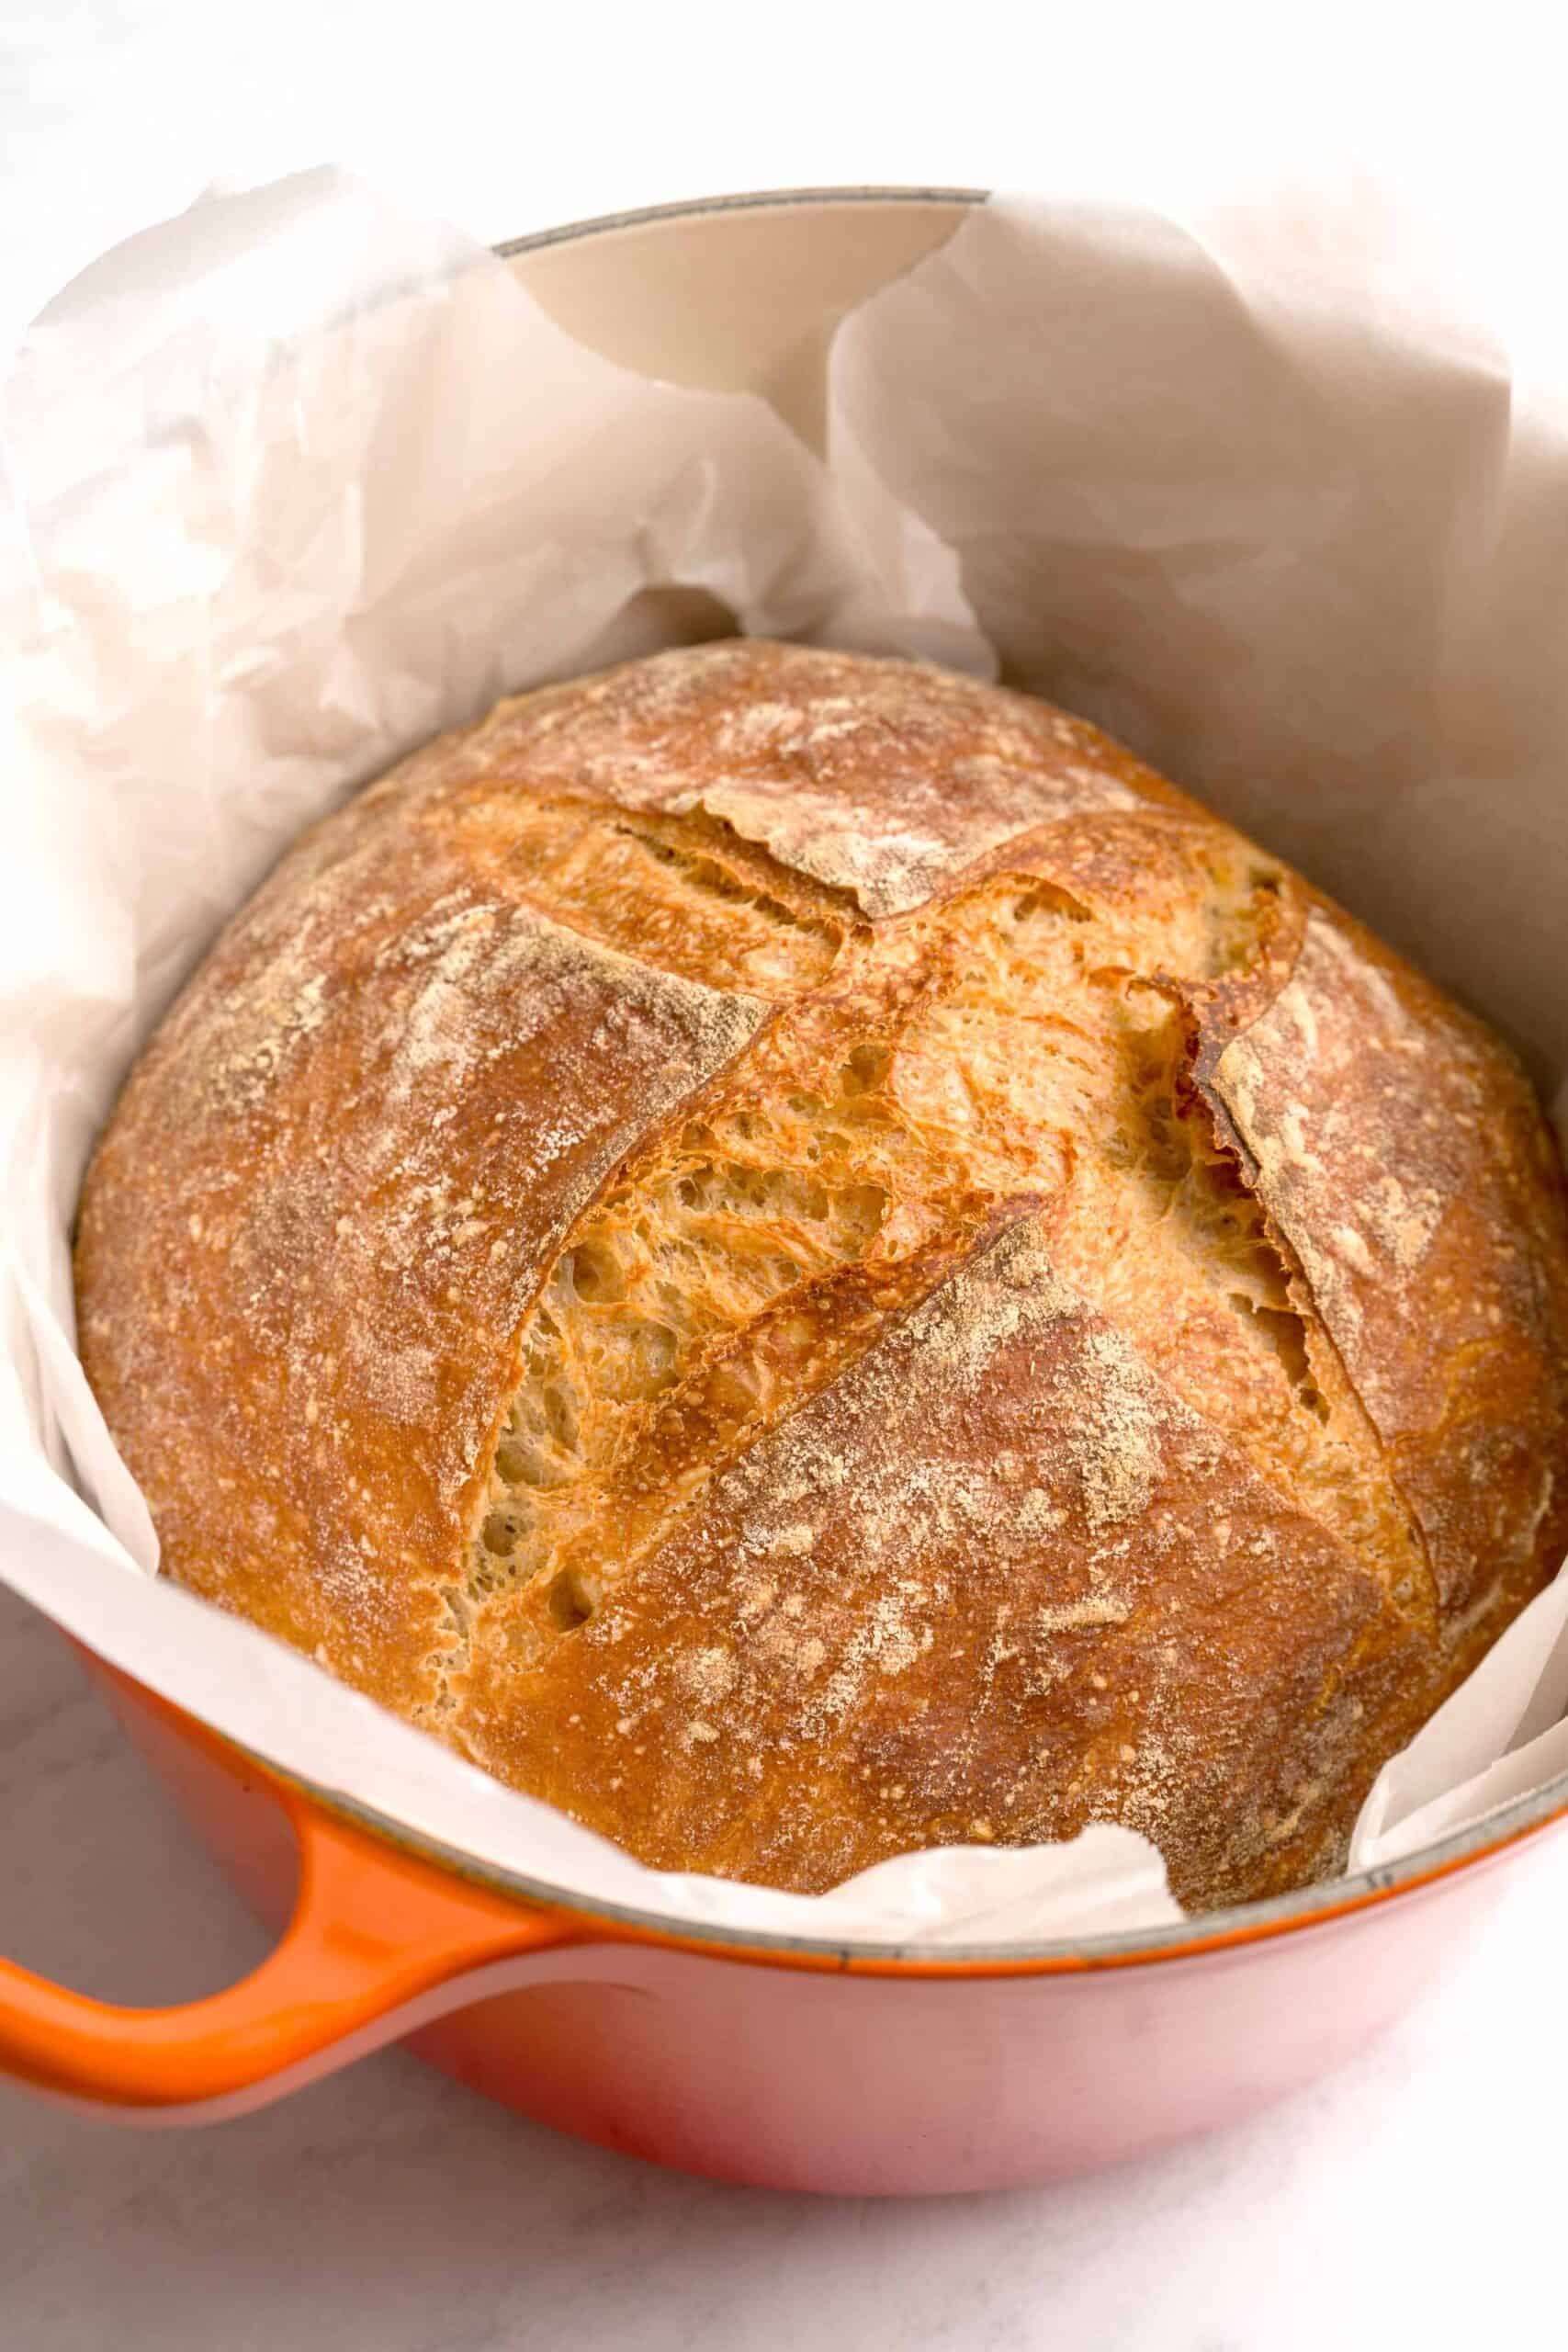
Step 7: Carefully place the dough (on parchment or silicone) into the preheated Dutch oven. Cover with the lid and bake at 450°F (232°C) for 25 minutes.
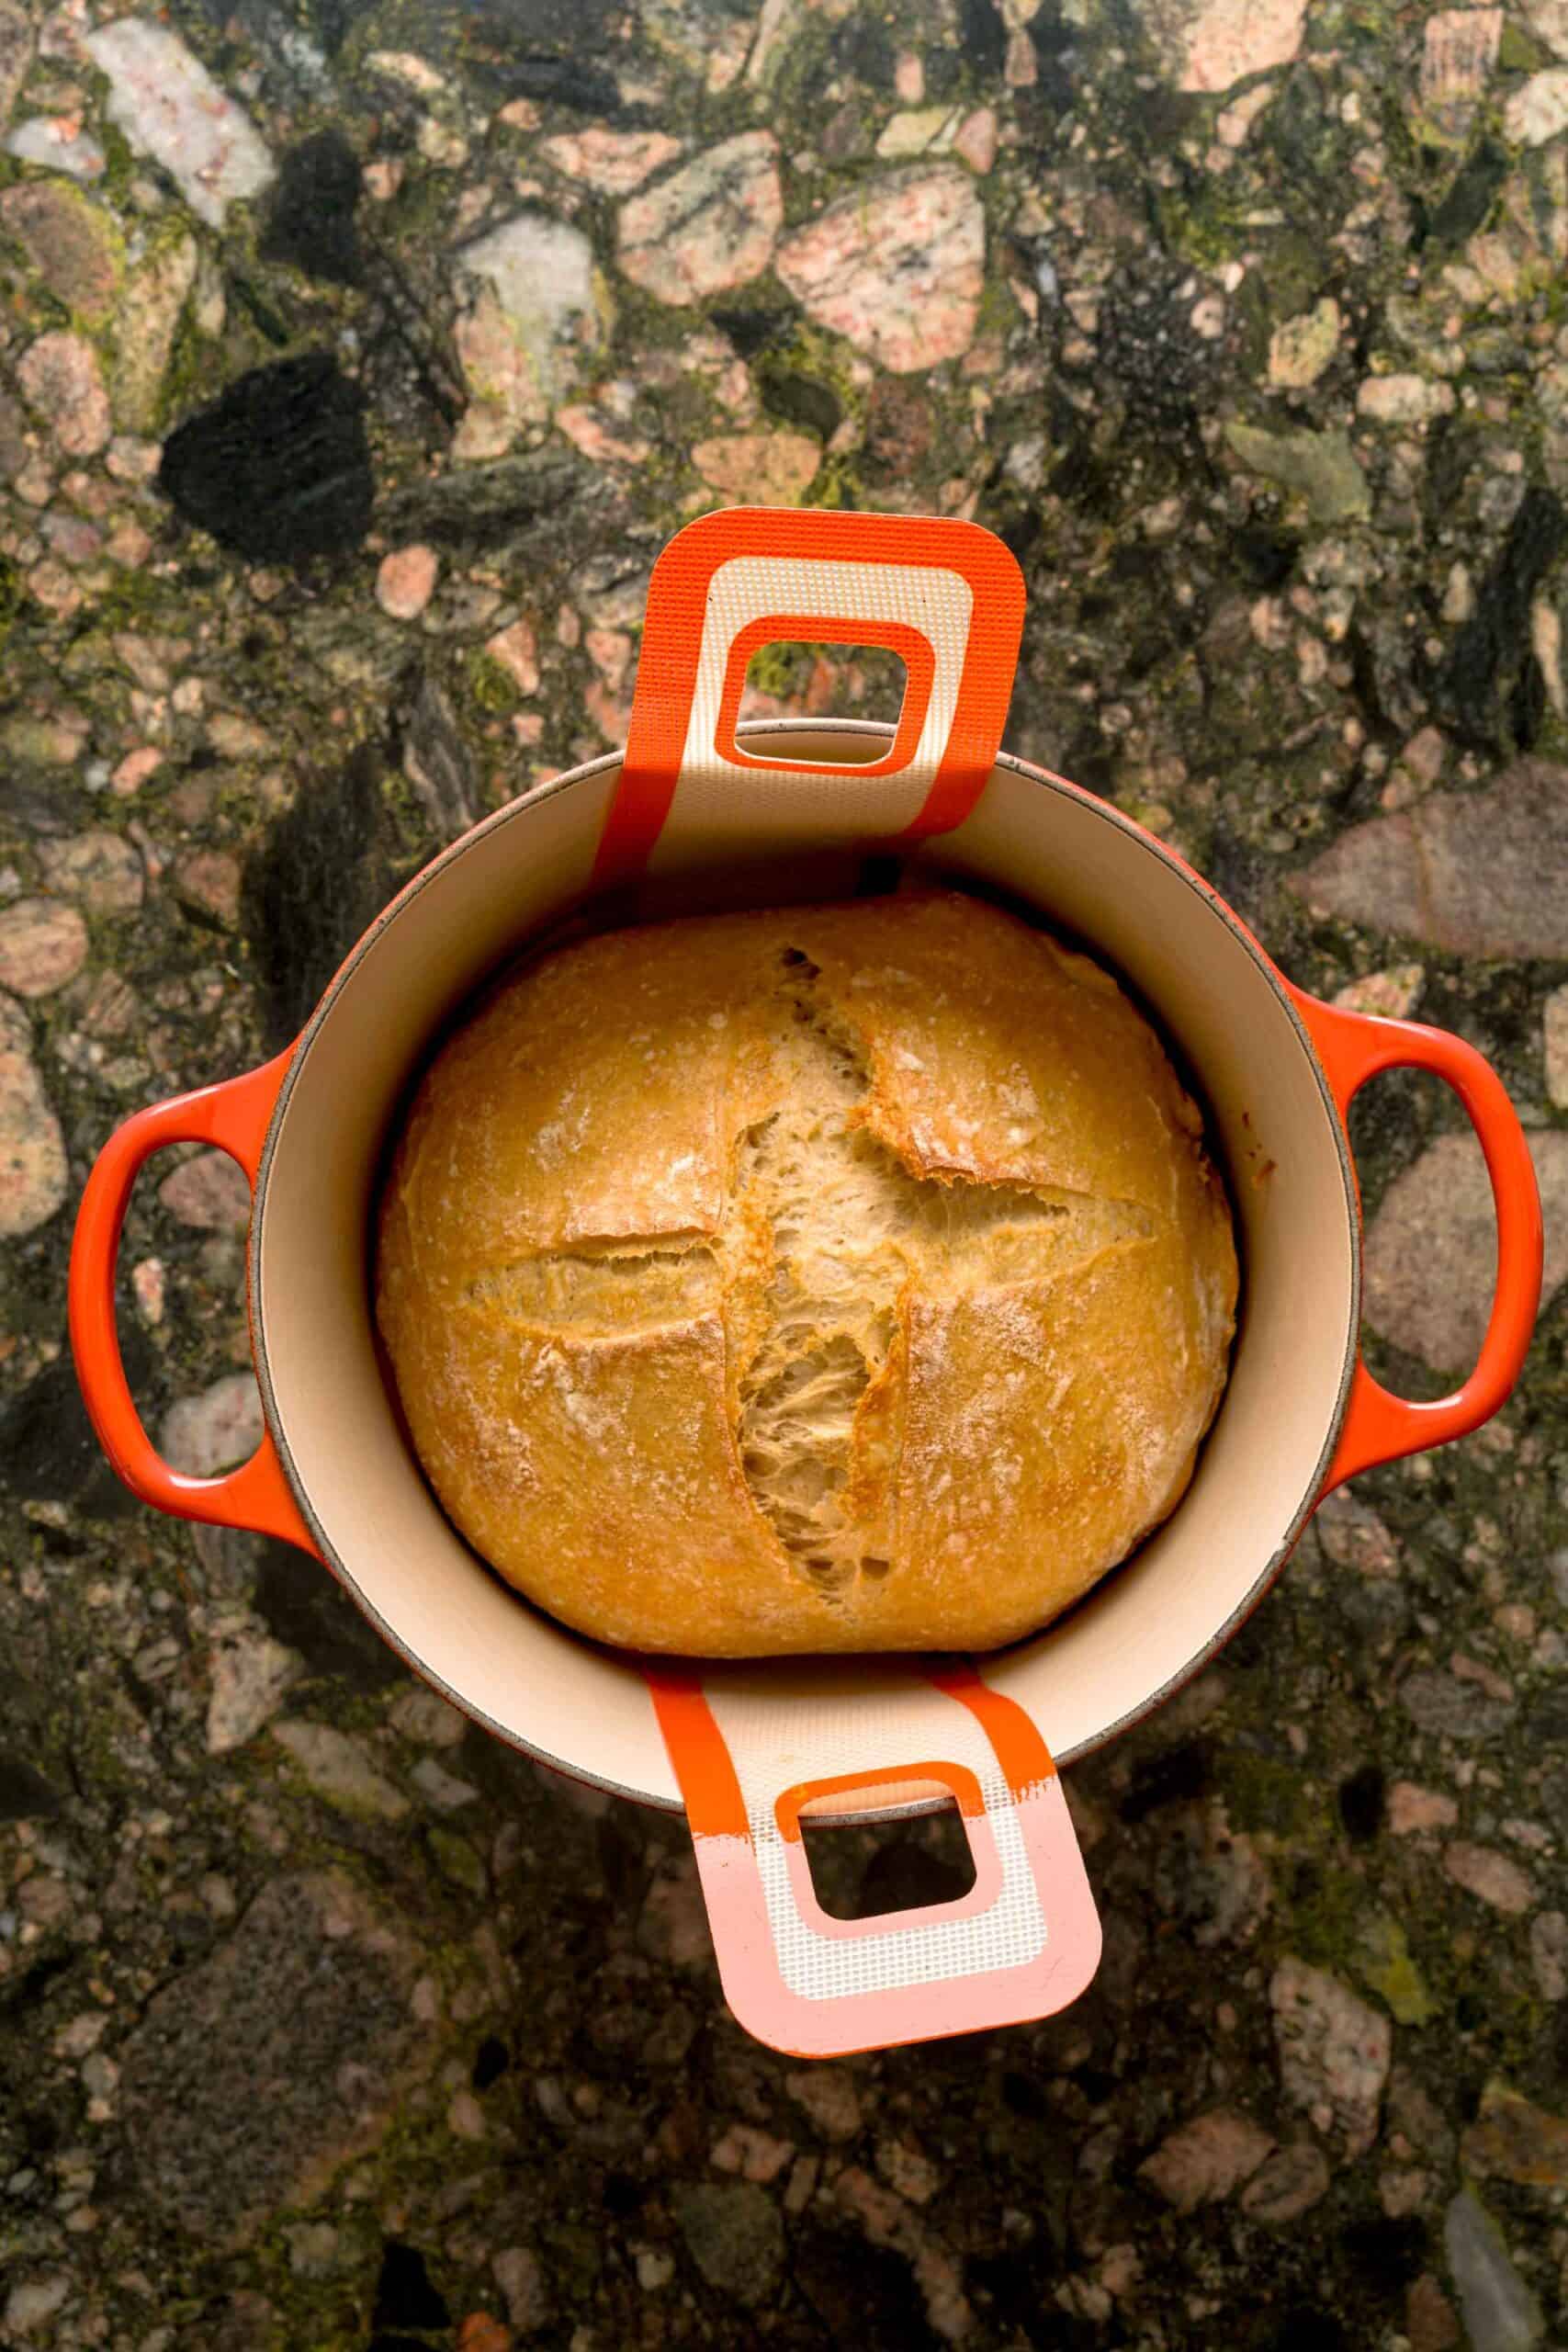
Step 8: Remove the lid and bake for another 10-20 minutes until golden brown and crispy to your liking.

Step 9: Remove the bread and let it cool on a wire rack for at least 1 hour (ideally until completely cool!) before slicing to avoid a gummy interior.
Storing, Freezing, Making Ahead and Reheating
Storing
Store the loaf right in the Dutch oven at room temperature for about 2-3 days.
Freezing
Freeze the bread slices in a freezer-safe bag. Make sure the slices don't touch - I like to make a few layers of bread slices, separating them with parchment paper to make sure they don't stick to each other.
Reheating
Once you're ready to eat, toast or air fry slices at 350°F straight from the freezer (or Dutch oven) until they're toasted to your liking.
How to Use this Bread
- As part of a cheeseboard or appetizer. Serve alongside a whipped ricotta dip or a fresh heirloom tomato bruschetta.
- Alongside saucy pastas. Dunk bread slices in this fresh tomato sauce or scrape the bowl once you've finished enjoying a delicious bolognese.
- Perfect for a breakfast treat or as a sandwich base. Use slices on ricotta toast or scoop homemade ricotta over a slice for the beginning of a delicious sandwich.

Top tip
Don’t skip the stretch-and-folds! They build gluten gently and create a light, chewy texture - without intensive kneading.
FAQ
Yes, though it will be slightly softer and the taste will differ. Add an extra tablespoon of flour if the dough feels very wet.
You can substitute whole wheat flour for rye flour or just use all bread flour.
Tips and Tricks
- Wet your hands. Right before every stretch and fold, make sure your hands are wet as this prevents the dough from sticking to you and helps you with the folds.
- Don't skip pre-heating the Dutch oven. This will help create the optimal condition for your loaf to rise in the oven.
Did you try out this recipe? I'd love to know how it went! Leave me a comment and rating below or tag me on Instagram at @AFabulousBite!
Disclosure: This post may contain affiliate links, which means I may earn a commission if you click on the link and make a purchase.
More Fabulous Bites
Hungry for more? Try these recipes next:


Rustic Italian Bread (No Knead!)
Equipment
- Dough whisk or spatula
- Banneton (oval or round, depending on your Dutch oven) or towel-lined bowl
- Silicone sling (oval or round, depending on your Dutch oven) or parchment paper
- Bread lame or very sharp knife
Ingredients
- 250 grams bread flour
- 100 grams all-purpose flour
- 80 grams whole wheat flour
- 4 grams instant yeast
- 8 grams kosher salt
- 345 grams water room temperature
Instructions
- Mix the dough. In a large bowl, combine all flours, yeast, salt and water. Stir with a dough whisk, spatula or stand mixer (with dough hook attachment) just until no dry bits remain. Cover the bowl with a towel or lid and let it rest at room temperature for an hour.
- Stretch and fold. After the dough rests for an hour, perform your first set of stretch and folds: - Wet your hand to prevent sticking.- Grab one side of the dough, gently stretch it upward, and fold it over itself.Rotate the bowl 90° and repeat 3 more times for a total of 4 folds.- Cover and repeat this process every 60-75 minutes, 4 to 5 times total (sample timing: start around 5 PM and finish just before you get ready for bed).
- Shape and cold ferment overnight. Lightly flour a banneton or medium bowl lined with a clean towel. Shape the dough into a ball by gently folding the edges under to create surface tension. Place it seam-side up into the floured banneton. Optional: Lightly dust the seam side with flour so it doesn't stick once covered. Cover with a tea towel and refrigerate for 10-12 hours.
- Proof at room temperature. Take the dough out of the fridge and let it rest at room temperature for 1.5-2 hours.
- Preheat the oven with Dutch oven inside. With about 1 hour of proofing left, place your Dutch oven (with lid on) into a cold oven. Preheat to 475°F (246°C) for 30-40 minutes.
- Flip, brush and score. Flip the dough out onto a sheet of parchment or silicone sling. Optional: Brush lightly with water and sprinkle with seeds (sesame, poppy, etc.). Score the top with a sharp knife or bread lame - I recommend a cross-shape for circular loaves or one long vertical slash for oval loaves.
- Covered bake. Carefully place the dough (on parchment or silicone) into the preheated Dutch oven. Cover with the lid and bake at 450°F (232°C) for 25 minutes.
- Uncovered bake. Remove the lid and bake for another 10-20 minutes until golden brown and crispy to your liking.
- Cool completely. Remove the bread and let it cool on a wire rack for at least 1 hour (ideally until completely cool!) before slicing to avoid a gummy interior.
Notes
Tips and Tricks
- Don’t skip the stretch-and-folds! They build gluten gently and create a light, chewy texture - without intensive kneading.
- Wet your hands. Right before every stretch and fold, make sure your hands are wet as this prevents the dough from sticking to you and helps you with the folds.
- Don't skip pre-heating the Dutch oven. This will help create the optimal condition for your loaf to rise in the oven.
Storing, Freezing and Reheating
- Storing. Store the loaf right in the Dutch oven at room temperature for about 2-3 days.
- Freezing. Freeze the bread slices in a freezer-safe bag. Make sure the slices don't touch - I like to make a few layers of bread slices, separating them with parchment paper to make sure they don't stick to each other.
- Reheating. Once you're ready to eat, toast or air fry slices at 350°F straight from the freezer (or Dutch oven) until they're toasted to your liking.


Leave a Reply