
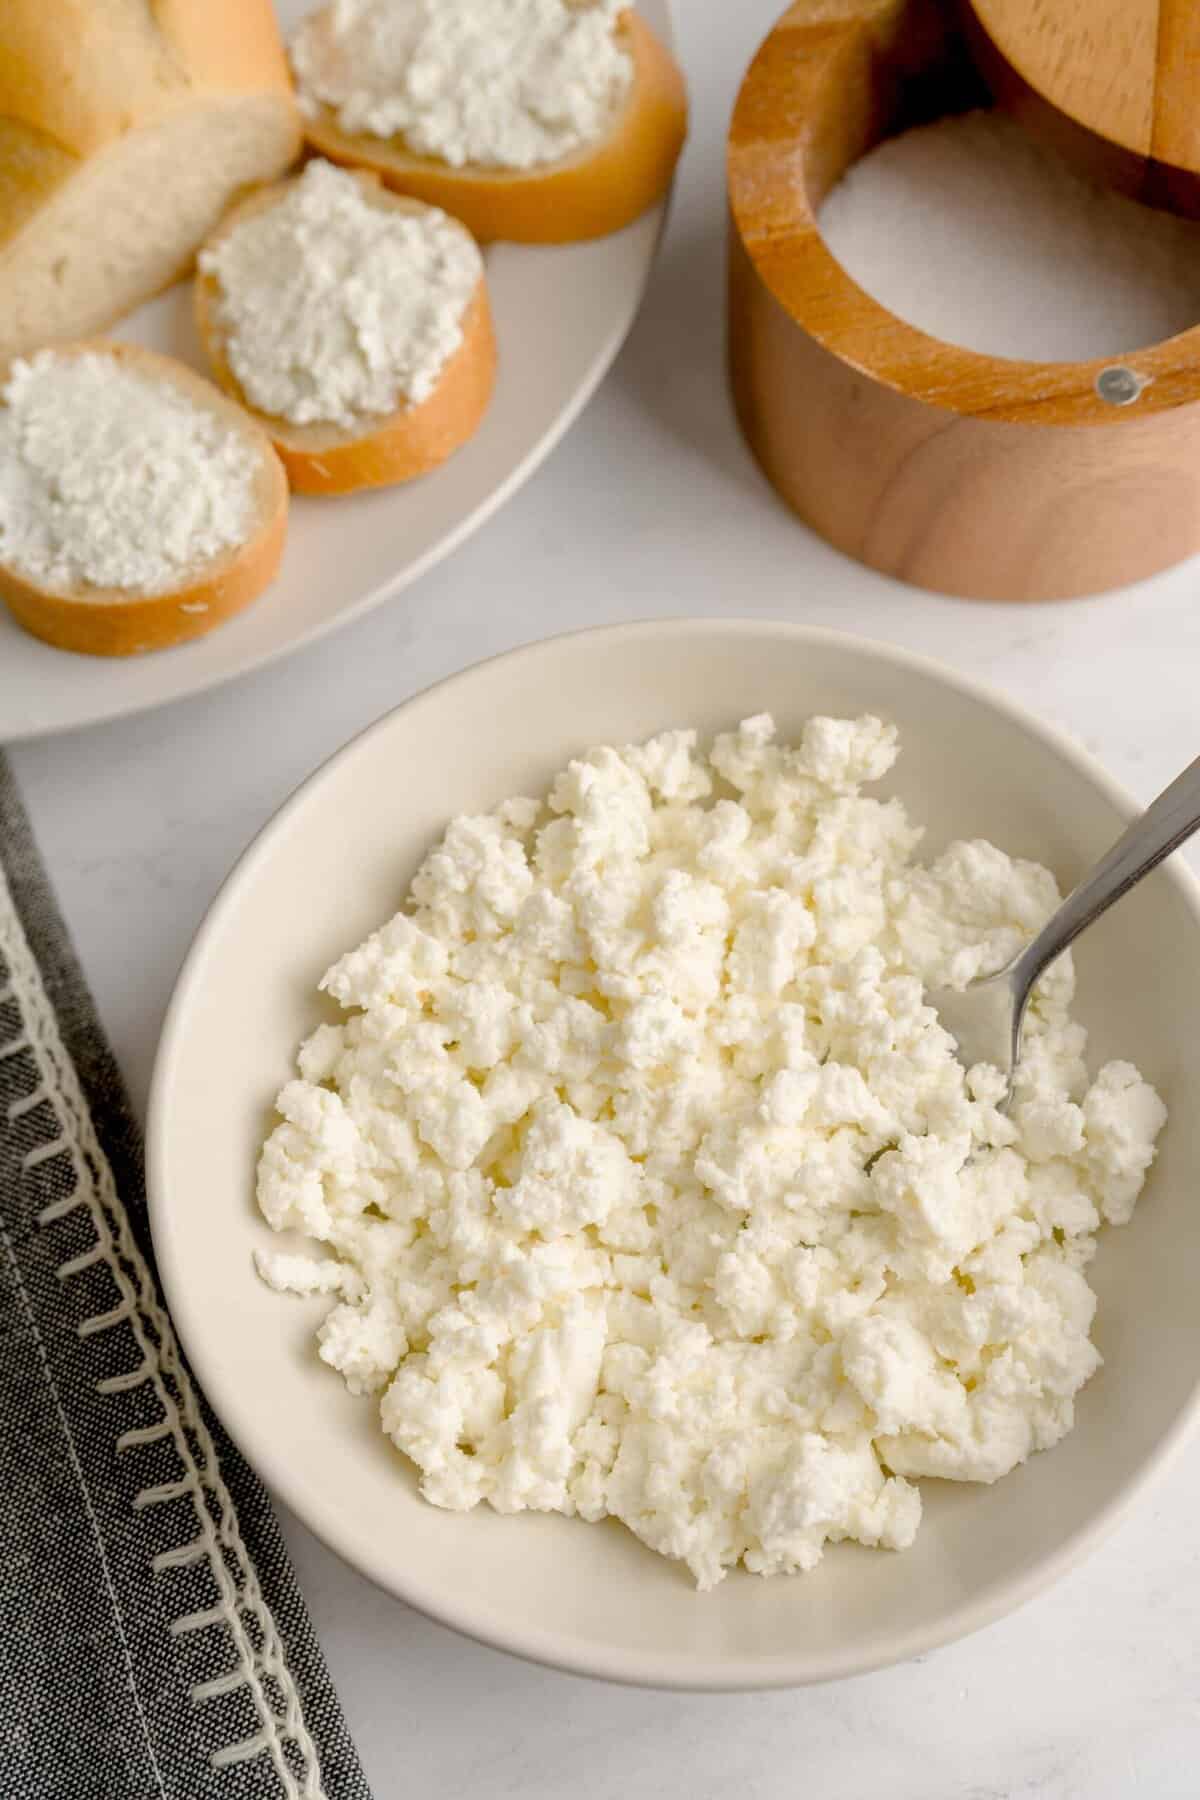
Creamy, fresh and surprisingly easy, this homemade ricotta cheese is a game-changer in the kitchen. Whether you're spreading it on toast, folding it into pasta or using it in desserts, this DIY version adds a light, fluffy texture and rich dairy flavor that store-bought just can’t match.
Jump to:
Why You'll Love This Recipe
- Minimal Ingredients. Just three pantry staples and you're on your way.
- Versatile. Perfect for dips, pasta, baked goods, and more.
- Customizable texture. Drain less for creamy ricotta, more for a firmer texture.
Ingredients You'll Need

- Whole milk. Best for texture.
- White vinegar. This will help curdle the milk to create the ricotta.
- Salt or sugar. Depending if you're using the ricotta for salty or sweet recipes.
Scroll to the recipe card below to find the quantities for each ingredient!
Step-by-Step Instructions
- Heat the milk. Add the milk and salt into a saucepan. Heat over medium until it begins to simmer. You want to see little bubbles forming around the edges - just don’t let it boil!
- Add the acid. Once simmering, slowly add in the vinegar. You’ll begin to see the milk curdle as curds separate from the whey (AKA the watery byproduct from the milk).
- Form the ricotta. As a skin forms on the surface, gently push it toward the center of the pot without stirring. Continue pushing the whey while the mixture sits at a low simmer for 3-4 minutes until curds have fully formed.
- Strain the curds. Line a fine-mesh strainer with cheesecloth and place it over a bowl. Gently spoon the curds into the strainer, allowing the whey to drain.
- Choose your texture. For creamy ricotta, drain for 5-10 minutes. For firmer ricotta, drain for up to 30 minutes.
- Enjoy or store. Enjoy right away or transfer to an airtight container and refrigerate. Use within 3-5 days for the best flavor and texture.


Substitutions
- No vinegar? You can use fresh lemon juice instead of white vinegar as the acid in this recipe.
Variations
- Sweet. Add a touch of sugar and vanilla for spreading on toast or filling pastries.
- Savory. Stir in chopped herbs, black pepper, or garlic for a flavorful twist.

Storing and Freezing
- Storing. Keep ricotta in the fridge in an airtight container and use within 3-5 days of making it.
- Freezing. It's best to not freeze ricotta as the texture will not be the same once thawed.
How to Use this Ricotta
- For breakfast. Use it in pancake batter or dollop it on top with a drizzle of maple syrup.
- On appetizers and snacks. Use this ricotta in creamy dips such as this sun-dried tomato crowd-pleaser.
- In sweet treats. Whip together with powdered sugar for an easy frosting or when making these delicious mini tiramisu cookies.
- As a topping. For rich texture, top off pastas with a spoonful of this ricotta followed by a drizzle of extra virgin olive oil.
Top tip
Don’t stir the milk once the acid is added - this helps large, fluffy curds form and gives your ricotta the best texture.

FAQ
You can, but the result will be less rich and creamy. Whole milk is the best for flavor and texture.
Tips and Tricks
- Use a thermometer. If you’re unsure if your milk is warm enough, milk should be around 190°F when you add the acid.
- Don’t skip the salt (or sugar for sweet versions). It enhances the flavor.
- Let it cool. You’ll want the ricotta to come to room temperature (at least!) before using it in cold dishes like dips or desserts.

Did you try out this recipe? I'd love to know how it went! Leave me a comment and rating below or tag me on Instagram at @AFabulousBite!
Disclosure: This post may contain affiliate links, which means I may earn a commission if you click on the link and make a purchase.
More Fabulous Bites
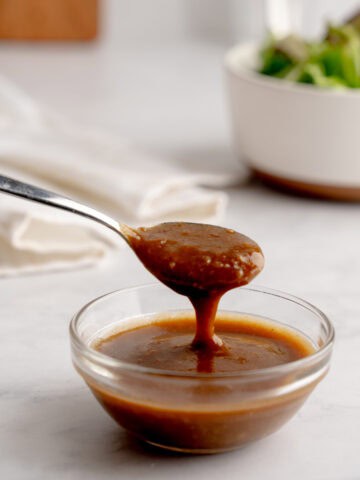
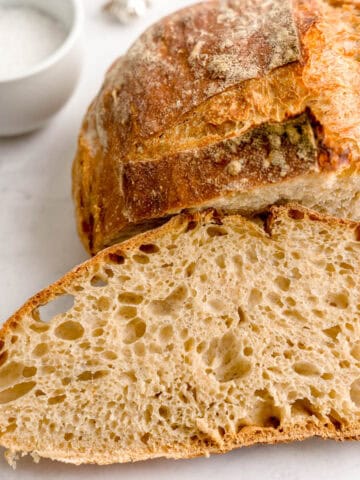
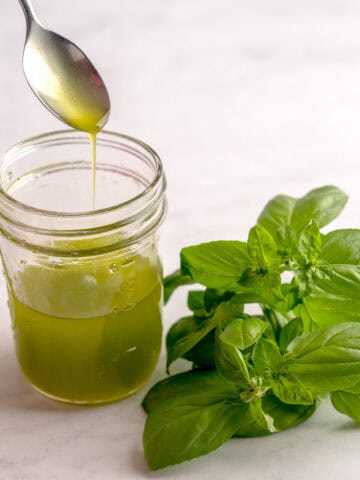
Hungry for more? Try these recipes next:


Homemade Ricotta Cheese
Ingredients
- 4 cups whole milk
- ⅓ cup white vinegar
- 1 teaspoon kosher salt or granulated sugar (if using this ricotta in a sweet recipe)
Instructions
- Heat the milk. Add milk and salt into a saucepan and heat over medium until it begins to simmer - don't let it boil!
- Add the acid. Once simmering, slowly add in the vinegar. You’ll begin to see the milk curdle as curds separate from the watery liquid, also known as whey.
- Form the ricotta. As a skin forms on the surface, gently push it toward the center of the pot without stirring. Continue pushing the whey while the mixture sits at a low simmer for 3-4 minutes until curds have fully formed.
- Strain the curds. Line a fine-mesh strainer with cheesecloth and place it over a bowl. Gently spoon the curds into the strainer, allowing the whey to drain.
- Choose your texture. For creamy ricotta, drain for 5-10 minutes. For firmer ricotta, drain for up to 30 minutes.
- Enjoy or store. Enjoy right away or transfer to an airtight container and refrigerate. Use within 3-5 days for the best flavor and texture.
Notes
- Storing. Keep ricotta in the fridge in an airtight container and use within 3-5 days of making it.
- Freezing. It's best to not freeze ricotta as the texture will not be the same once thawed.
- Use a thermometer. If you’re unsure if your milk is warm enough, milk should be around 190°F when you add the acid.
- Don’t skip the salt (or sugar for sweet versions). It enhances the flavor.
- Let it cool. You’ll want the ricotta to come to room temperature (at least!) before using it in cold dishes like dips or desserts.

Leave a Reply