
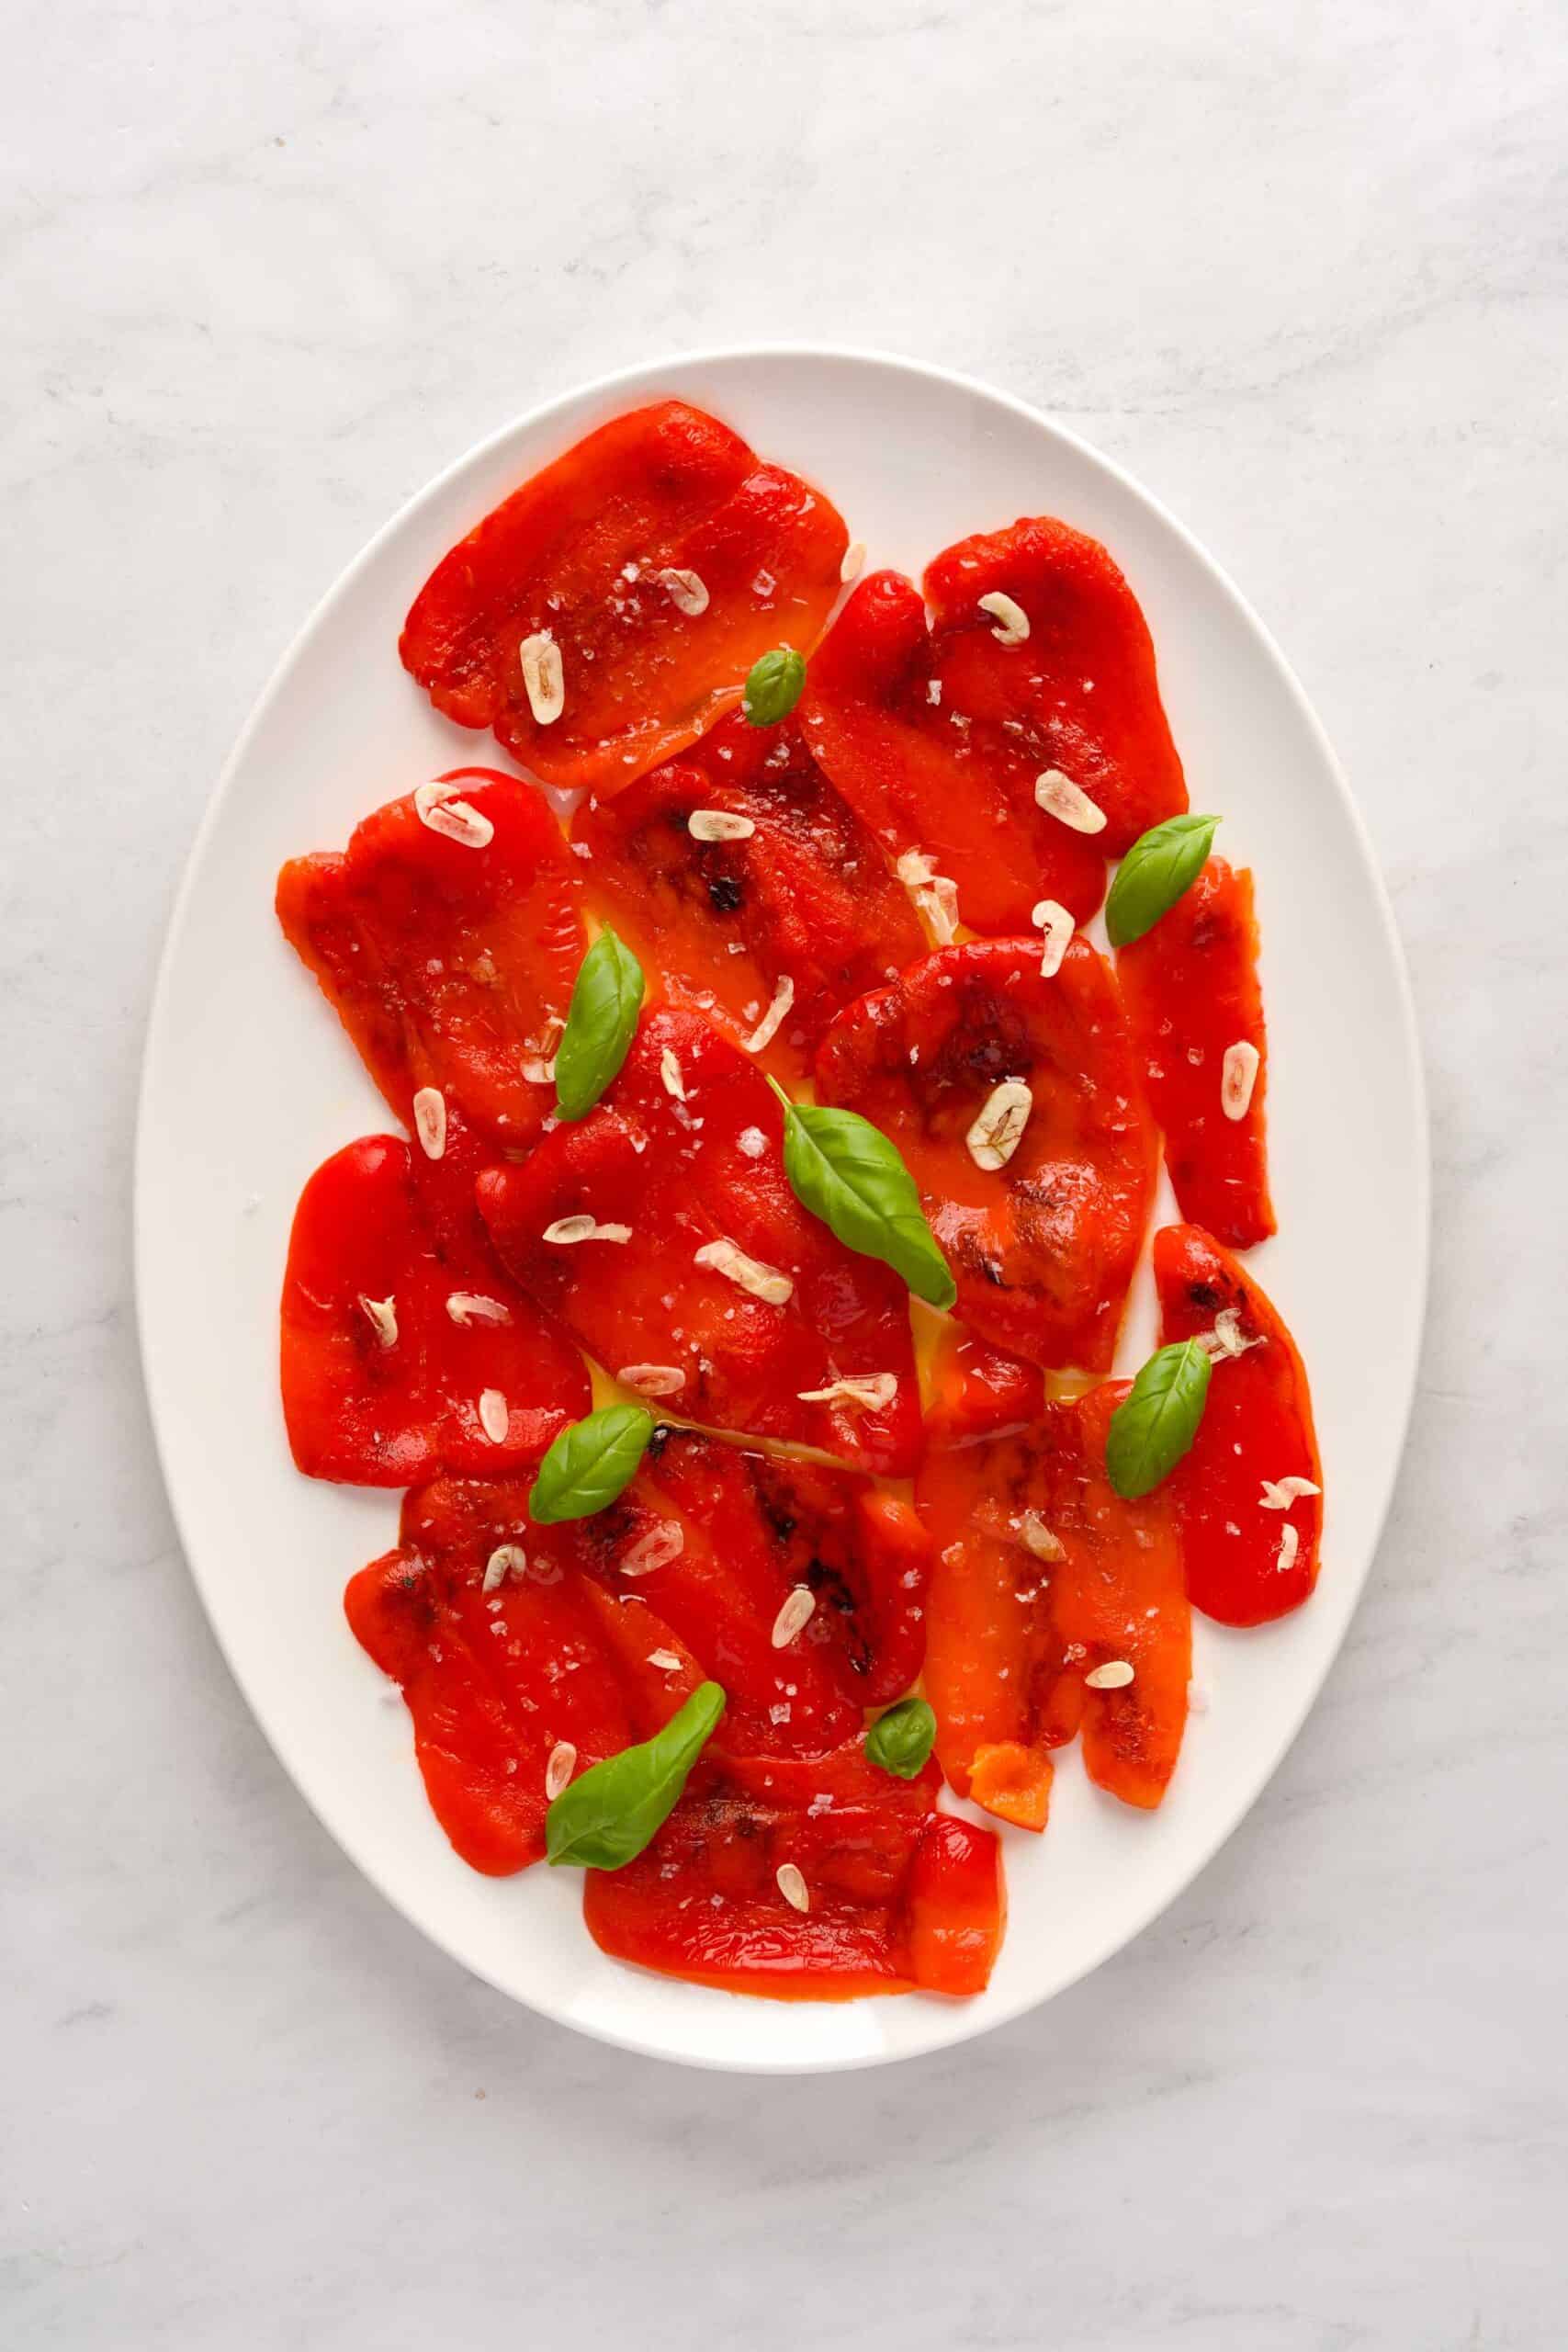
Sweet, silky, deeply charred roasted red peppers - ready in less time than it takes to boil your pasta water. After twenty years of watching these vanish off my family's antipasto table before anything else got touched, I stopped babying them at 450 degrees for forty minutes and started blasting them under the broiler instead. Eight minutes - that's the secret!
The skins blister, the flesh goes velvety, and the smell that fills your kitchen is quintessentially southern Italy. Then you slip them out of their jackets, bathe them in good olive oil with paper-thin garlic and a pinch of kosher salt, and you have the most useful ingredient in your refrigerator.
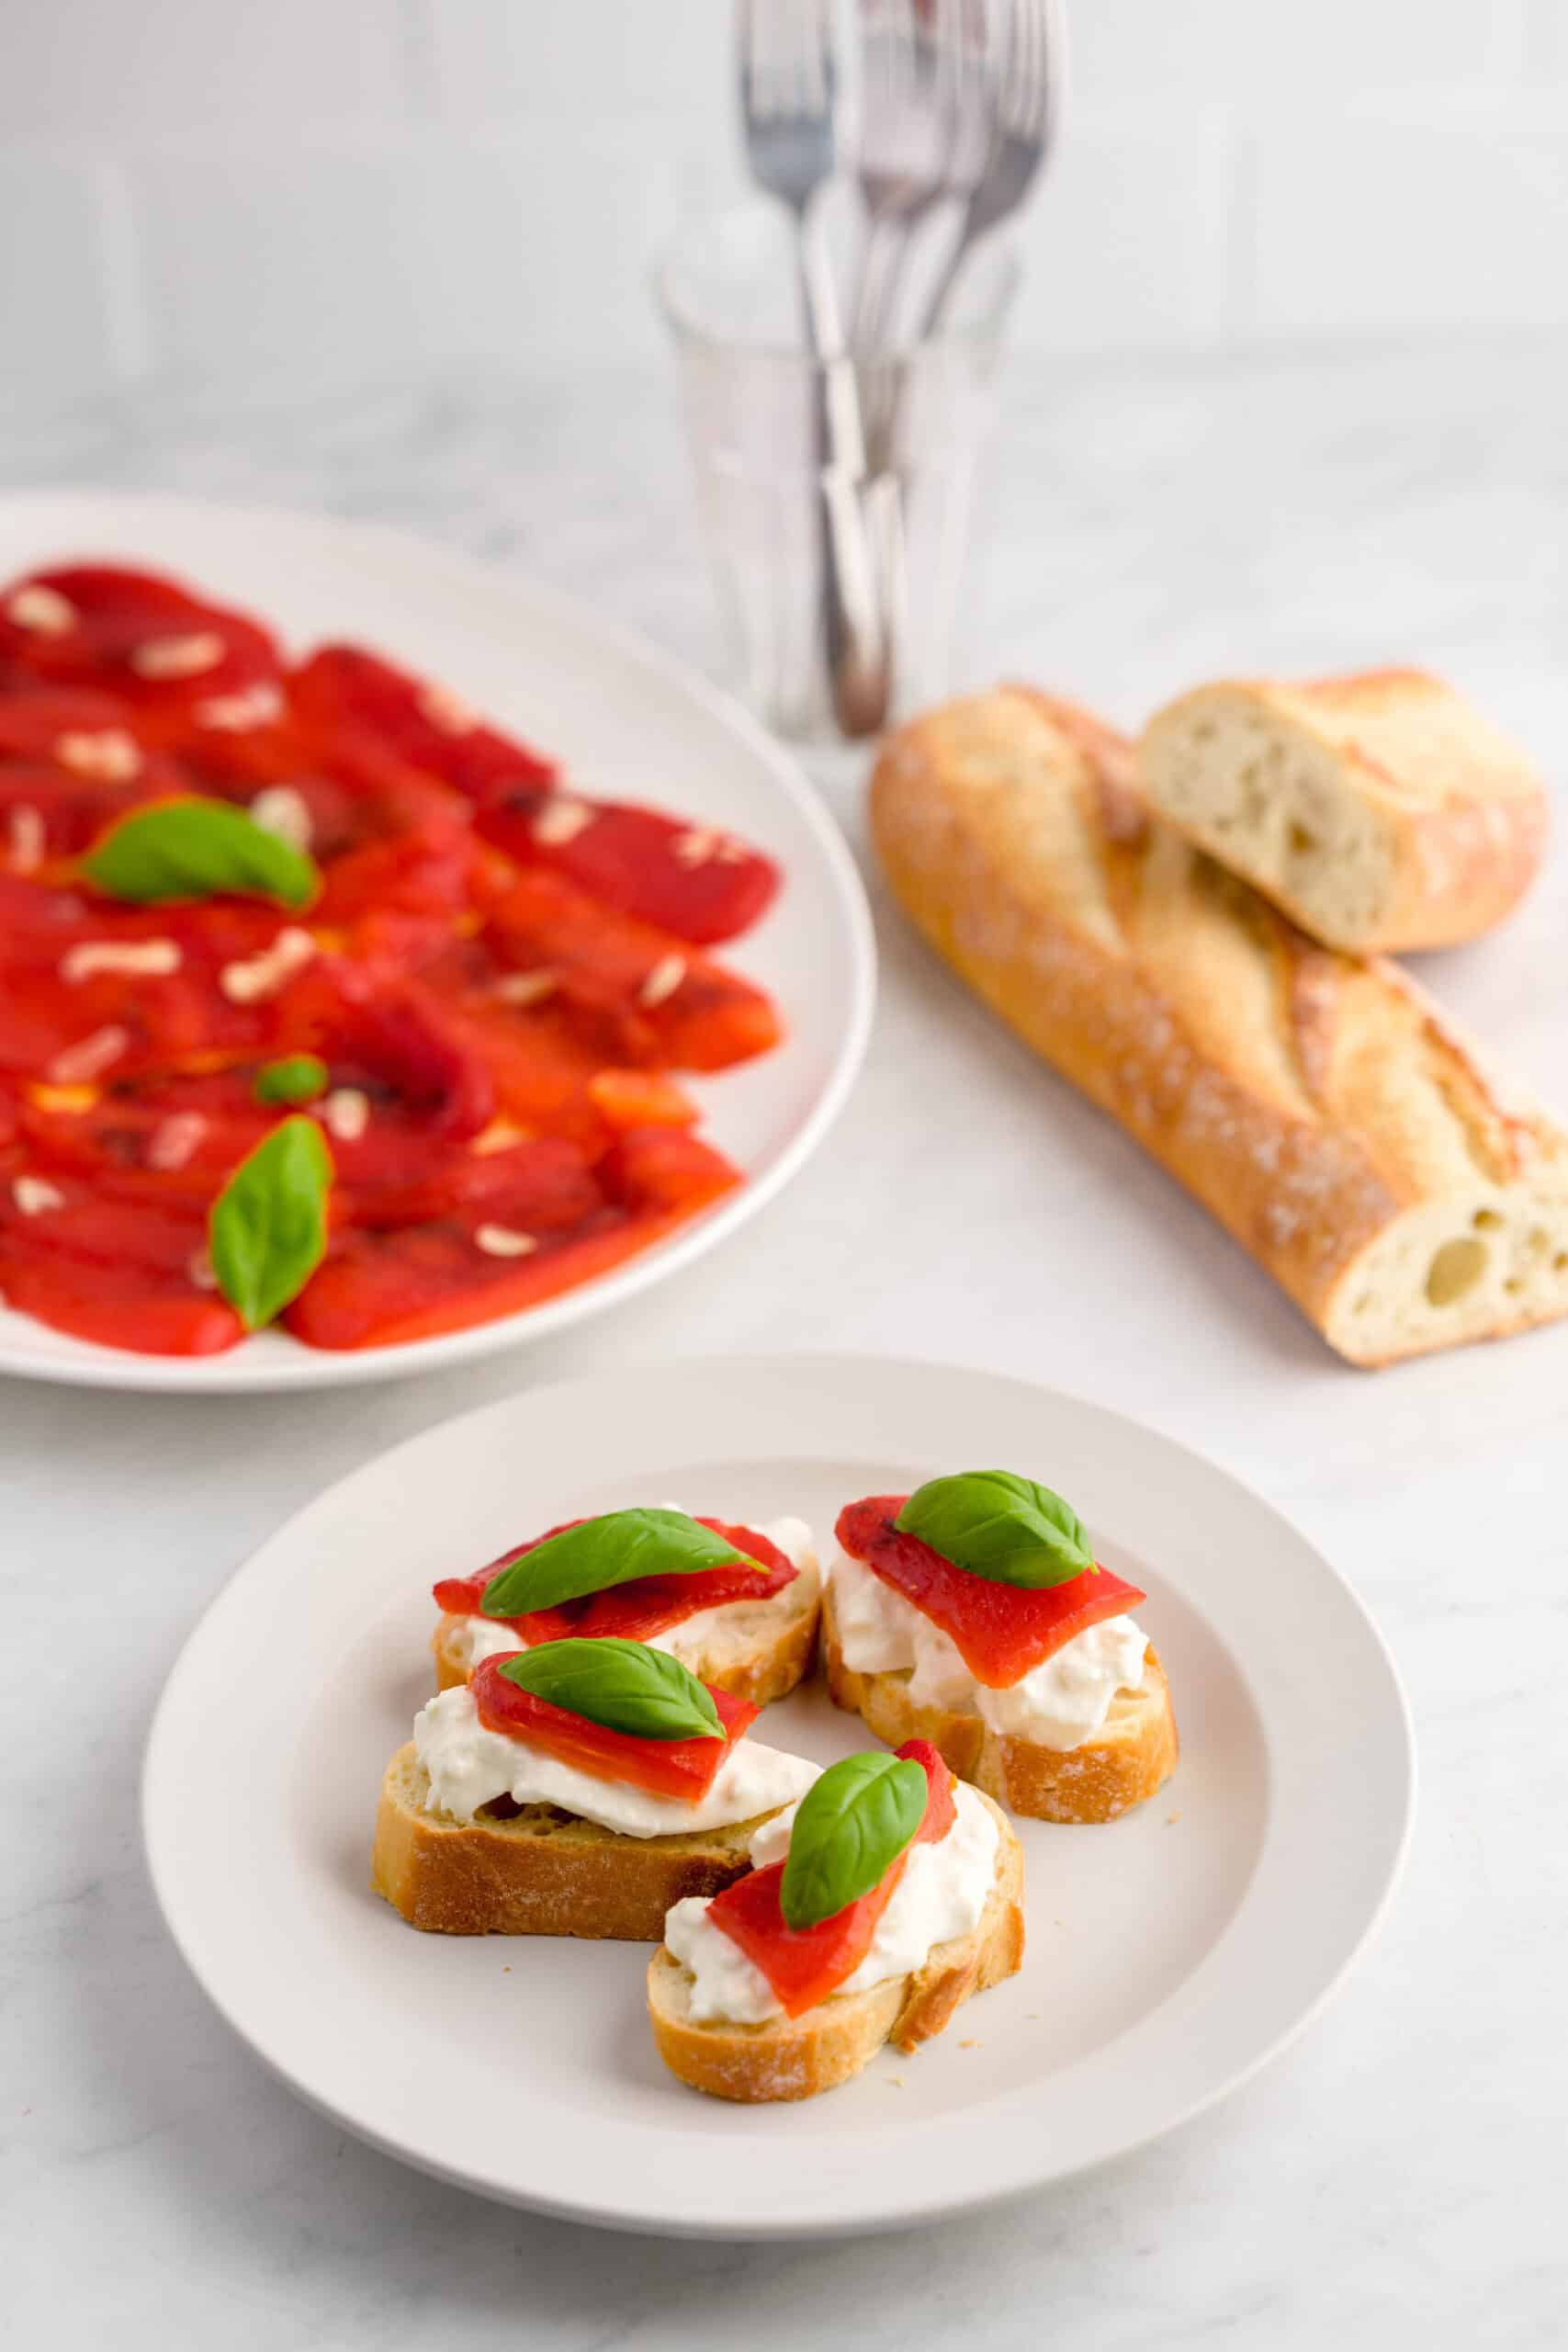
What are Roasted red peppers?
Roasted red peppers are simply sweet red bell peppers cooked at high heat until their skins blacken and blister, then steamed and peeled to reveal the soft, sweet flesh underneath. In Italy, they're called peperoni arrostiti, and they show up on nearly every antipasto table from Naples down to the tip of Calabria, usually swimming in olive oil with garlic and a little salt.
Most recipes tell you to roast them low and slow in a 450 degree oven for half an hour or more. But broiled red peppers get you there in a fraction of the time. The broiler is direct, ferocious heat coming from a few inches above, which is exactly what you want: char the skin fast, before the flesh has a chance to turn to mush. What you get is a pepper that is tender but still has body, with a smokiness that your oven’s bake setting simply cannot create.
The high heat also does something wonderful to the sugars. Red bell peppers are already the sweetest of the bunch, and charring concentrates that sweetness into something almost jammy. That is why these Italian roasted peppers in olive oil taste nothing like the jarred version.
Jump to:
- What are Roasted red peppers?
- Why You'll Love THese Roasted REd Peppers
- Ingredients You'll Need
- Substitutions
- Variations
- Equipment
- Step-by-Step Instructions
- Storing, Freezing, Making Ahead and Reheating
- What to Pair with these peppers
- Top tip
- FAQ
- Tips and Tricks
- More Fabulous Bites
- Roasted Red Peppers in Under 10 Minutes (Broiler Method)
Why You'll Love THese Roasted REd Peppers
- Fast. Under ten minutes of active heat. This is the fastest reliable method for roasted red peppers there is, and it does not require a grill or a gas flame.
- Better than jarred. No vinegar, no citric acid, no dull orange color. Just peppers, oil, garlic, salt, and actual smoke flavor.
- Endlessly useful. Antipasto, sandwiches, pasta, grain bowls, pizza, soups, dips. A jar of these in the fridge is a week of easy dinners.
- Make-ahead friendly. They get better on day two and day three as the garlic and oil work their way in.
Ingredients You'll Need
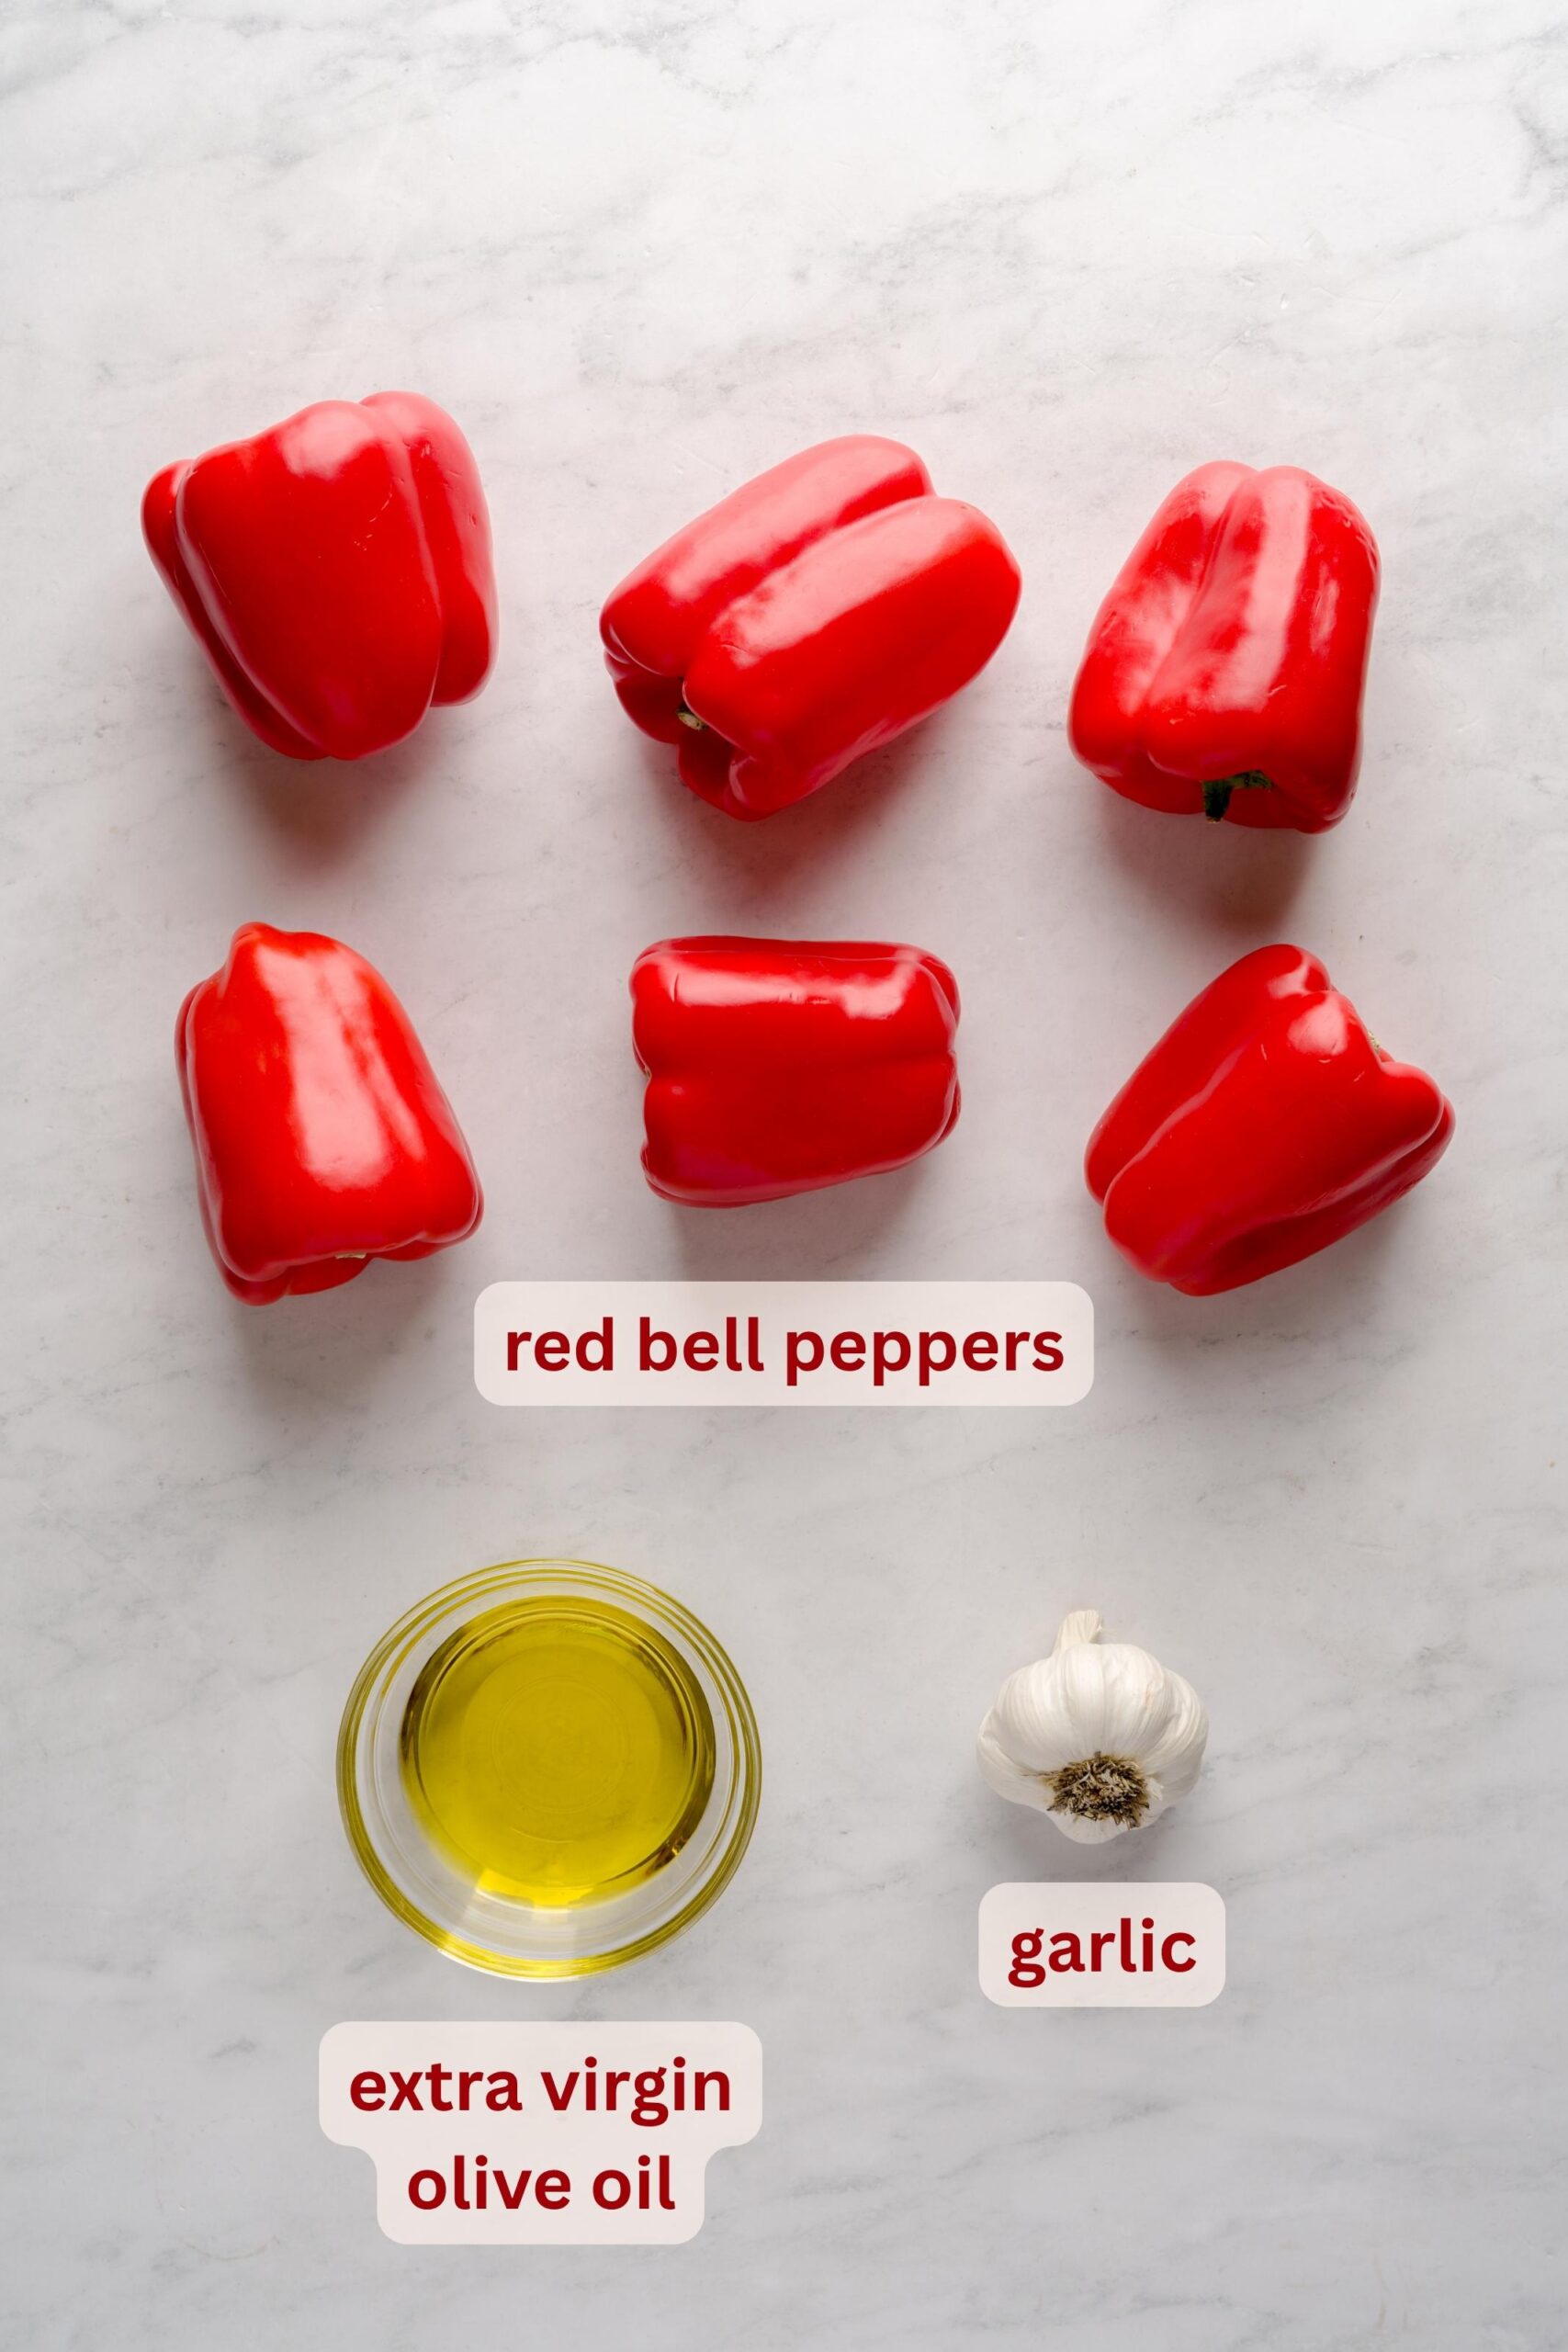
- Red bell peppers. Look for the heaviest, glossiest ones with thick walls. Thin-walled peppers collapse under the broiler and give you almost nothing to peel.
- Garlic. Sliced as thinly as you can manage. Thin slices go soft and mellow in the warm oil instead of staying harsh and raw.
- Extra virgin olive oil. Use the good stuff. There are four ingredients here, so the oil is not a background player - it's half the flavor. Plus, you can (and should!) use the red pepper-infused oil left behind for other dishes!
- Kosher salt. Not table salt, so you can feel how much you are adding and season by hand.
Scroll to the recipe card below to find the remaining ingredients and quantities!
Substitutions
- Other colored peppers. Yellow and orange bells work beautifully and broil in the same time. Green peppers turn bitter and murky - skip them here.
- Garlic confit or roasted garlic. If raw garlic bothers you, swap in a few smashed cloves of confit garlic for something rounder and sweeter.
- Avocado oil. If you want a completely neutral backdrop, avocado oil works, though you lose the peppery finish that makes this dish Italian.
- Flaky sea salt. Use it in place of kosher salt if you are serving these right away and want a little crunch on top.
Variations
- Anchovy and caper. Add two mashed anchovy fillets and a spoonful of rinsed capers to the oil. This is the Calabrian version and it's amazing on toast.
- Herb-forward. Toss in torn basil or a sprig of oregano while the peppers are still warm so the oil pulls the flavor out.
- Chili and vinegar. A pinch of crushed Calabrian chili and a teaspoon of red wine vinegar turns these into a sharper, brighter condiment for grilled meat.
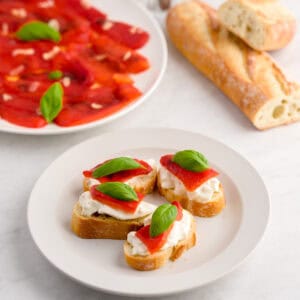
- Whipped ricotta base. Spoon the peppers and their oil over a bowl of whipped ricotta and serve with grilled bread. You'll have a ten-minute appetizer that looks like you tried very hard!
Equipment
- Rimmed half sheet pan. Rimmed matters - the peppers release a lot of sweet juice and you want to keep it.
- Aluminum foil. For lining the pan and, more importantly, for tenting the peppers so they steam themselves loose.
- Sharp paring knife. For thin garlic slices and for scraping off any stubborn bits of skin.
- Glass storage jar. A wide-mouth pint jar keeps these submerged in oil and ready to grab.
Step-by-Step Instructions
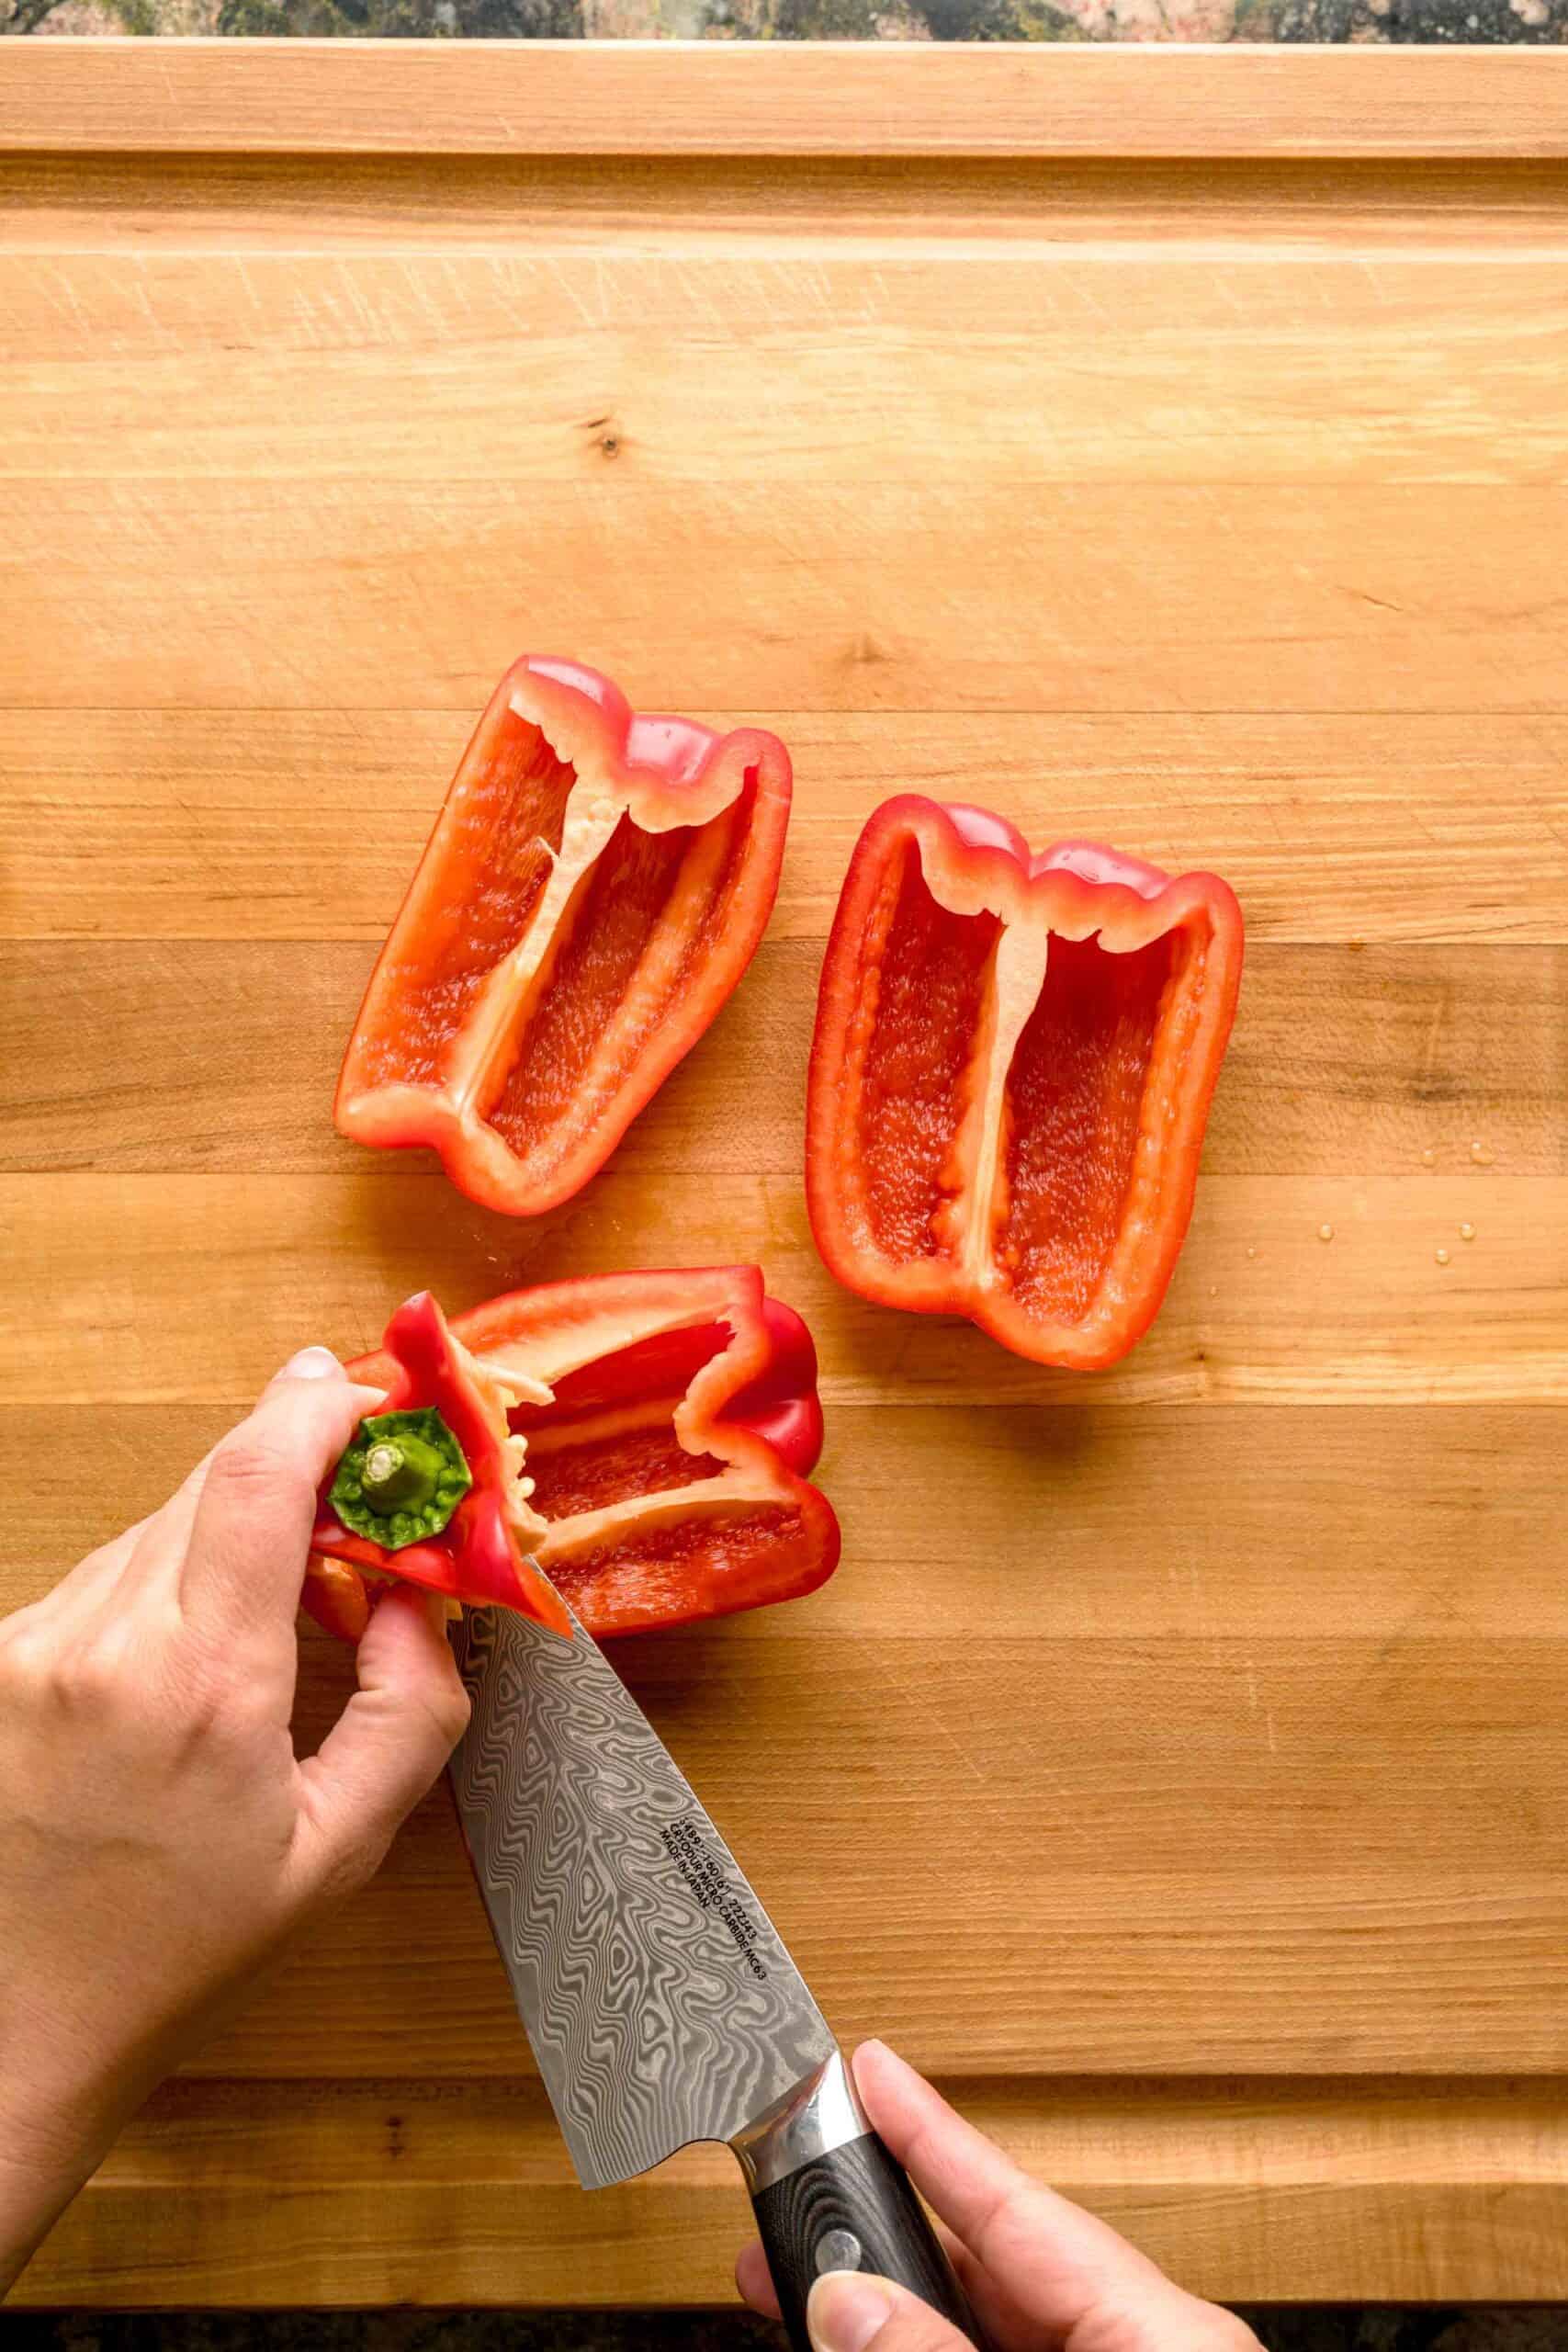
Step 1: Position and prep. Move an oven rack to the highest position, a few inches from the element, and set the broiler to high to preheat while you prep the peppers.
Halve each pepper lengthwise and remove the stem, seeds, and white membranes (aka the ribs). Lay them skin side up on a foil-lined rimmed sheet pan, pressing each half flat so the skin sits close to the heat.
Top tip: A cold broiler is the number one reason peppers take longer than ten minutes. Let it preheat properly - about 10 minutes prior to placing the peppers in the oven.
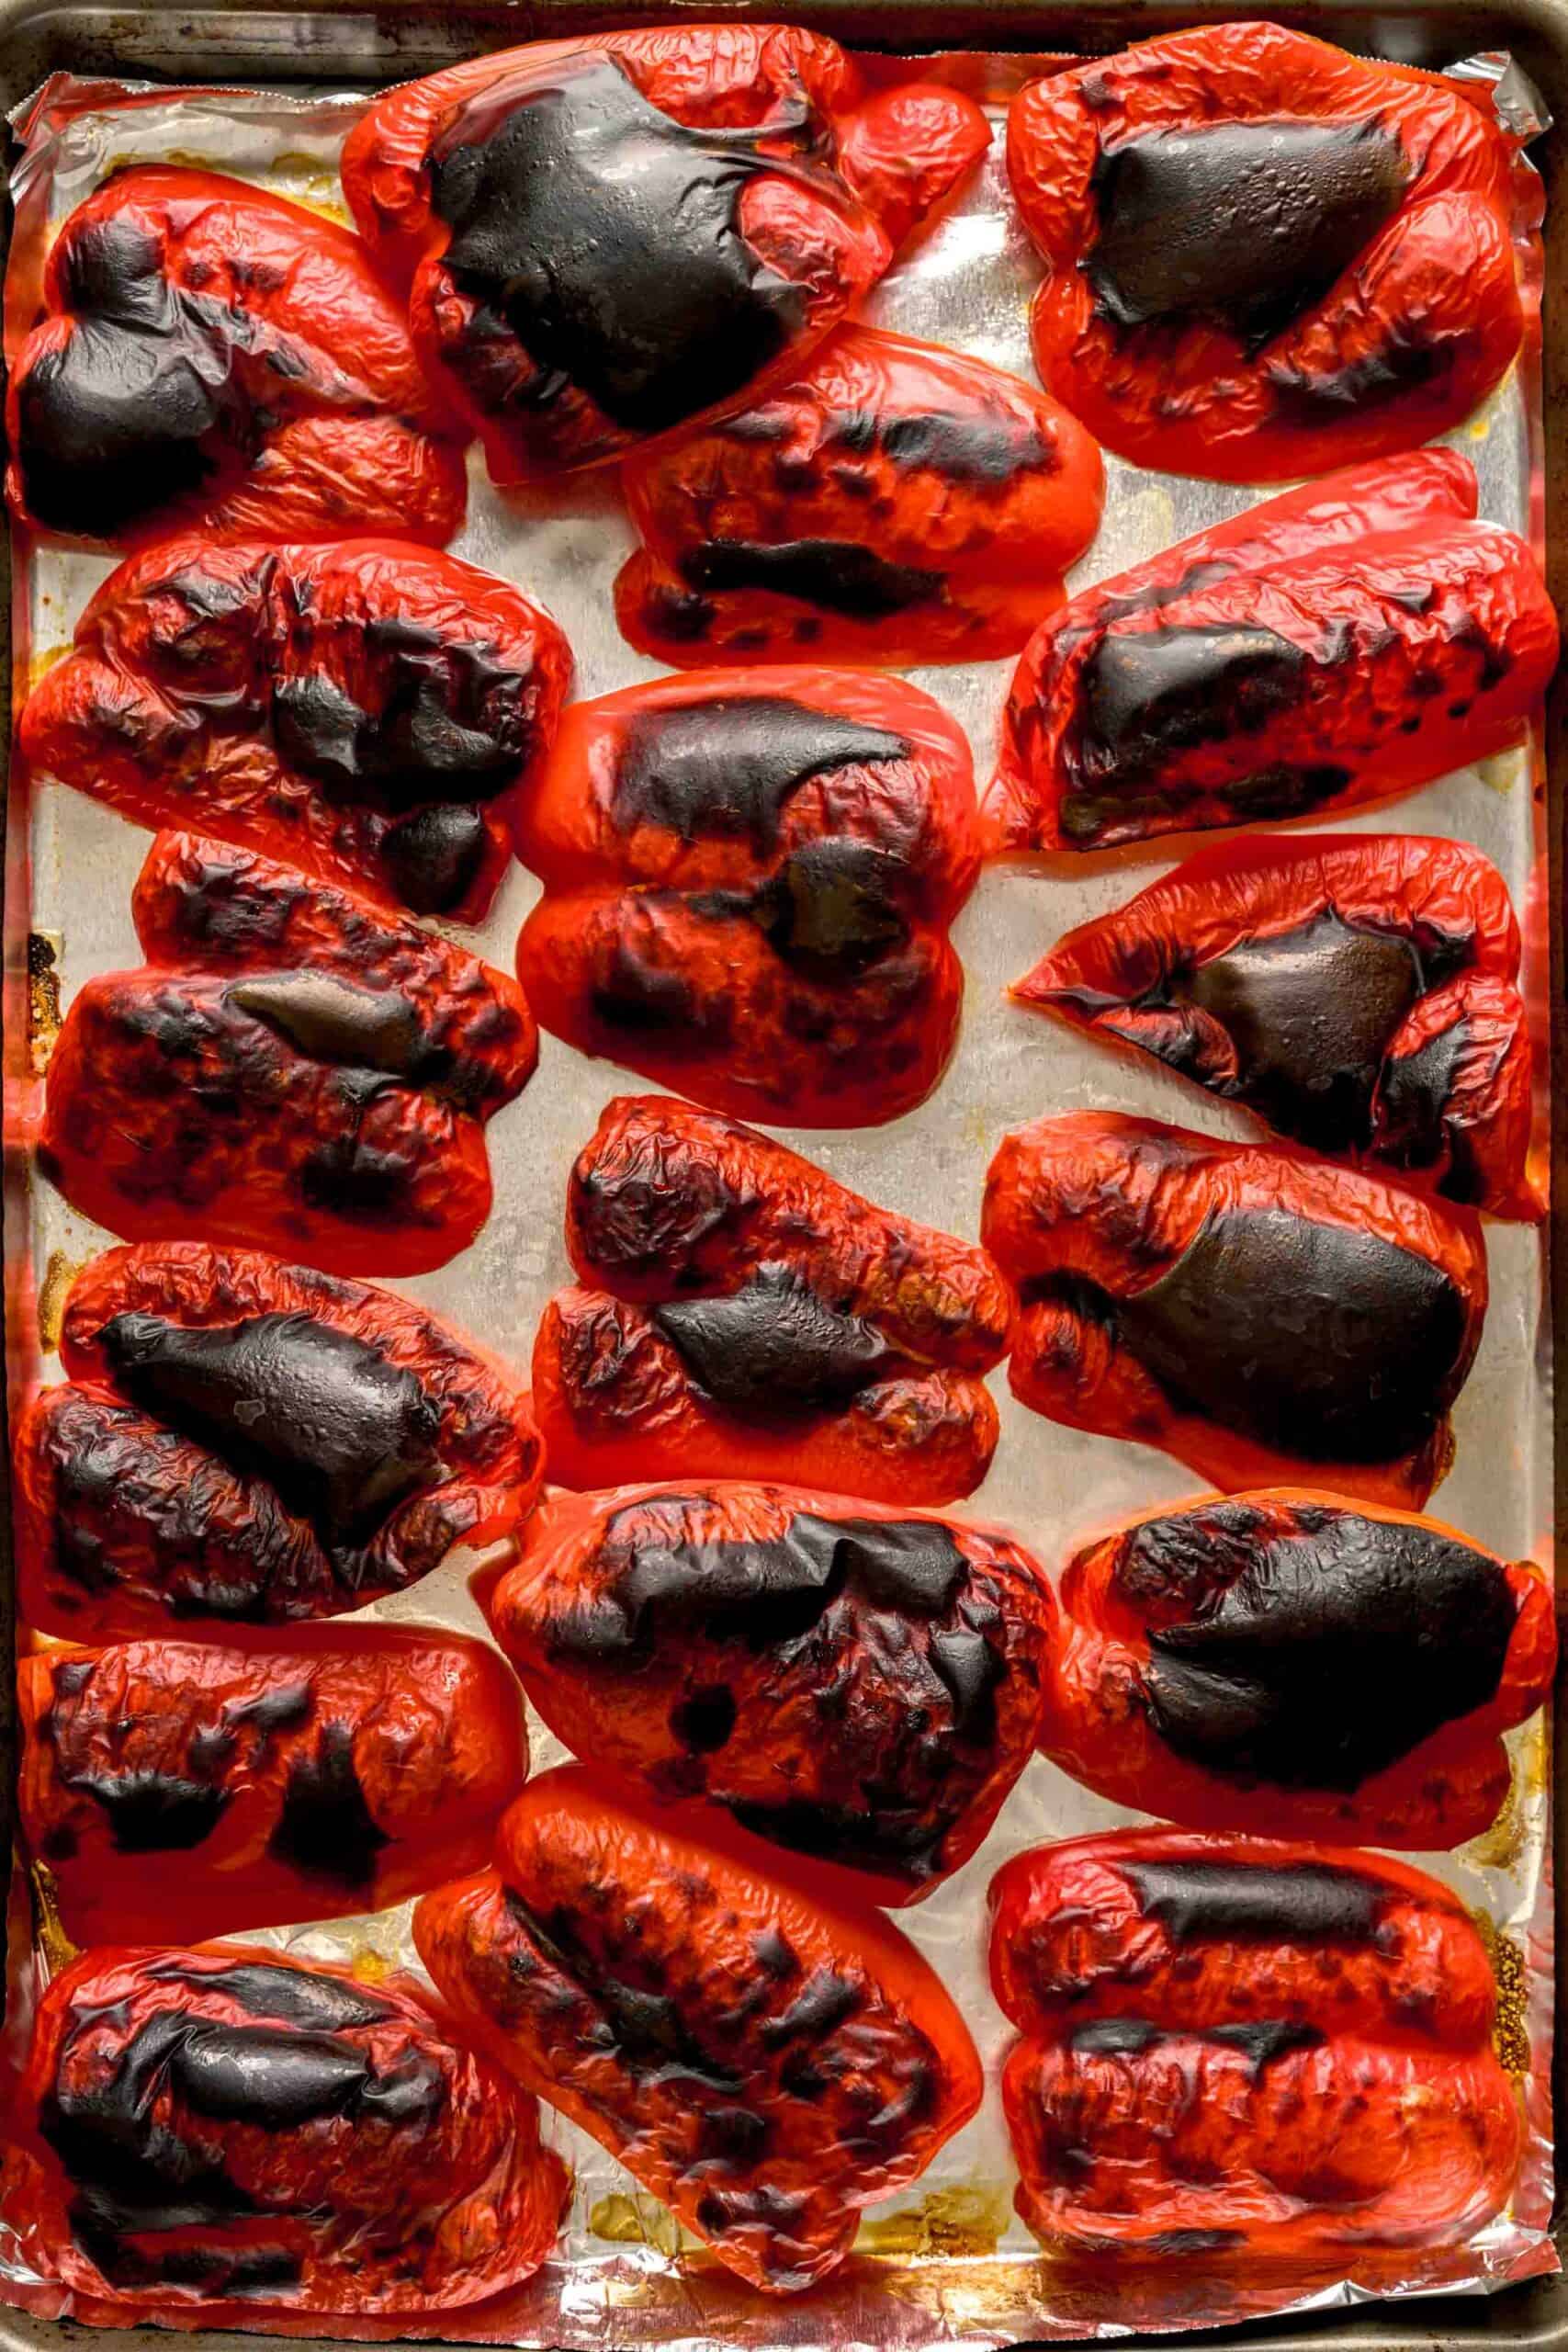
Step 2: Broil for 8 to 10 minutes. Slide the pan onto the top rack and watch it. You're looking for blistered, blackened, wrinkled skin - not gray ash. Mine hit the sweet spot right around eight and a half minutes, but broilers vary wildly, so stay in the kitchen.
Top tip: Charred is the goal, burned is not. Blackened patches across most of the skin are exactly right. If the skin is still smooth and red anywhere, those spots will not peel.
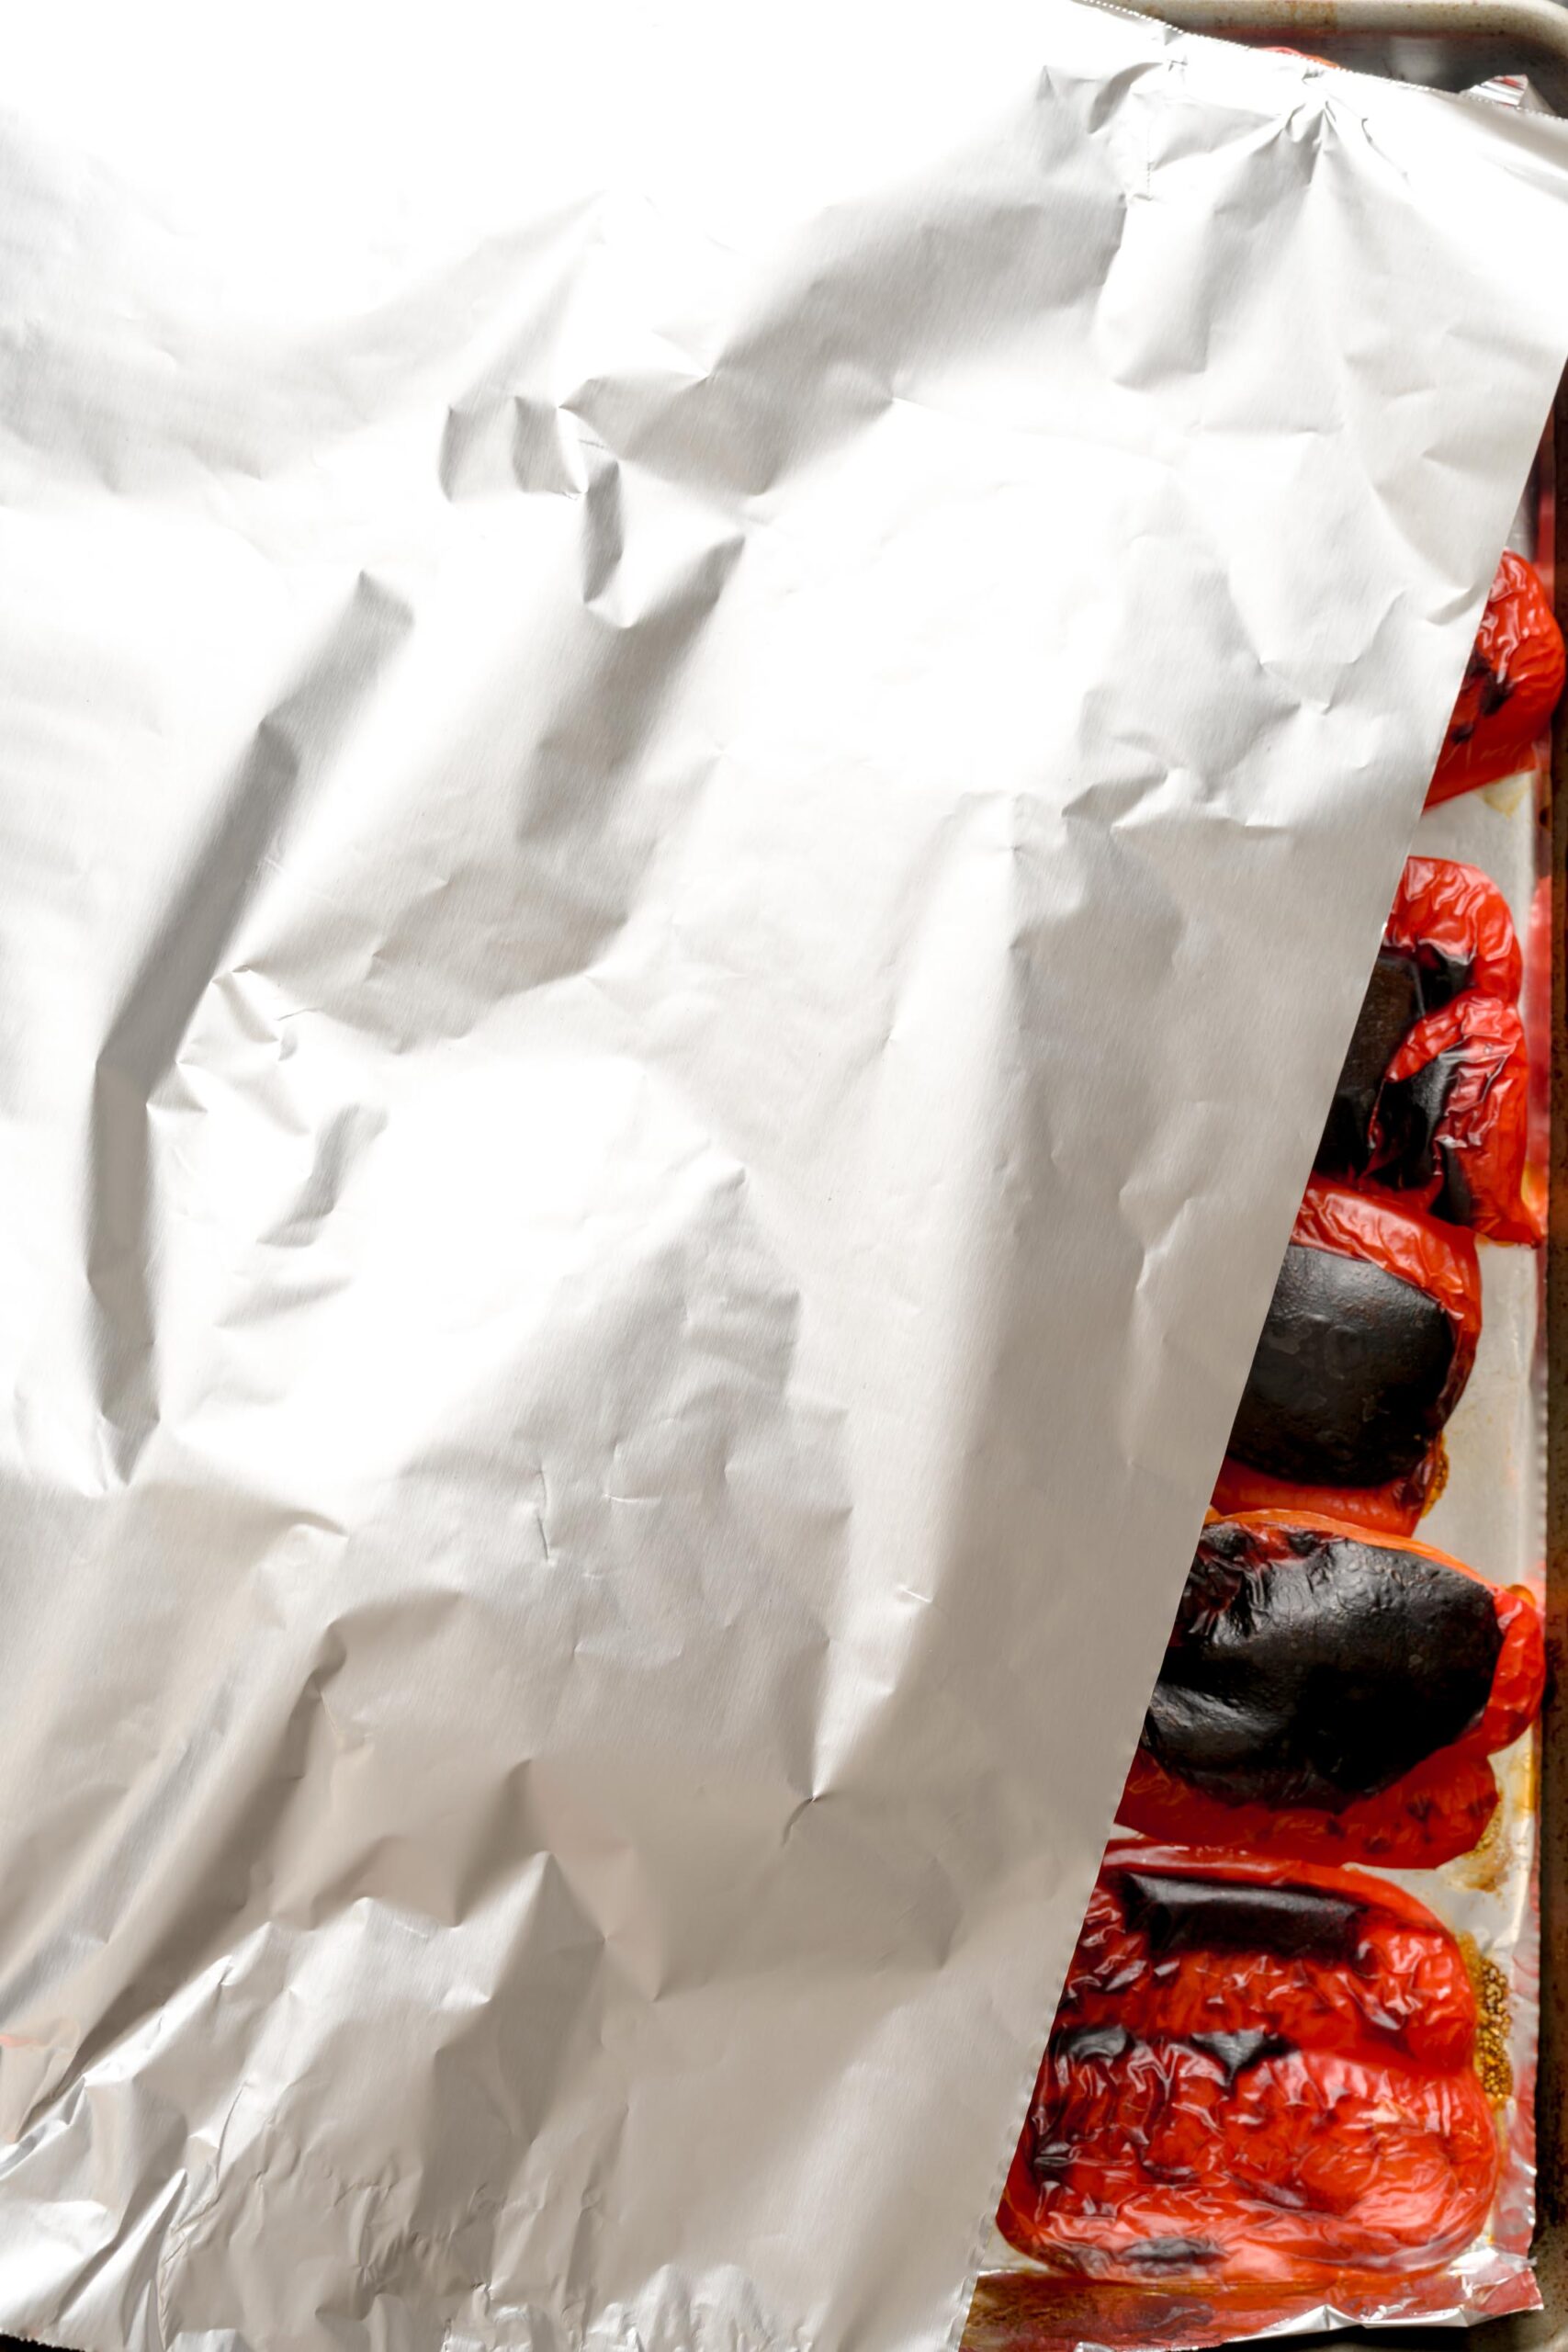
Step 3: Cover and steam for 20 to 30 minutes. The moment they come out, tent the whole sheet pan tightly with foil, or transfer the peppers to a bowl and cover it with a plate or lid. Leave them until they are cool enough to handle. This trapped steam is what loosens the skins.
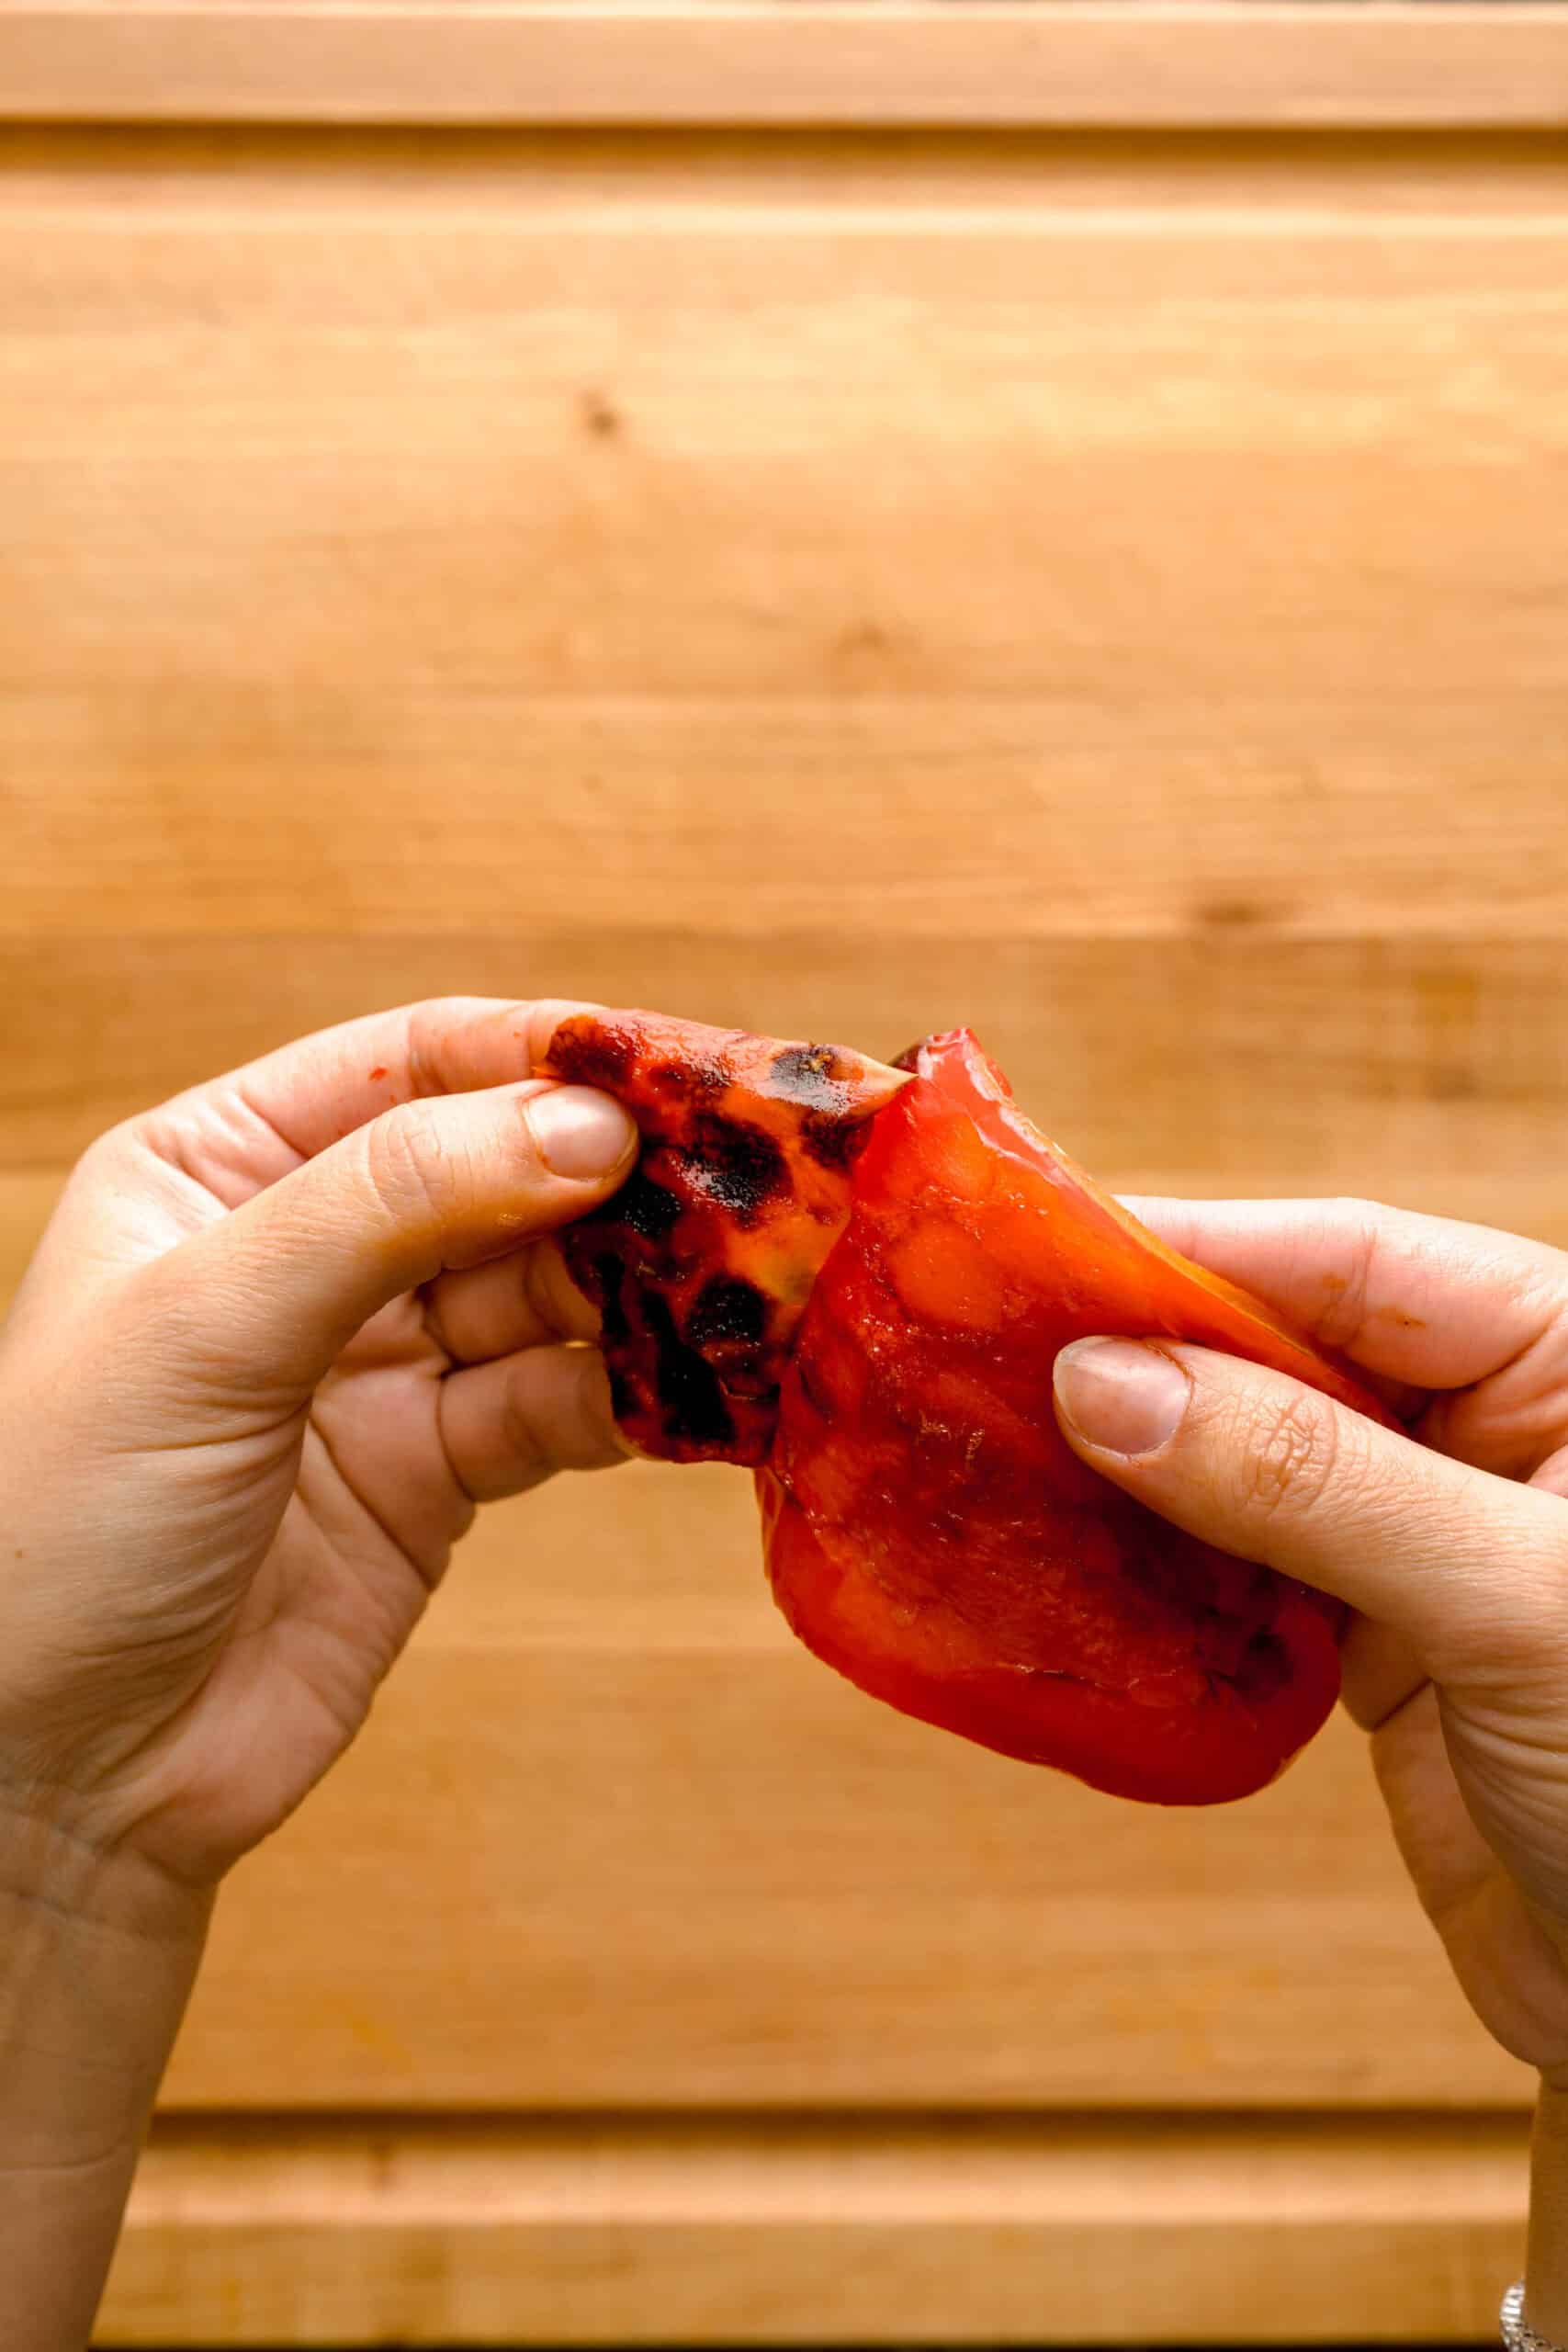
Step 4: Peel. Slip the skins off with your fingers. They should come away in sheets. Resist the urge to rinse them under the tap - you will wash away the smokiness that makes these worth making!
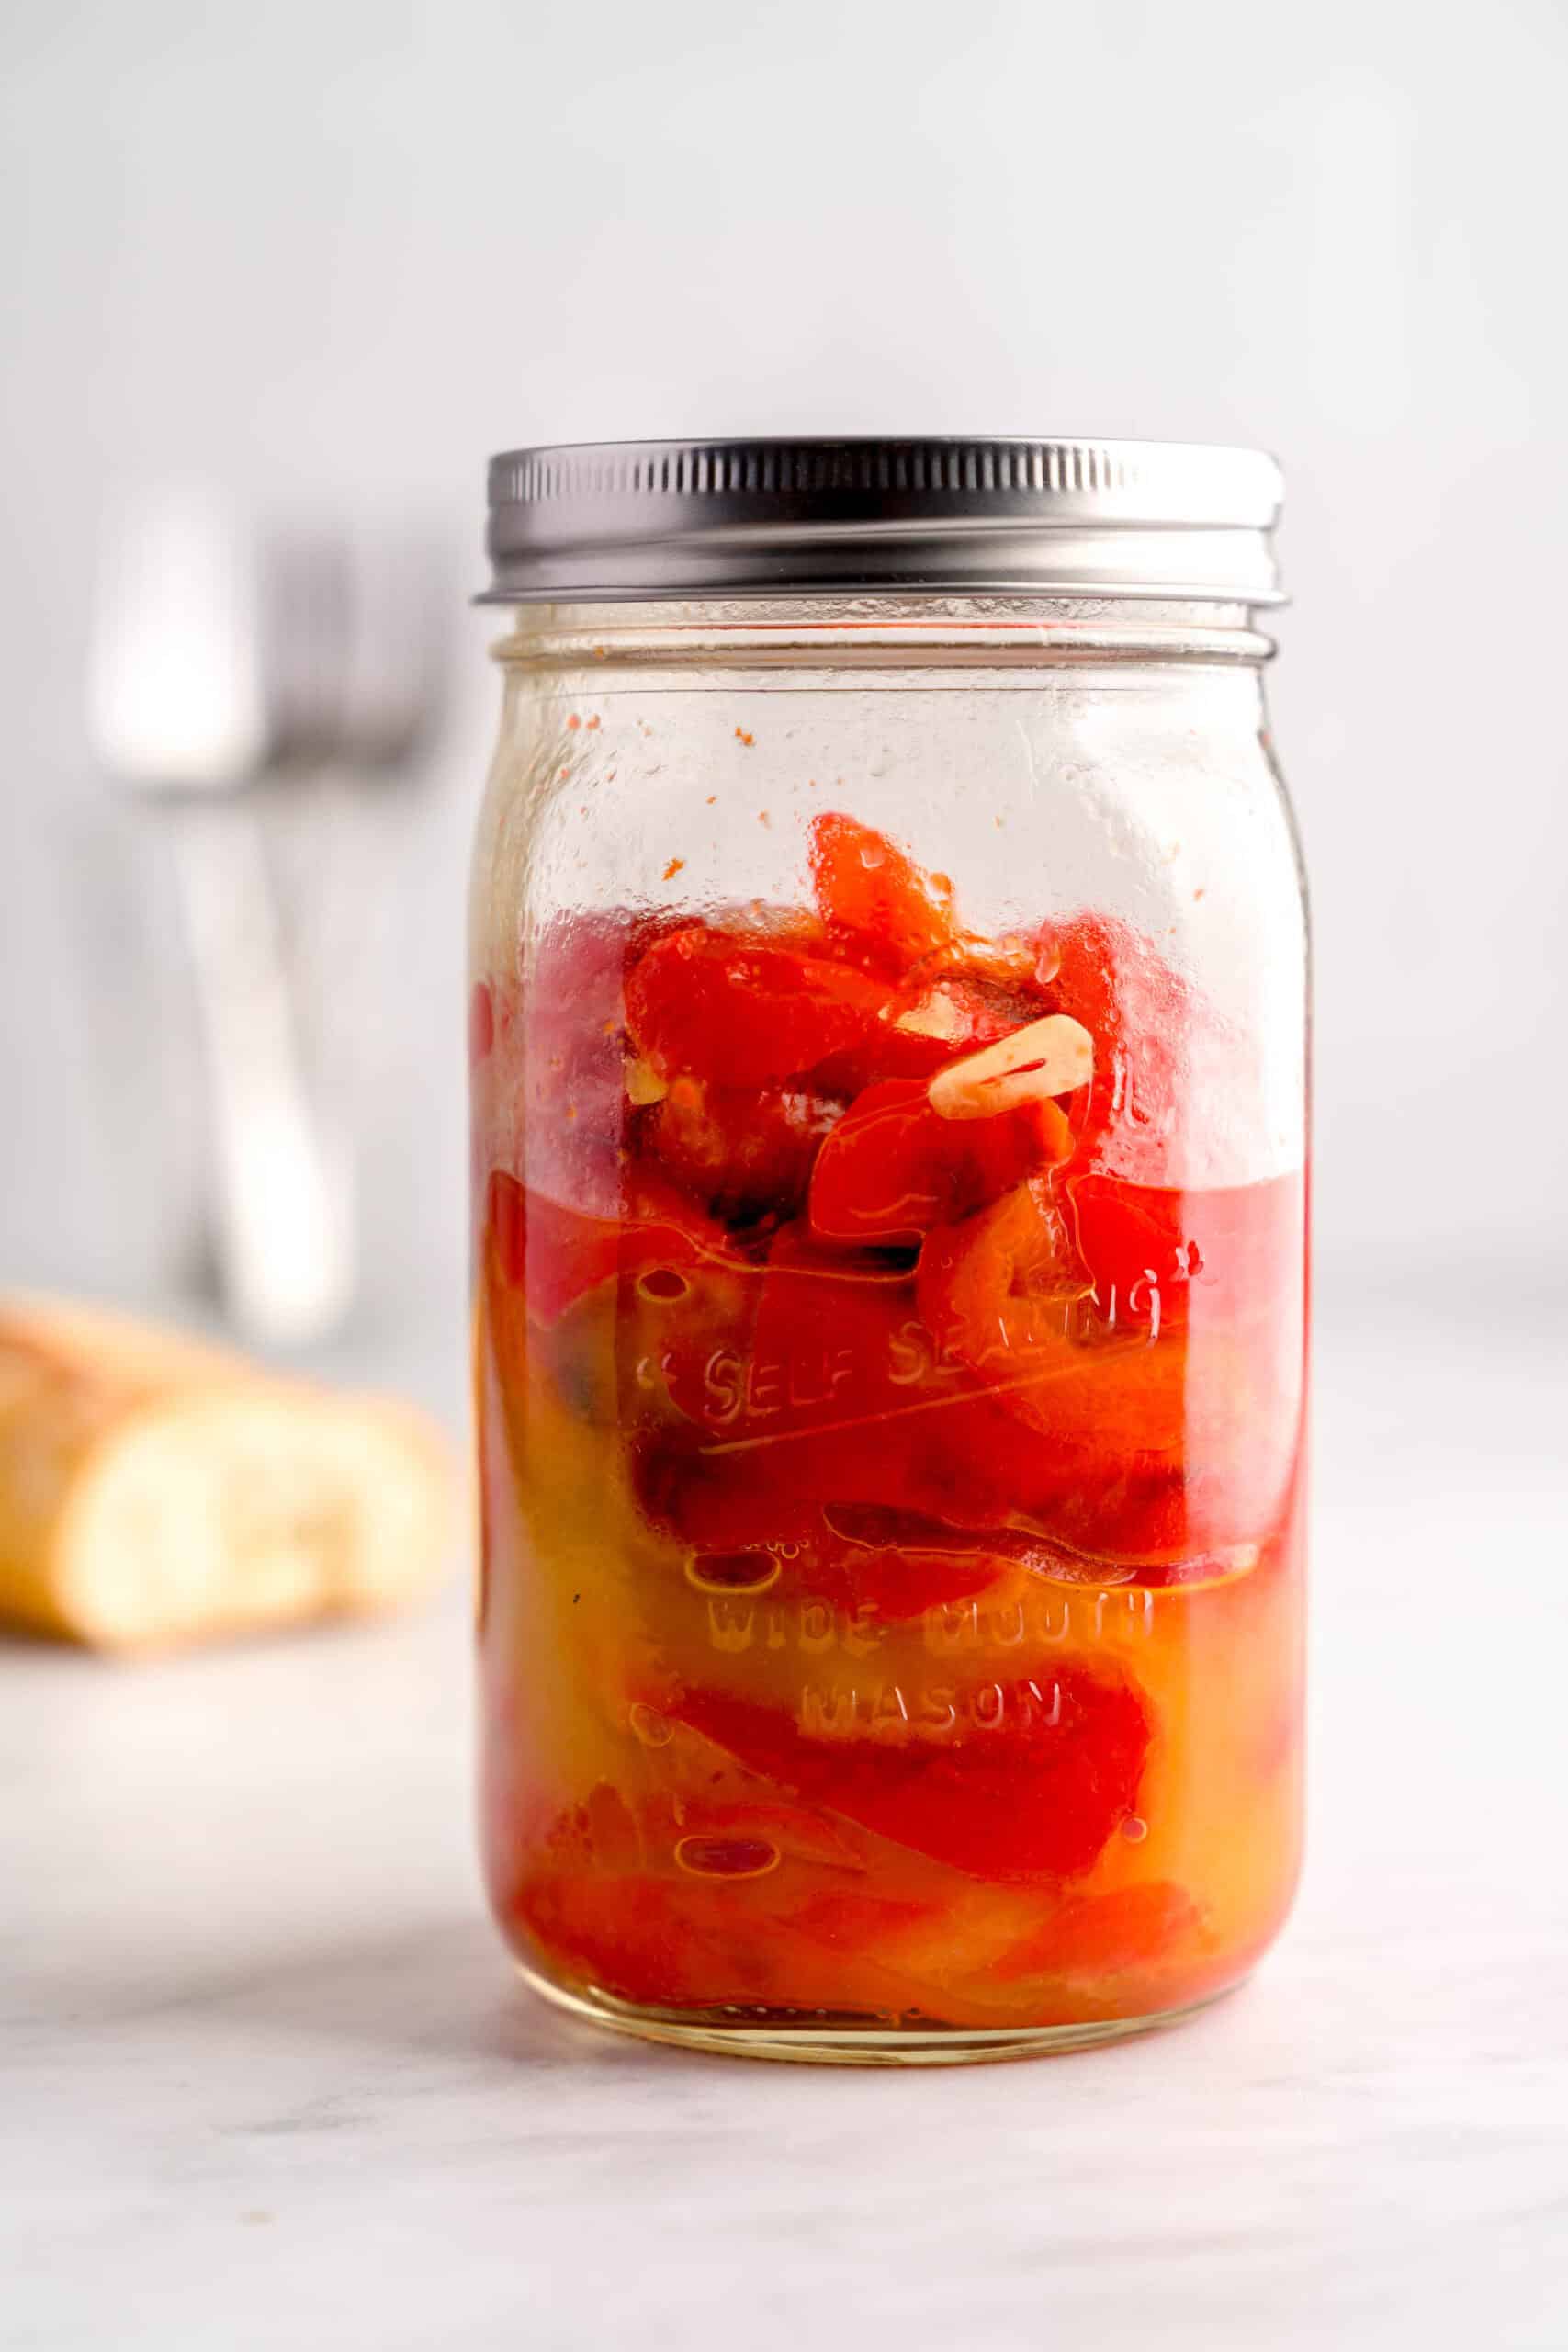
Step 5: Serve or Store. Place the peppers, whole or cut into strips, in a jar along with any juice on the pan. Add the thinly sliced garlic, the olive oil, and the kosher salt, and turn everything gently. Then, let them sit - give them at least fifteen minutes at room temperature before serving so the garlic perfumes the oil. An hour is better. Overnight in the fridge is best of all.
Storing, Freezing, Making Ahead and Reheating
Storing
Pack the peppers into a clean glass jar and pour in enough olive oil to cover them completely. Sealed and refrigerated, they keep for up to two weeks. Without the oil covering them, plan on five to seven days. The oil will cloud and solidify in the cold - that is normal, and it loosens up in about ten minutes on the counter. Once you've finished the peppers, use the infused oil over pastas, in salad dressings, or simply as a dipping oil - it's so good!
Making Ahead
These are genuinely better made in advance. Roast, peel, and dress them up to three days before you need them and keep them refrigerated. Pull the jar out thirty minutes before serving so the oil comes back to liquid and the flavors wake up.
What to Pair with these peppers
- Crusty bread. Start off the antipasto board strong with slices of fresh bread that'll create a nice base for these peppers.
- Ricotta cheese. A creamy, spreadable cheese, ricotta pairs great with the sweetness of roasted red peppers.
- Chicken cutlets. For a well-balanced lunch or dinner, serve these roasted red peppers alongside crispy chicken cutlets for a meal that the whole family will love.
Top tip
A cold broiler is the number one reason peppers take longer than ten minutes. Let it preheat properly - about 10 minutes prior to placing the peppers in the oven.
FAQ
Broil red peppers on high for 8 to 10 minutes on the highest oven rack, skin side up. That is all it takes for the skins to blister and blacken. Broiler strength varies a lot between ovens, so check at the six-minute mark and stay close by. If you broil whole peppers instead of halves, plan on 15 to 20 minutes and turn them a few times.
Yes, peel them. The charred skin is papery, slightly bitter, and unpleasant to chew, and it hides the silky texture that makes these Italian roasted peppers in olive oil so good. If the skin is fighting you, the peppers either were not charred enough or did not steam long enough - give them another ten minutes under the foil.
No. Dry peppers char faster and more evenly than oiled ones, and oil under a high broiler will smoke and can spatter. Save the olive oil for after they are peeled, where it actually does its job as a marinade and a preservative.
They are done when most of the skin has gone black and wrinkled and the flesh has visibly softened and collapsed a little. Smooth, shiny red patches mean that section is not finished. Look at the whole surface, not just the middle, since the edges of the pan usually char faster.
Tips and Tricks
- Do not crowd the pan. Peppers need space or they steam instead of char - make sure they don't overlap. Use two sheet pans if six peppers will not fit in a single layer.
- Save every drop of juice. The liquid pooling on the sheet pan is concentrated pepper sweetness. Scrape it into the bowl with the oil.
- Slice the garlic paper thin. Thick garlic stays sharp and raw-tasting. Thin slices soften in the residual heat and go sweet.
- Never rinse the peeled peppers. Running them under water strips the smoke and the flavor.
Did you try out this recipe? I'd love to know how it went! Leave me a comment and rating below or tag me on Instagram at @AFabulousBite!
Disclosure: This post may contain affiliate links, which means I may earn a commission if you click on the link and make a purchase.
More Fabulous Bites
Hungry for more? Try these recipes next:

Roasted Red Peppers in Under 10 Minutes (Broiler Method)
Equipment
- Aluminum foil
Ingredients
- 6 red bell peppers
- 3 cloves garlic thinly sliced
- ⅓ cup extra virgin olive oil
- ½ teaspoon kosher salt
Instructions
- Prep the oven & peppers. Position an oven rack in the highest position and preheat the broiler to high while you prep the peppers. Cut the peppers in thirds and remove the seeds and ribs (aka the white parts inside the peppers). Arrange them skin side up on a foil-lined rimmed sheet pan, pressing each half flat and making sure none of them overlap.
- Char. Broil for 8 to 10 minutes, until the skins are blistered and blackened. Watch closely - broilers vary.
- Tent. Using a new sheet of foil, tent the sheet pan tightly with foil, or transfer the peppers to a bowl and cover with a plate or lid. Steam for 20 to 30 minutes, until cool enough to handle.
- Peel. Remove and discard the skins. Do not rinse the peppers!
- Serve or store. Place the peppers whole, sliced into wide strips, and combine with the sliced garlic, olive oil, and kosher salt, along with any juices from the pan. Rest at least 15 minutes at room temperature before serving. Keep in the fridge for 5-7 days.
Maria E says
Simple to make and delicious to eat, love it
Maria E says
I love it, they are perfect to have in my refrigerator and use it inside my sandwiches or accompanying with a protein as a side or within salad. Is very easy to prepare and very versatile….