
A recipe that's so easy to remember - 2 ingredient homemade pasta! This fresh, pasta recipe comes together quickly and doesn't take many ingredients, just eggs and double zero flour. Impress family and friends with a rich, silky dough that's perfect for your pasta sauces.

What is Fresh, Homemade Pasta?
Fresh, homemade pasta is made with simple ingredients and requires no preservatives. Some say they feel lighter after eating it compared to store-bought pasta but you can be the judge of that yourself.
I knead this dough by hand and use a pasta machine for this recipe. However, you can definitely use a food processor to bring this dough together and also roll the dough out by hand (with a rolling pin) if you don't have a pasta machine.
Why You'll Love This Homemade Pasta Recipe
- It's only two ingredients. It can't get any simpler than that!
- The taste. Rich egg yolks give this pasta a luxurious taste, as well as a sunshine yellow color to this dough.
- It's a basic recipe. This pasta recipe will help you understand the basics of Italian cooking. You don't need a lot of ingredients, but you definitely need the best quality of ingredients to produce a tasty dish.
- It's perfect to get everyone involved! This is a great recipe to involve a few people in and make it really interactive. Perfect for a date night, a get-together with friends or even a way to involve kids in the kitchen.
Ingredients You'll Need for 2 Ingredient Homemade Pasta
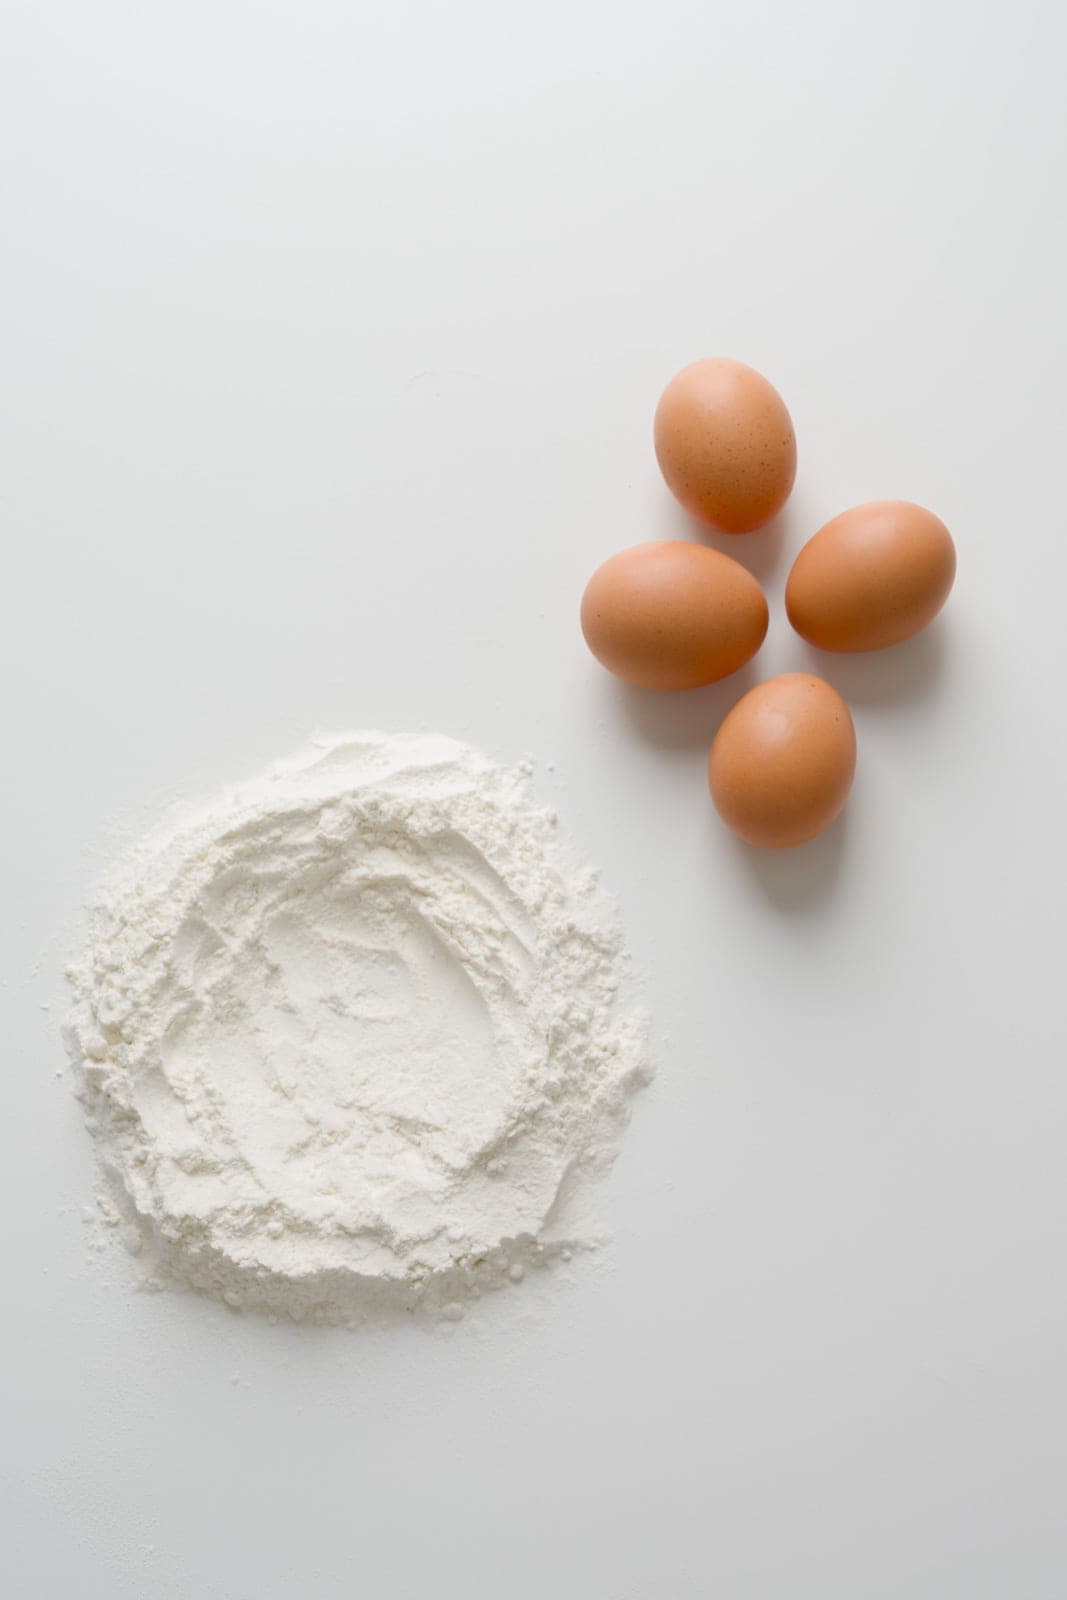
- High quality eggs. I absolutely love using organic, pasture raised eggs. I can find them at my local supermarket most of the time. However, if you can find pasture raised eggs from a local farmer or farmer's market, that would be even better. The fresher the product, the better the result!
- Double zero ("00") flour. An Italian staple, this flour is finely milled so it helps the pliable and smooth dough. You can find this on Amazon or at your local Italian market.
Equipment You'll Need
- Pasta Machine. This machine will save you lots of time while helping you roll out your pasta dough evenly. If you have a KitchenAid Stand Mixer, you can also use the pasta attachment instead.
- Dough scraper. This will help incorporate the flour and eggs together right before you start kneading your dough. It can also help gather all of the remaining flour from your workspace after your dough comes together.

Step-By-Step Instructions for 2 Ingredient Homemade Pasta
- Prep your ingredients. Weigh out your flour and crack your eggs in a bowl. This will also help you catch any pieces of shell that may fall through.
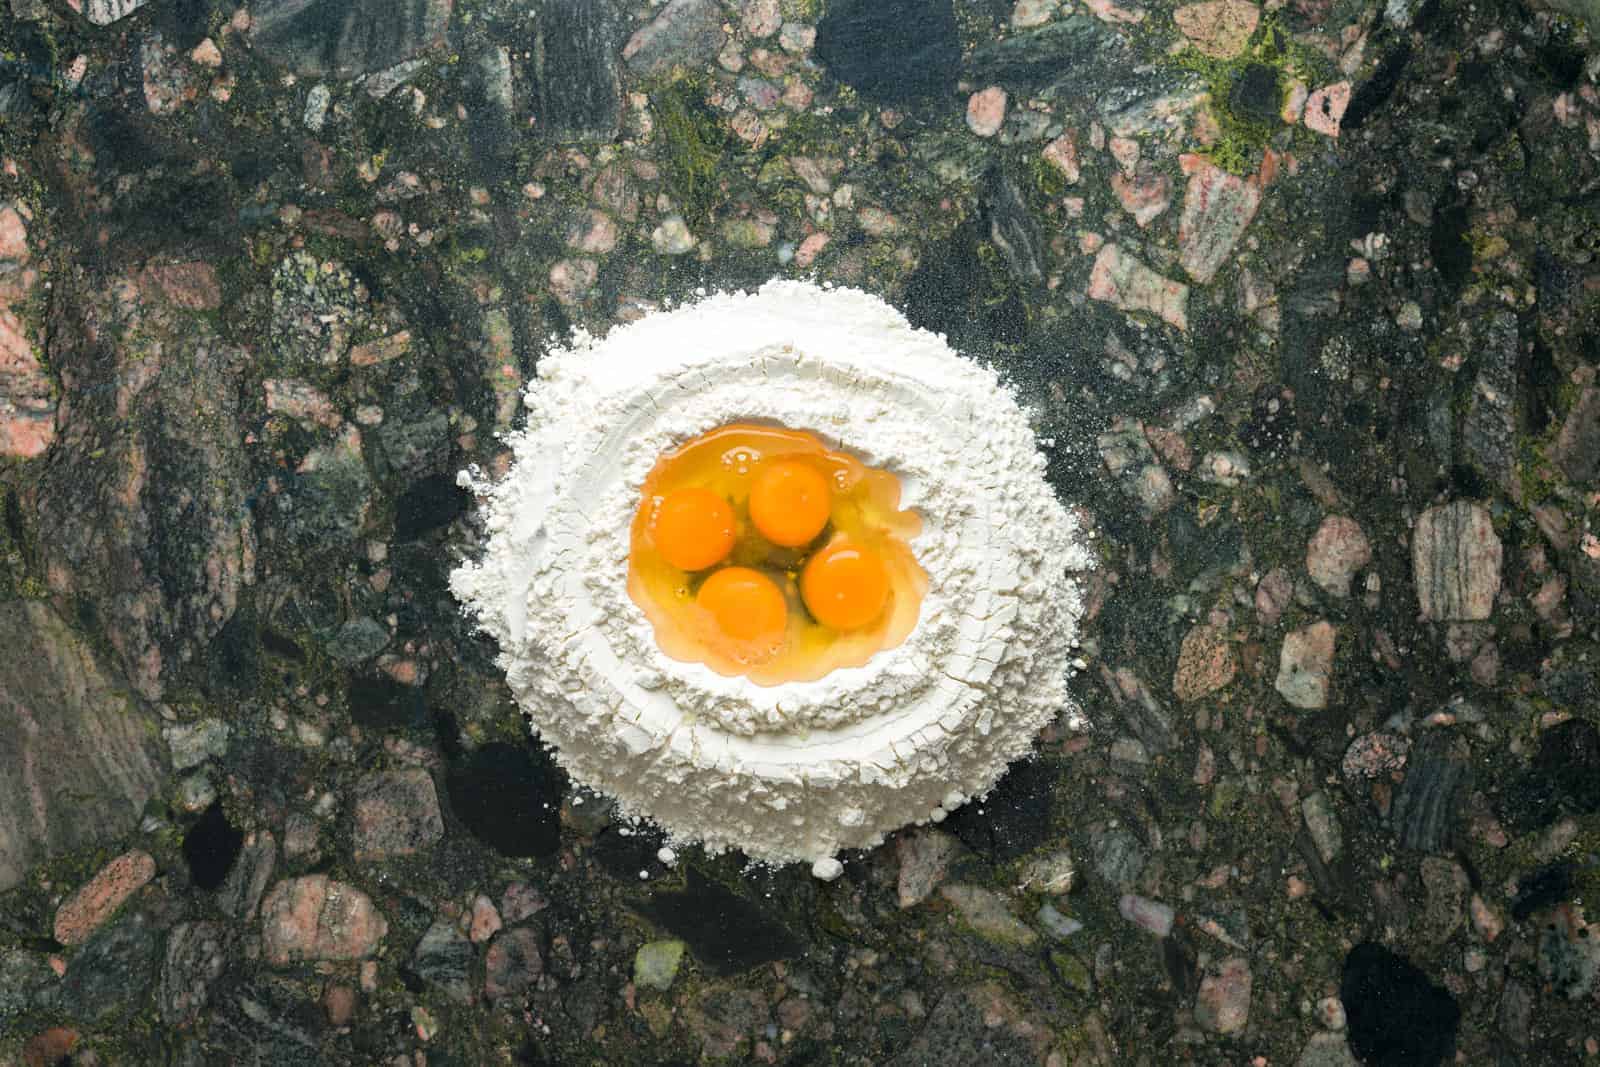
- Make the well for the eggs. Pour your double zero flour onto a clean, dry surface. I like to use my countertop for this. Then, with the bottom of the bowl where you have your eggs, make a well in the middle of your flour. Make sure the walls are high enough to accommodate all your eggs inside the well. Then pour the eggs in the well.
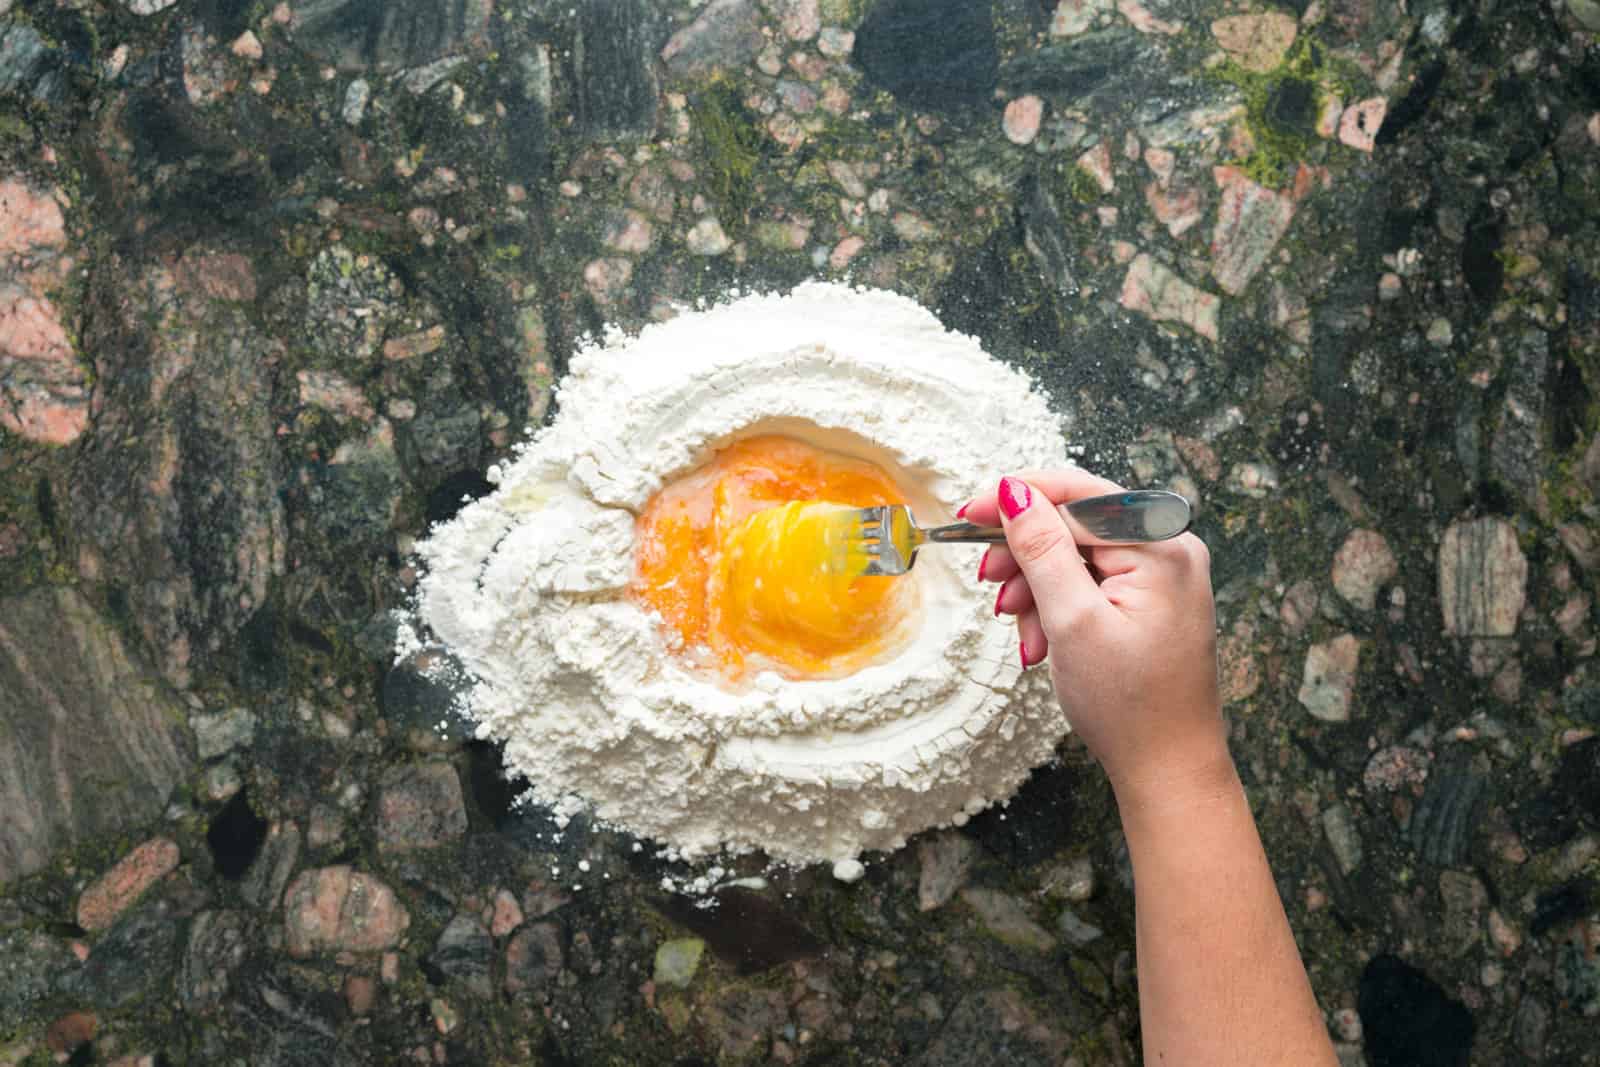
- Combine the eggs and the flour. With a fork, poke the yolks of your eggs and scramble them within the well, making sure to keep the walls of the well up. Then, slowly, you'll incorporate the flour into the eggs with the fork. The goal is to slowly expand the well while you incorporate the flour into the egg mixture.
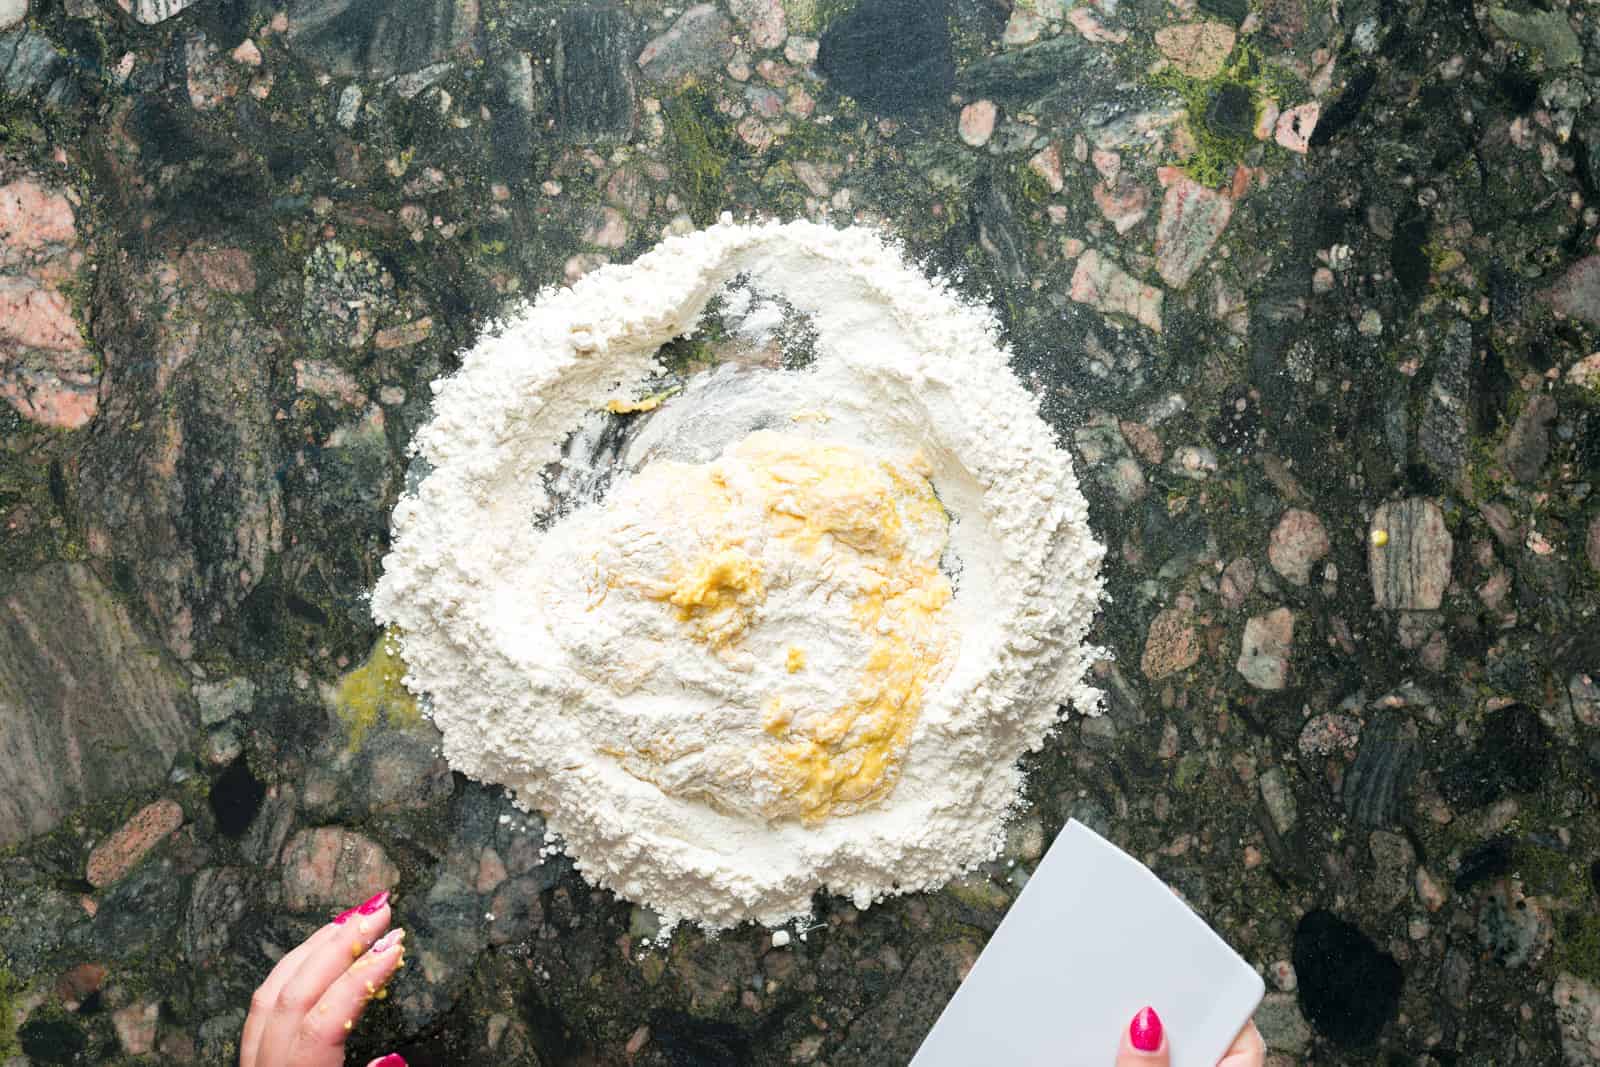
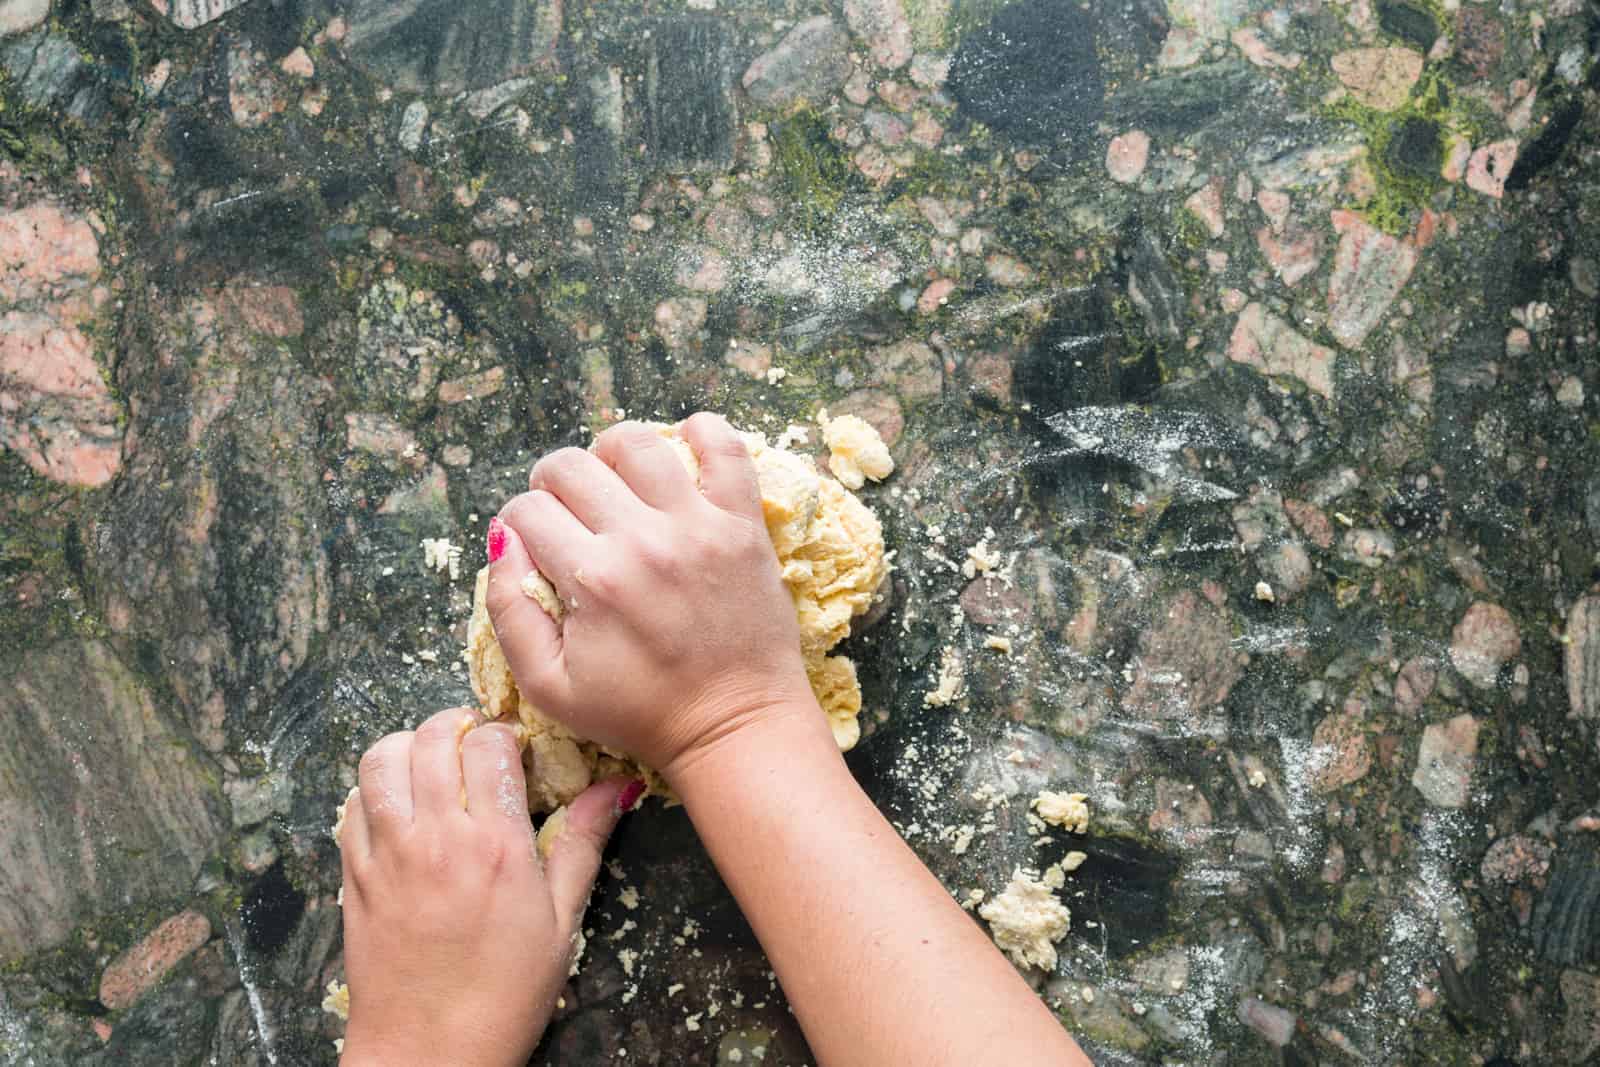
- Knead the dough. Once most of the egg mixture and flour is incorporated, you can use a dough cutter to incorporate the remaining bits of flour into the dough. You'll then knead the dough for about eight minutes or until the dough is smooth.
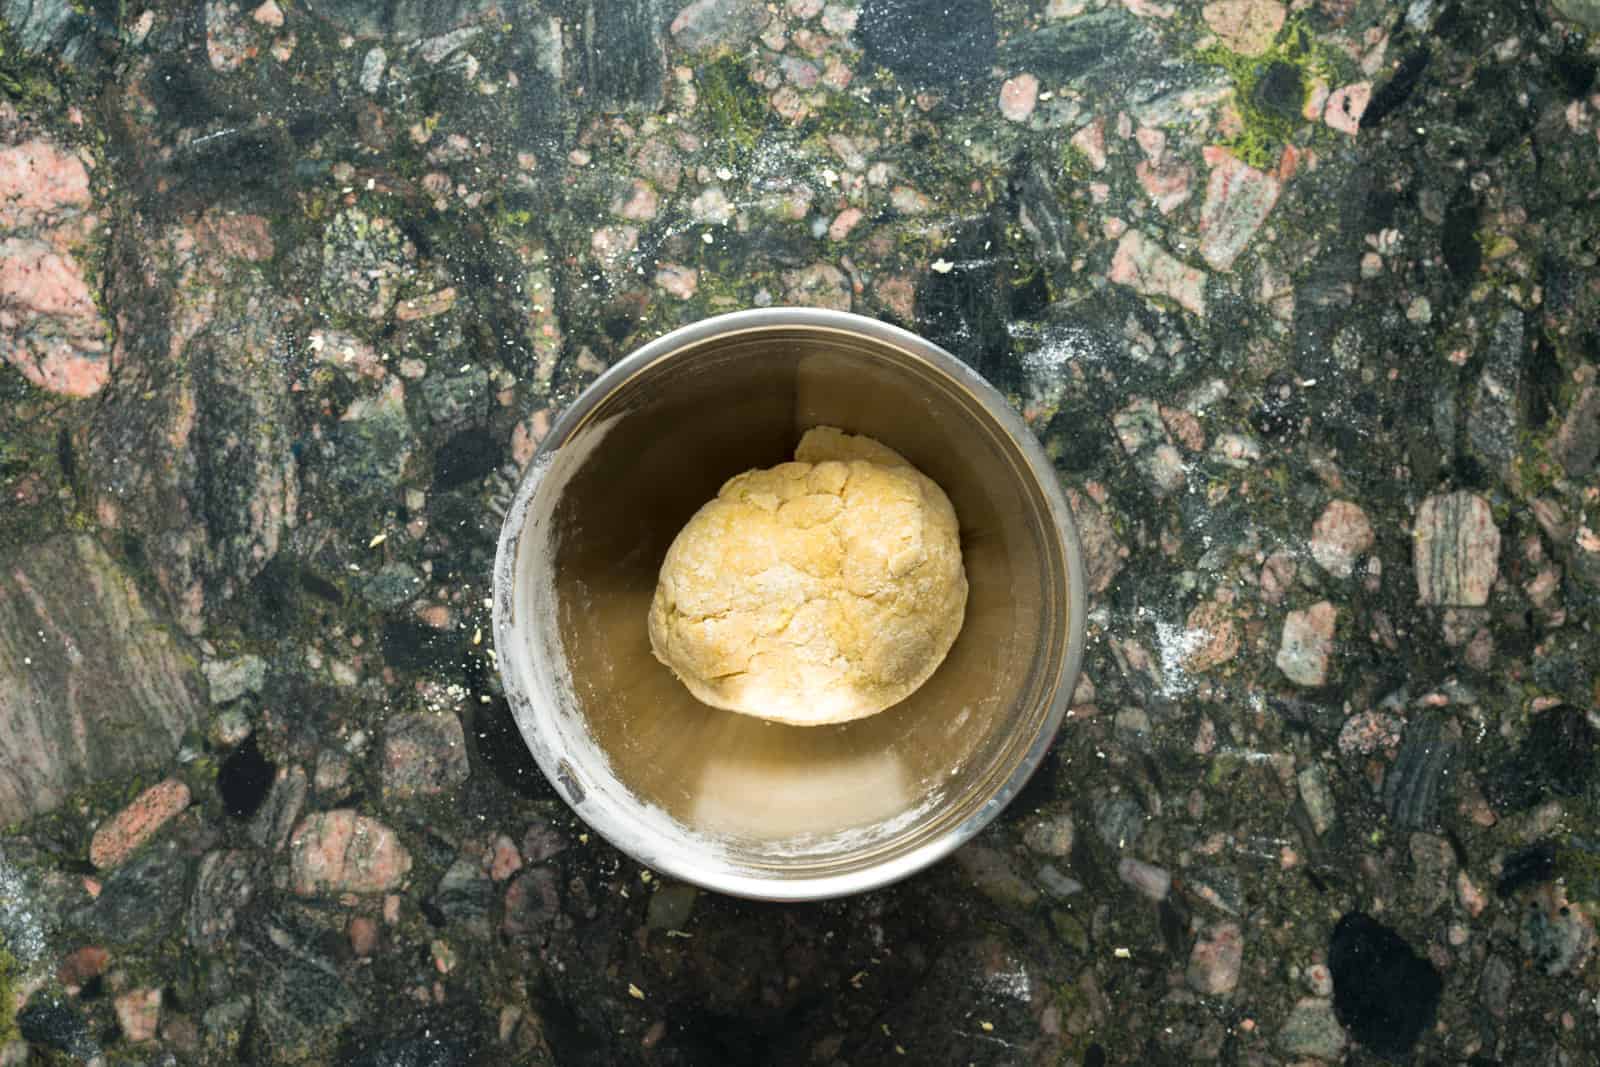
- Let the dough rest. Cover the dough and let it rest for 30 minutes to an hour. I like to put the dough in a bowl and cover with a tea towel but you can also wrap it in plastic wrap. If you're not ready to roll out your pasta dough on the same day that you make it, you can keep it in the fridge for 24 hours.
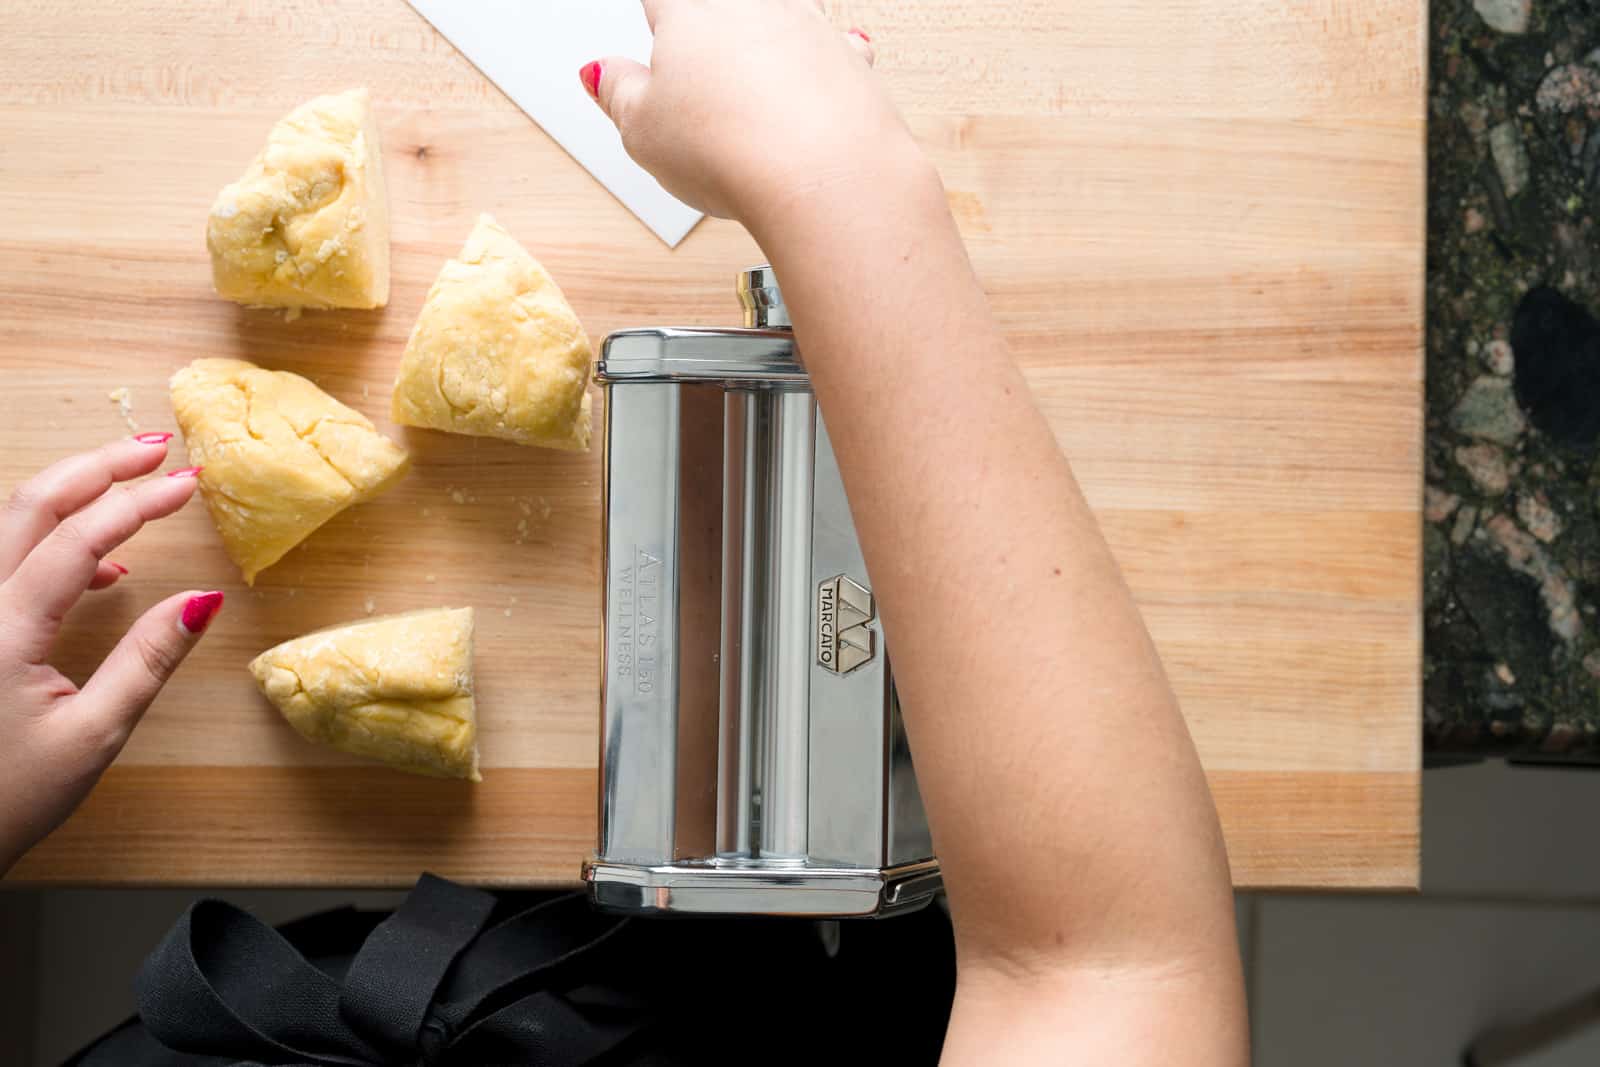
- Shape your dough. Once rested, remove from the fridge and cut it into four pieces. With your hands, you can shape each piece into a rectangle. This will make it easier to work with in the pasta machine.
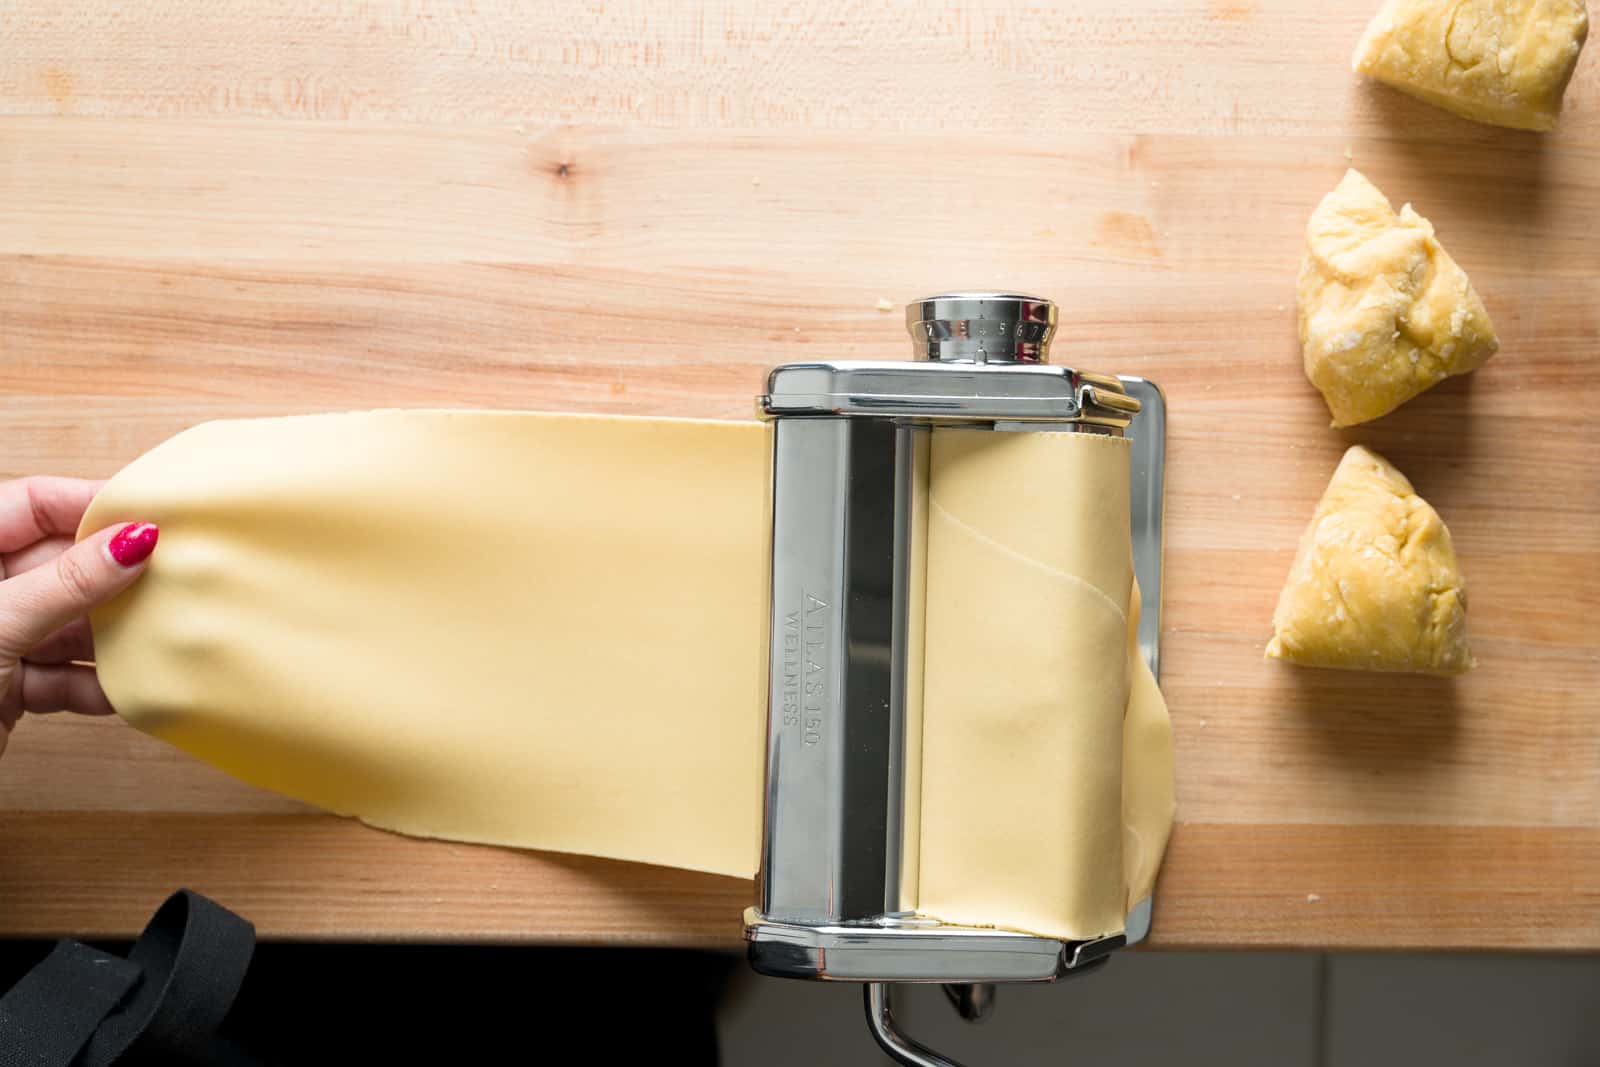
- Roll dough through pasta machine. Starting at the widest setting in your pasta machine, roll your dough through. Roll it twice or three times, depending on the thickness of your dough. Then fold your flattened piece of dough twice onto itself (like an envelope) and pass it through the same setting another two or three times. Once it's thin enough, go up one more setting on your pasta machine. You will see that the gap within the rollers will be a bit smaller than the previous setting.
- Repeat previous step. Keep repeating step 7 until you have a thin dough. On my machine, I start at the 0 setting and go all the way to 5 but depending on how thick/thin you like your pasta, your final setting can be different. It's important to take your time with this. If your dough breaks a bit or is frayed at the edges, you can always fold it like an envelope and repeat the rolling on the previous setting. So, for example, if your dough frays at setting 3, you can fold it, go back to setting 2, and roll it again until it's flattened and you can move up to setting 3 again.
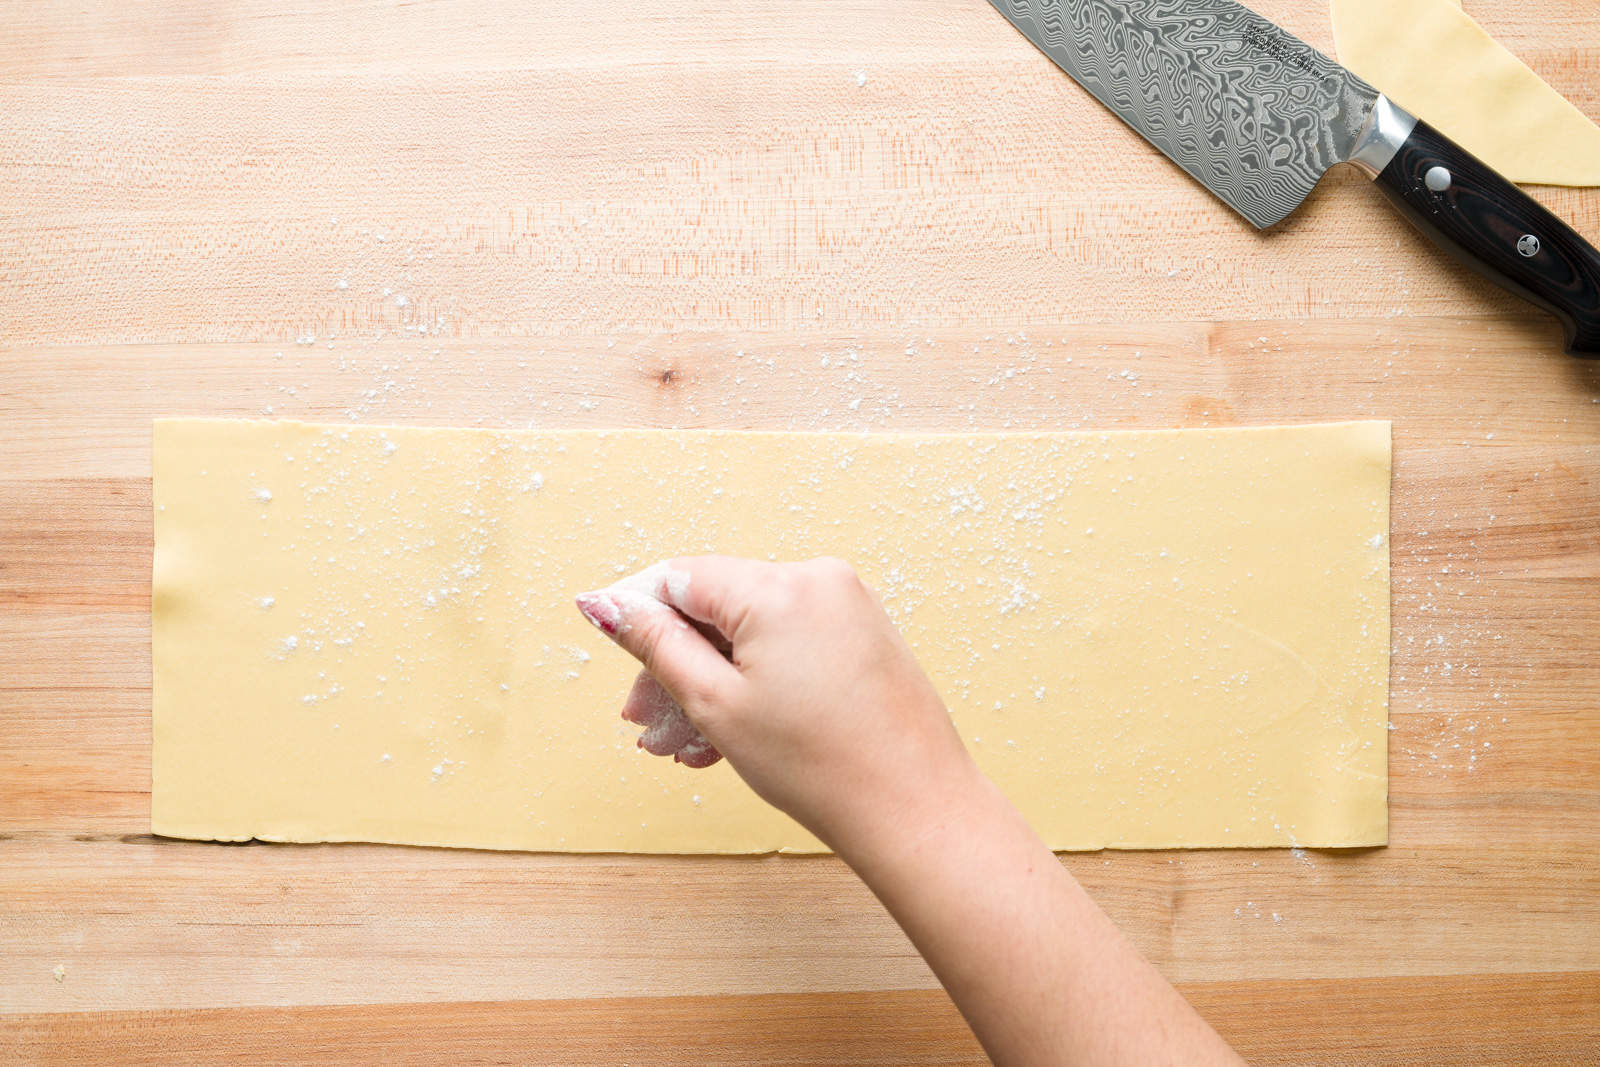
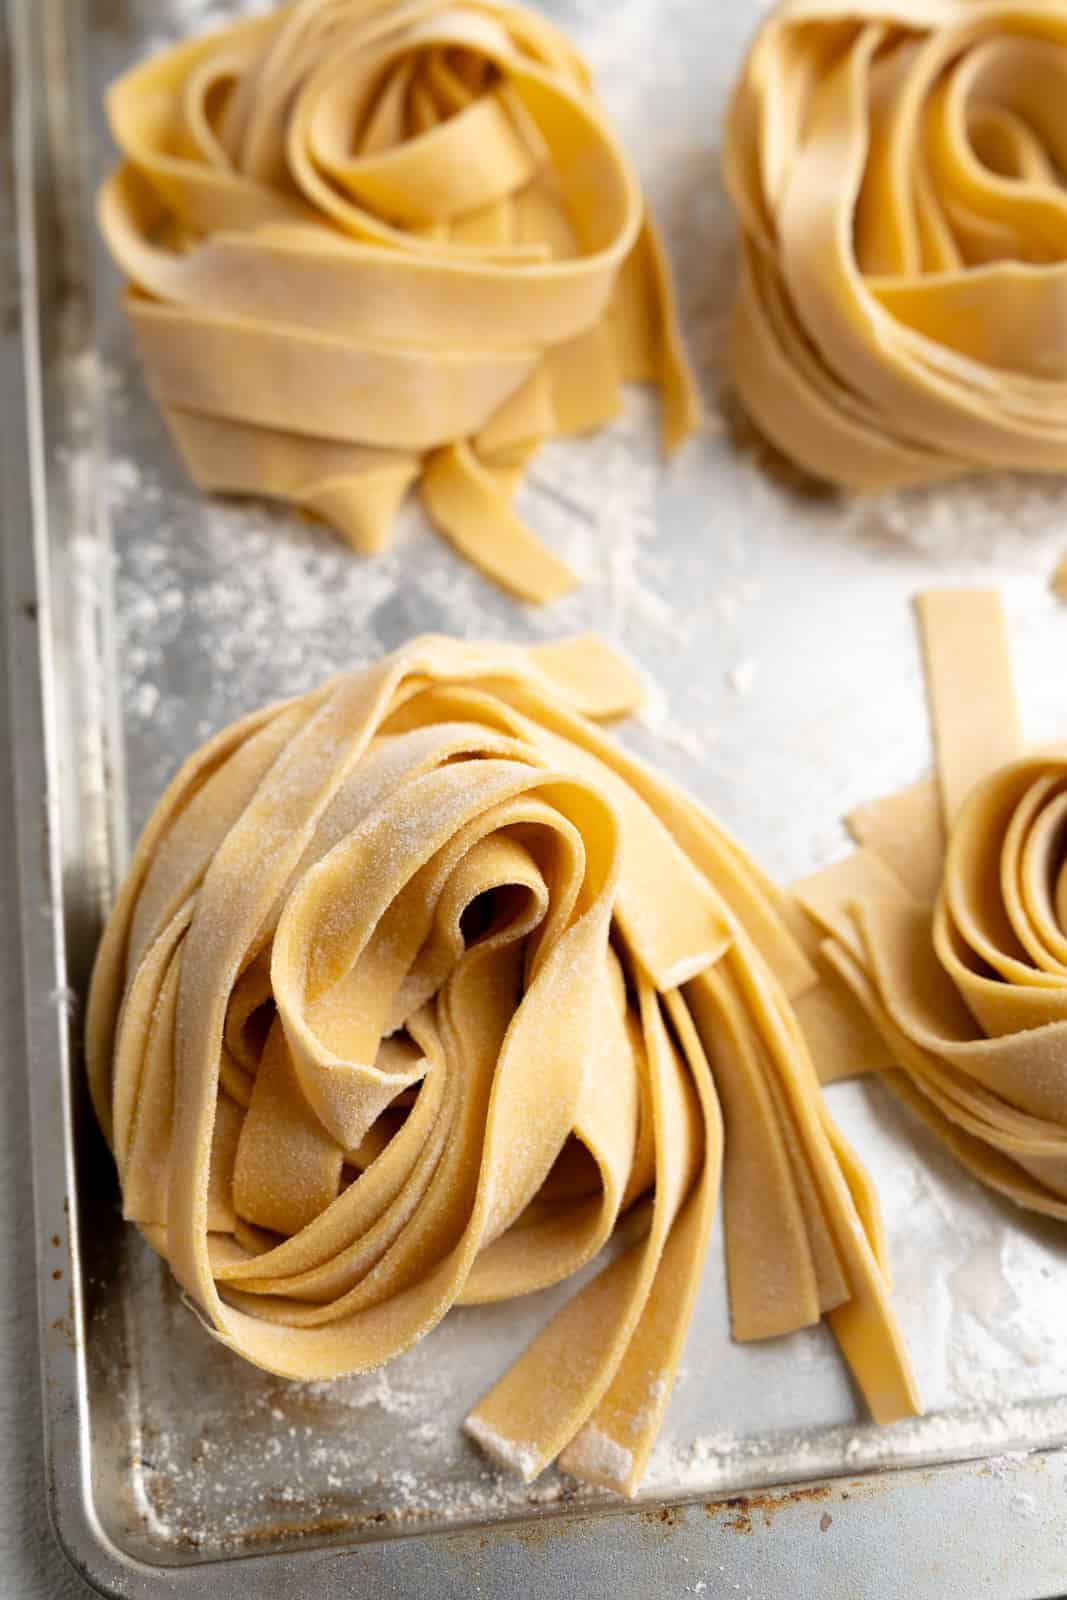
- Cut your pasta. Once flattened to your liking, now you're ready to cut! For this recipe, I cut mine into pappardelle or thick, long strips. With the final piece, lay out your rectangle horizontally and dust some flour on the top and bottom of your dough. Cut off the side pieces to make a rectangle with sharp edges. Fold the left part of the rectangle towards the middle of the sheet and the right part of the rectangle up towards the middle of the sheet. You'll then fold the left part of the rectangle towards the right part of the rectangle and cut your pasta horizontally at this point - see the pictures below for reference. This will produce long strands. If you're making lasagna or ravioli, you can stop at step 8 since you'll have the long, rectangular pieces you need without having to cut.
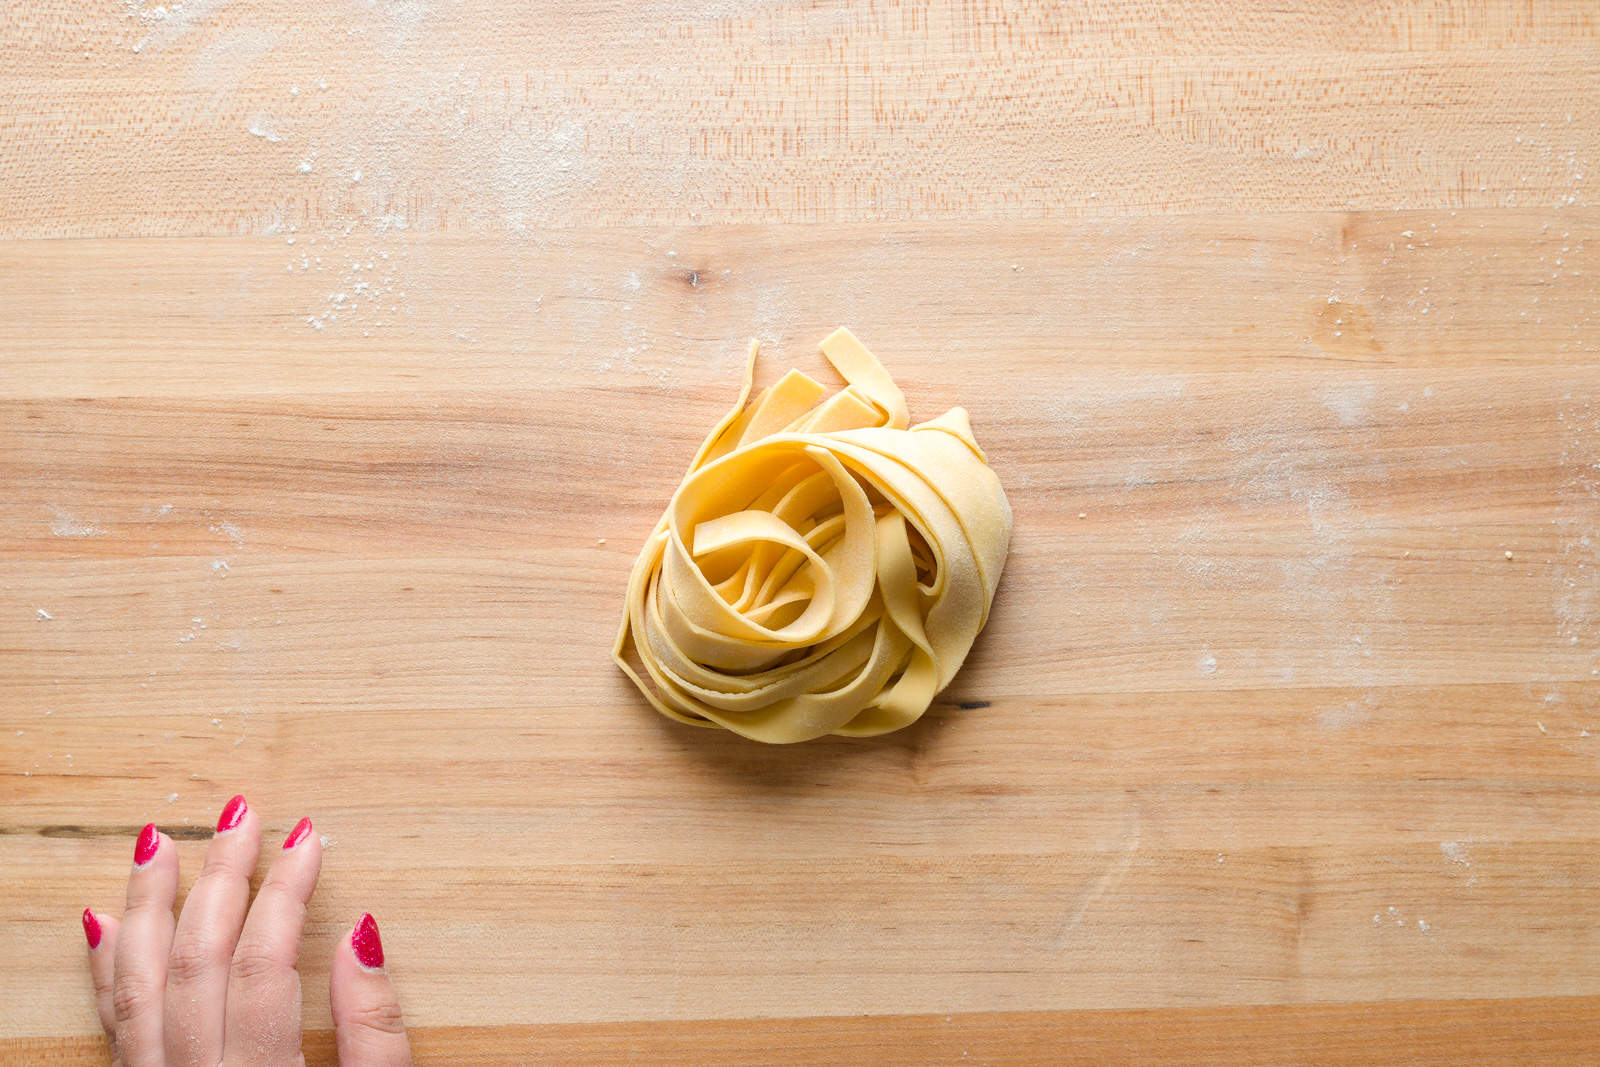
- Make the nests. If you're making long pasta and not cooking it immediately, make some nests to store or freeze. Hold your flour-dusted strands together in your hand and roll them into each other to create a circle, or nest, as seen in the images below. Make sure that you're sprinkling flour on the surface where these will lay so they don't stick to the bottom.
- Cook the pasta. When you're ready to cook, place your cut noodles into boiling water for a few minutes - my pappardelle cooked in about three to four minutes but this depends on the thickness of your pasta. Taste test your pasta once it starts floating in the boiling water. You want to make sure it's al dente, or "to the tooth." This means it should have some thickness and bite to it instead of being soft and gummy. You can then toss it in your favorite sauce and enjoy!
- Store the unused pasta. If you're not ready to use your pasta just yet, you can absolutely store it for later. Keep it in an airtight, flour-dusted container in the fridge for about 24 hours. If you want to freeze the pasta nests, let these dry for about an hour, place in an airtight, flour-dusted container and freeze for up to eight months.


What Pasta Shapes Can I Make with This Recipe?
This fresh pasta recipe is very versatile. You can use this dough to make long pasta, lasagna sheets or even filled pasta, like ravioli.
I made pappardelle for the pictures featured on this recipe but you can let your imagination run wild! You can also cut this dough by hand with a sharp knife or pass it through your pasta machine to create spaghetti or fettuccine.
What Kind of Sauce Can I Serve Fresh Pasta With?
Any sauce you like! I love a fresh tomato pasta sauce with this pasta recipe, especially when it's peak tomato season! There really isn't a bad sauce combination for fresh pasta. An herby pesto is fantastic with this pasta or even a creamy cacio e pepe can really level up this recipe.
Want to keep it simple? One of my favorite ways to eat this pasta is with loads of butter and cheese - an easy but luxurious dish!
Can I make this 2 Ingredient Homemade Pasta Dough Ahead of Time?
Yes! After you make your dough, you can store it in the fridge, covered, for up to 24 hours. Once you're ready to cut, take it out of the fridge and let it come up to room temperature. Immediately after that, you should start the process of flattening, cutting and cooking it.

How Do I Store Fresh Pasta?
You can absolutely store your pasta for later if you're not ready to use it right after cutting it.
If you plan on using your pasta within the next day after cutting it, keep it in an airtight, flour-dusted container in the fridge for about 24 hours.
If you want to freeze the pasta nests, let these dry for about an hour, place in an airtight, flour-dusted container and freeze for up to eight months.
Tips and Tricks for 2 Ingredient Homemade Pasta
- Clean your workspace. Whether you're rolling out your fresh pasta on your dining room table or on your kitchen countertop, make sure you dust and clean the surface(s) you're working on. Anything can stick to this dough so a clean workspace is necessary.
- Flour your surface. To make sure the pasta doesn't stick onto itself, make sure your workspace is lightly dusted with the double zero flour.
- Rest your dough. This pasta dough needs to rest for 30 minutes to an hour so that the flour absorbs all the liquid, or eggs, and so the dough is smooth and pliable.
- Have patience! Make sure your dough is thin enough before you change each setting on your pasta machine. If you have any holes or tears, you'll know that your dough was still too thick but not to worry! You can always go back a few settings and start again.
Did you try out this recipe? I'd love to know how it went! Leave me a comment and rating below or tag me on Instagram at @AFabulousBite!

2 Ingredient Homemade Pasta
Equipment
Ingredients
- 4 large eggs
- 400 grams double zero flour
Instructions
- Crack the eggs in a bowl, making sure no shell pieces fall in.
- On a clean and dry workspace, pour the flour and make a well in the center. This will be where you pour your eggs.
- Pour the eggs in the flour well. Poke the yolks and scramble the eggs within the well, making sure to keep the flour walls up.
- Slowly incorporate the flour into the eggs with the fork. The goal is to slowly expand the well while you incorporate the flour into the egg mixture.
- Once most of the egg mixture is incorporated into the flour, use the dough cutter or scraper to incorporate the remaining bits of flour into the dough.
- Knead the dough for about eight minutes or until the dough is smooth. Put the dough in a bowl and cover with a tea towel for 30 minutes to an hour at room temperature. If you're not ready to roll out your pasta dough on the same day that you make it, you can keep it in the fridge for 24 hours.
- Once rested, cut your dough ball into four pieces and shape each piece into a rectangle with your hands so it fits easier into the pasta machine.
- Starting at the widest setting in your pasta machine, roll the dough through. Roll it twice or three times, depending on the thickness of the dough. Then fold your flattened piece of dough twice onto itself (like an envelope) and pass it through the same setting another two or three times. Once it's thin enough, go up one more setting on your pasta machine. You will see that the gap within the rollers will be a bit smaller than the previous setting.
- Keep repeating the previous step until you have a thin dough. On my machine, I start at the 0 setting and go all the way to 5 but depending on how thick/thin you like your pasta, your final setting can be different.
- Once flattened to your liking, you can either cut your pasta shapes by hand (with a sharp knife) or with different settings on the pasta machine (spaghetti, fettuccine, etc). With the final piece, lay out the thin, rectangular sheet horizontally and dust some flour on the top and bottom. Cut off the side pieces to make a rectangle with sharp edges.
- If you're using your pasta sheet for lasagna or ravioli, you can use this flat sheet as-is since you won't need to cut. If you're going to cut by hand for shapes like pappardelle, fold the left part of the rectangle towards the middle of the sheet and the right part of the rectangle towards the middle of the sheet. Then fold the left part of the rectangle towards the right part of the rectangle and cut horizontally. This will produce long strands.
- If you're making long pasta and not cooking it immediately, make some nests to store or freeze. Hold your flour-dusted strands together in your hand and roll them into each other to create a circle, or nest, as seen in the images above. Make sure that you're sprinkling flour on the surface where these will lay so they don't stick to the bottom.
- Once ready to cook, place the cut noodles into boiling water for a few minutes - my pappardelle cooked in about three to four minutes but this can vary depending on the thickness of the pasta shape. Taste test your pasta once it starts floating at the top of the boiling water. Make sure it's al dente, or "to the tooth." You can then toss it in your favorite sauce and enjoy!
- If you're not ready to cook the pasta just yet, keep it in an airtight, flour-dusted container in the fridge for about 24 hours. If you want to freeze the pasta nests, let these dry for about an hour, place in an airtight, flour-dusted container and freeze for up to eight months.
Notes
- Whether you're rolling out your fresh pasta on your dining room table or on your kitchen countertop, make sure you dust and clean the surface(s) you're working on. Anything can stick to this dough so a clean workspace is necessary.
- To make sure the pasta doesn't stick onto itself, make sure your workspace is lightly dusted with the double zero flour.
- It's important to take your time while you roll your dough in the pasta machine. If your dough breaks a bit or is frayed at the edges, you can always fold it like an envelope and go repeat the rolling on the previous setting. So, for example, if your dough frays at setting 3, you can fold it, go back to setting 2, and roll it again until it's flattened and you can move up to setting 3 again.
- Rest your dough. This pasta dough needs to rest for 30 minutes to an hour so that the flour absorbs all the liquid, or eggs, and so the dough is smooth and pliable.
- To make this recipe ahead of time, make your dough and store it in the fridge, covered, for up to 24 hours. Once you're ready to cut, take it out of the fridge and let it come up to room temperature. Immediately after that, you should start the process of flattening, cutting and cooking it.
- If you plan on using your pasta within the next day after cutting it, keep it in an airtight, flour-dusted container in the fridge for about 24 hours.
- If you want to freeze the pasta nests, let these dry for about an hour, place in an airtight, flour-dusted container and freeze for up to eight months.


Maria Eugenia says
Super easy, fresh and savory